This post may contain affiliate links. Read our disclosure policy.


Anticipated Crafting Time for this project: 3-4 Hours
*NOTICE* This quiet book is recommended for children ages 0-2. All the pieces in this book are attached to the page for safety, but young children should still be supervised while playing with it, and pieces should be checked for integrity and to make sure they are well attached to the page after each use.
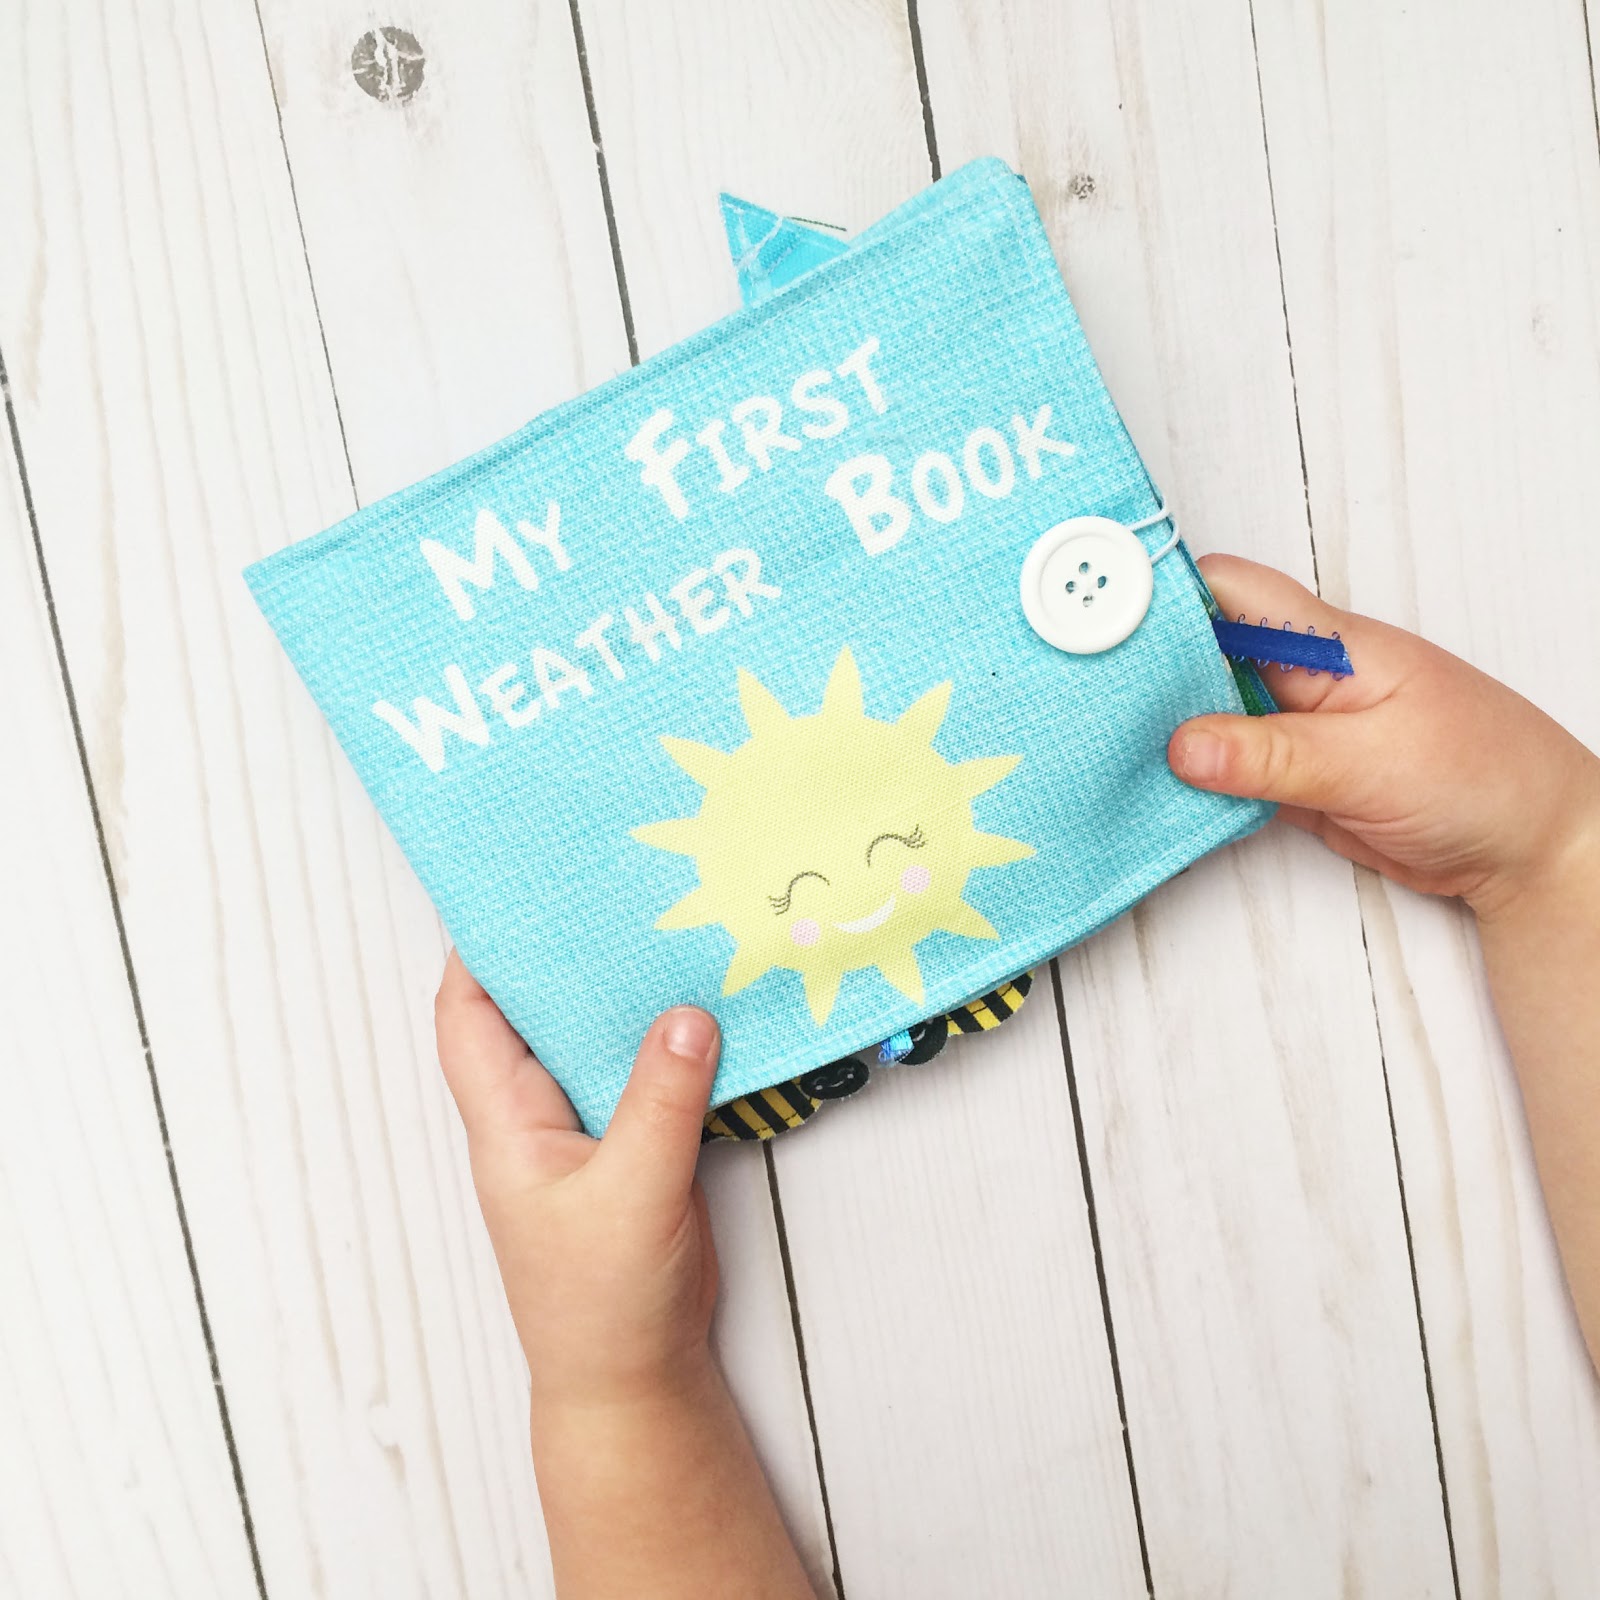
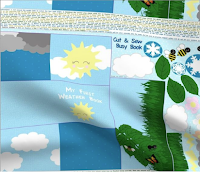
The “My First Weather Book” includes instructions to make the following quiet book pages:
• A front cover for the book.
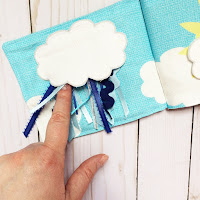
• A rainy ribbon tactile page, with multiple ribbon strands and an inverse cloud pocket.
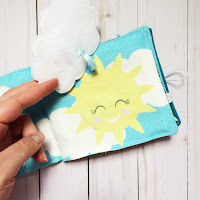
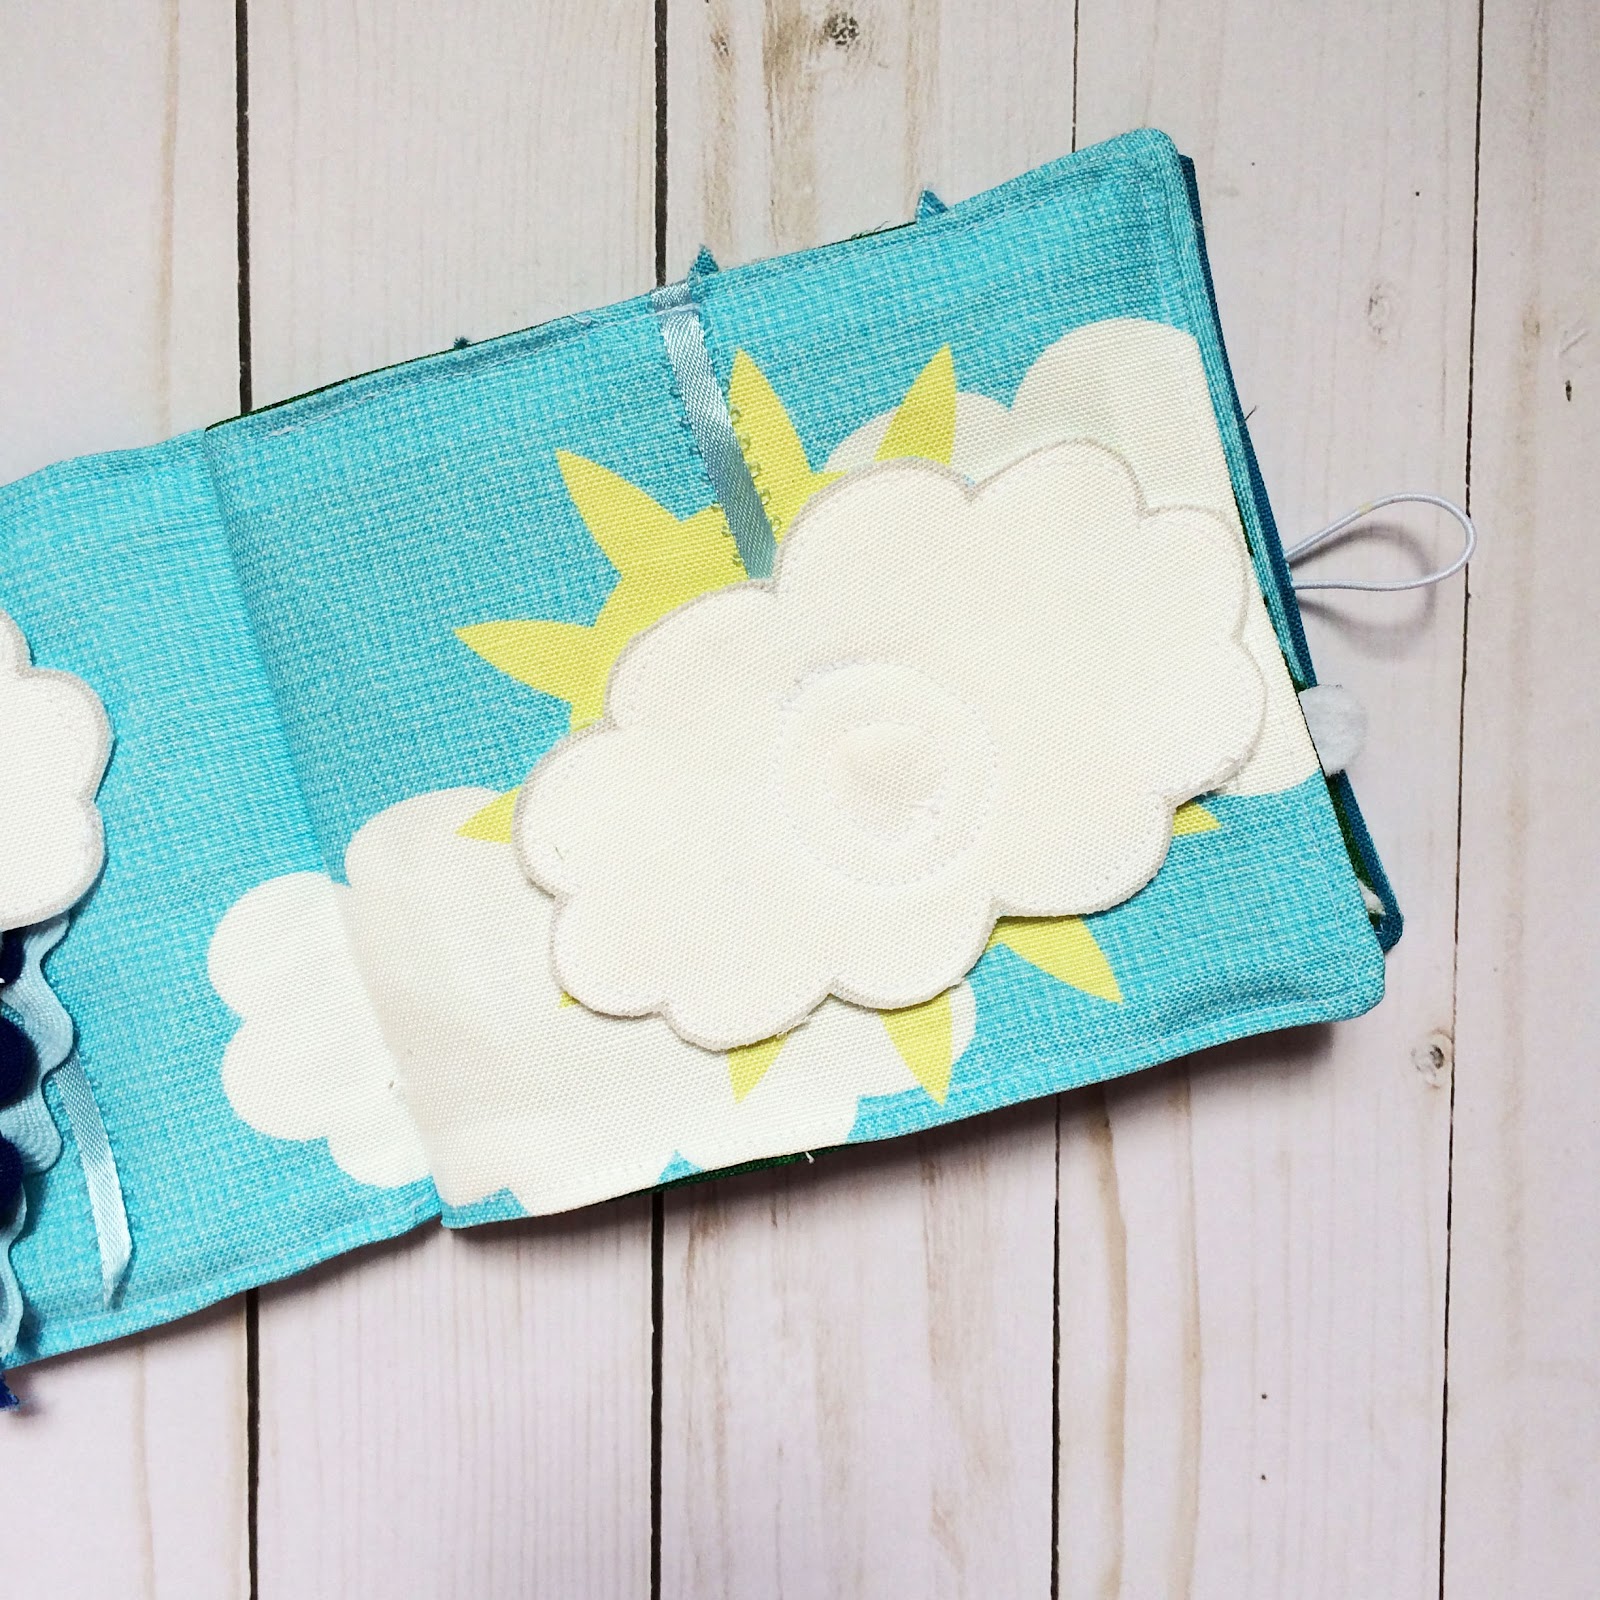
• A sunshine and clouds page with an attached, magnetic, cloud to cover or remove from the sun.
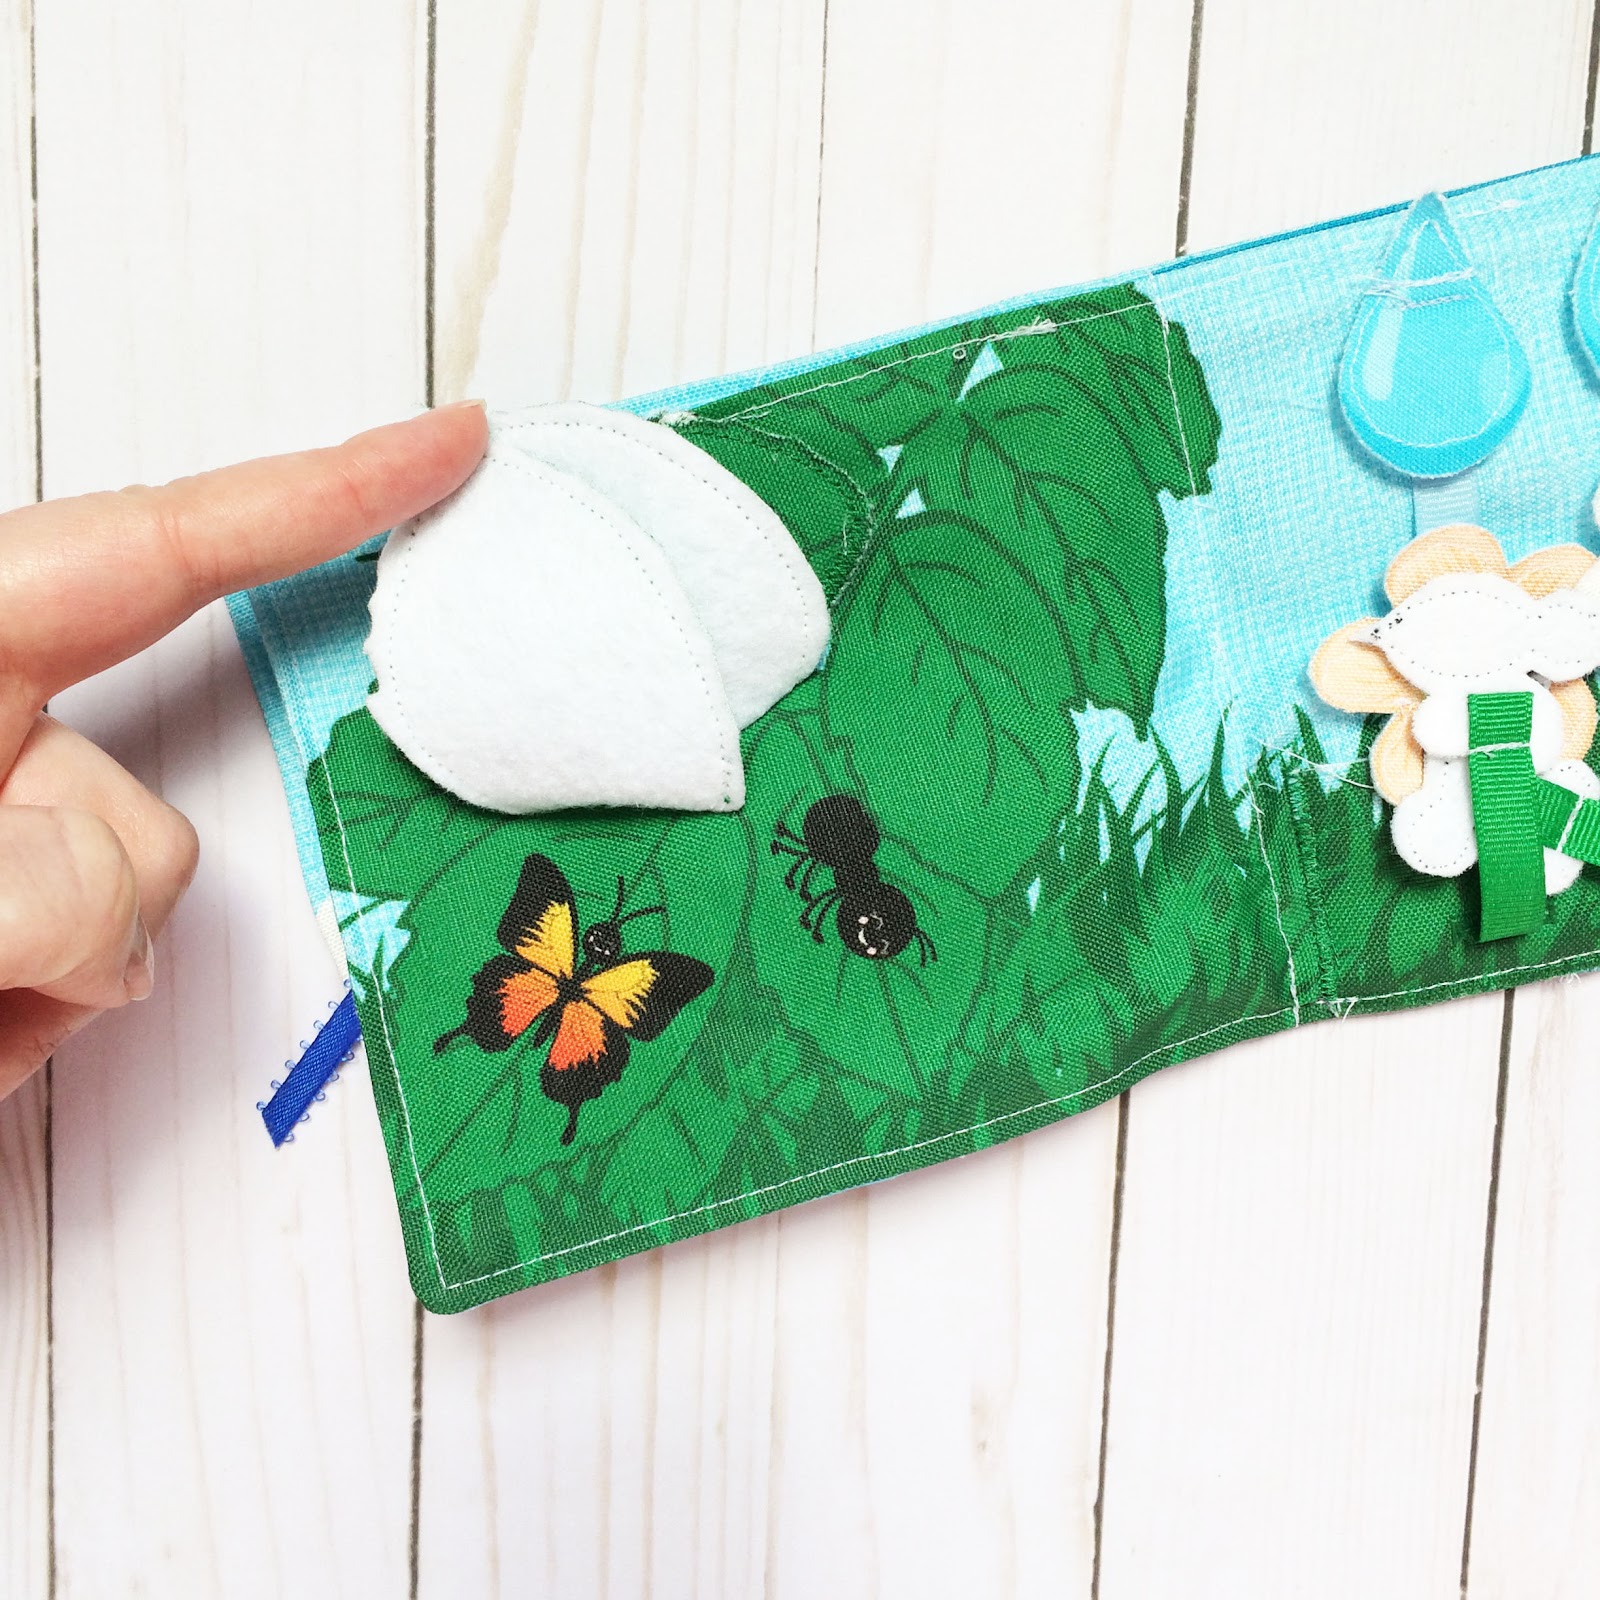
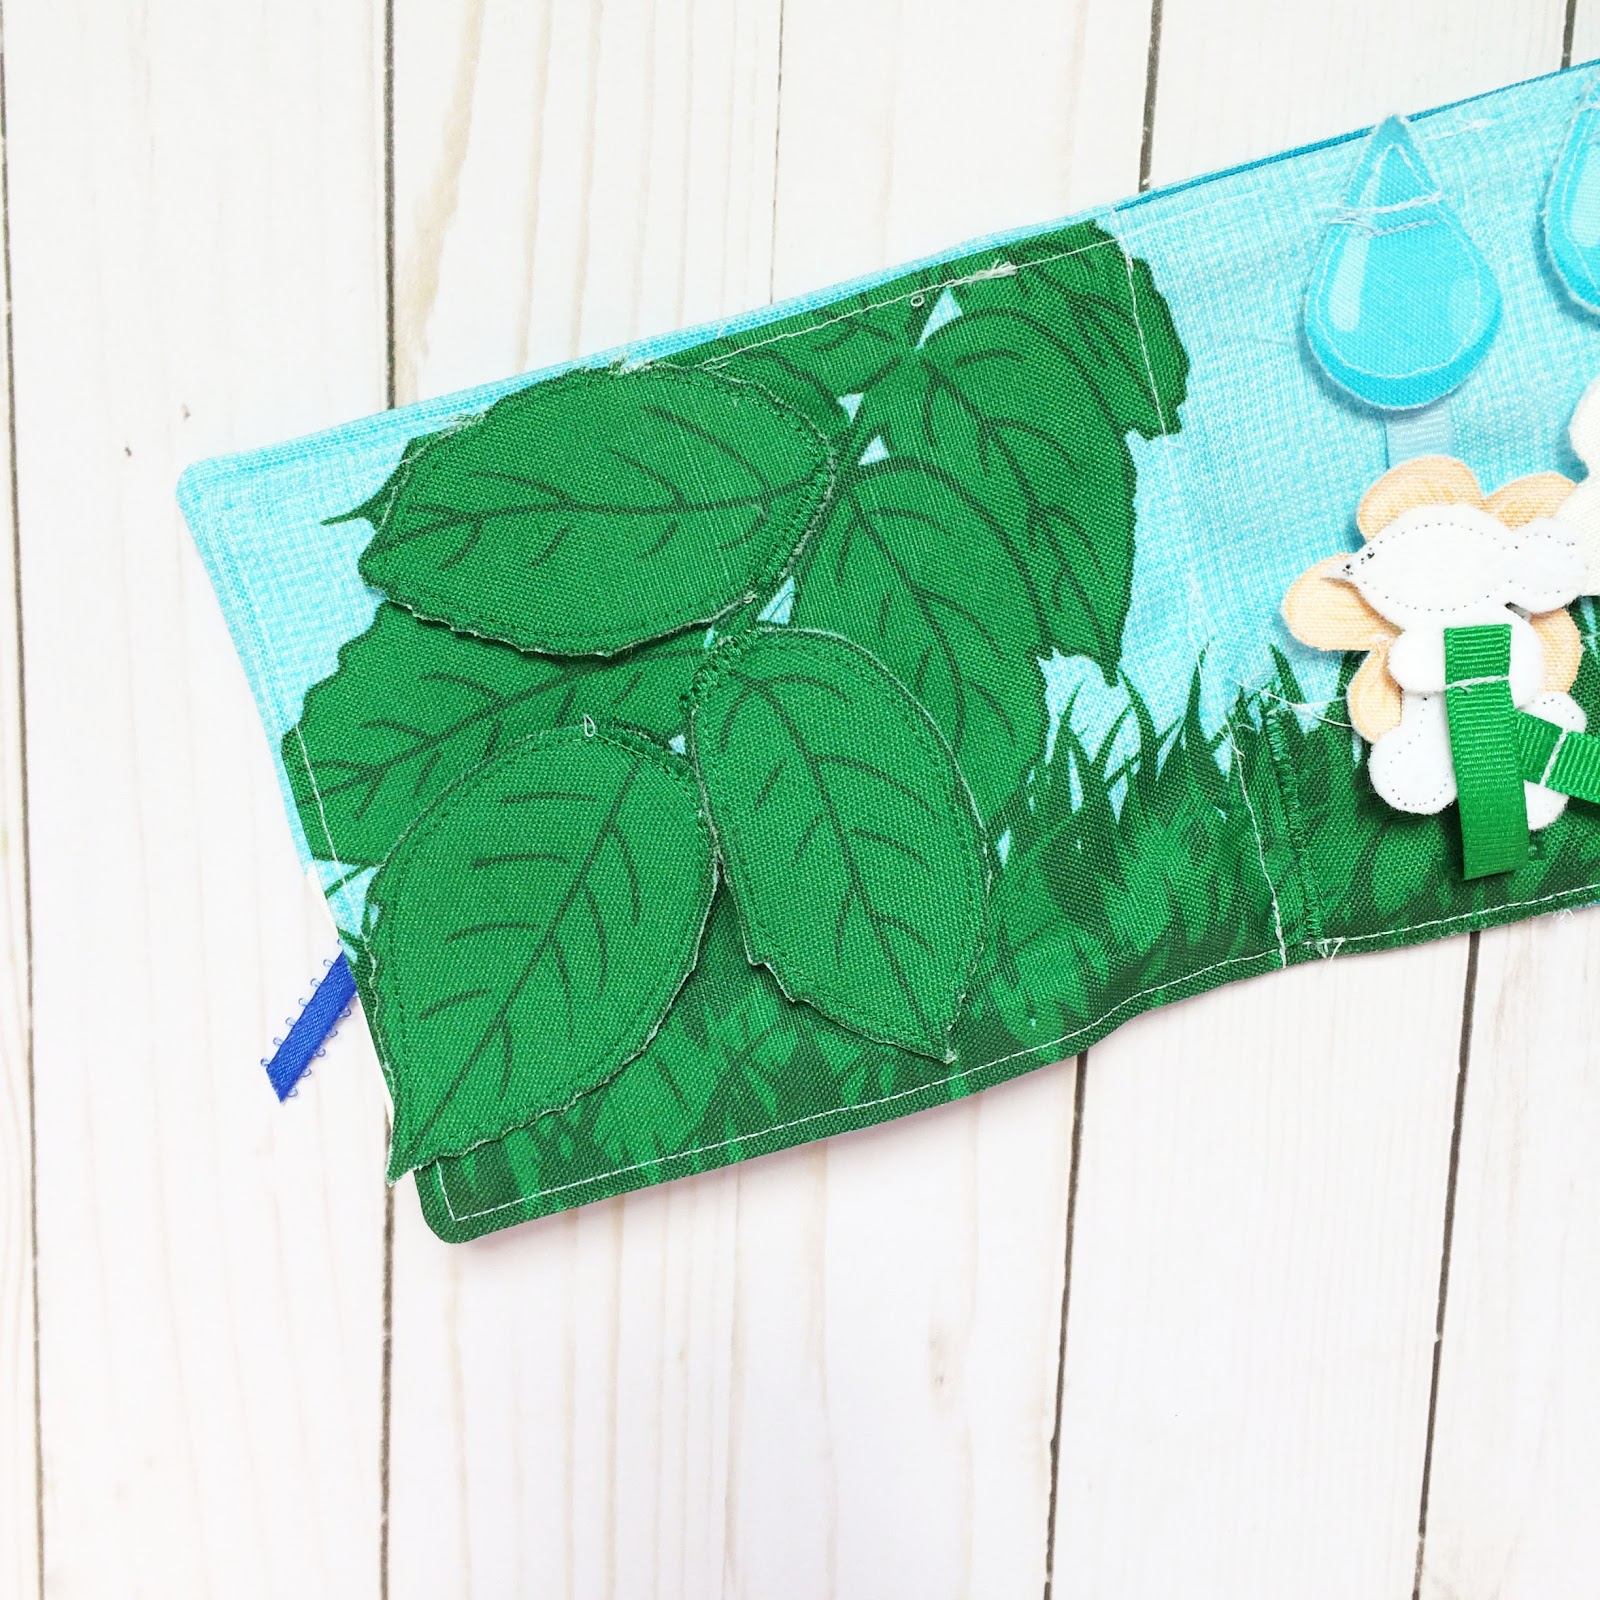
• A peek-a-book leaf page, with three leaf flaps hiding bugs.
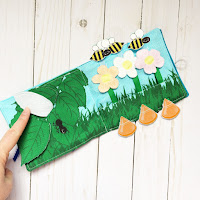
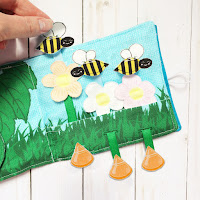
• A pull up flower page, with attached pull strings for three flowers.
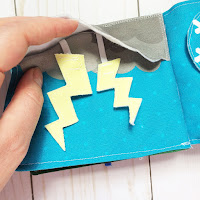
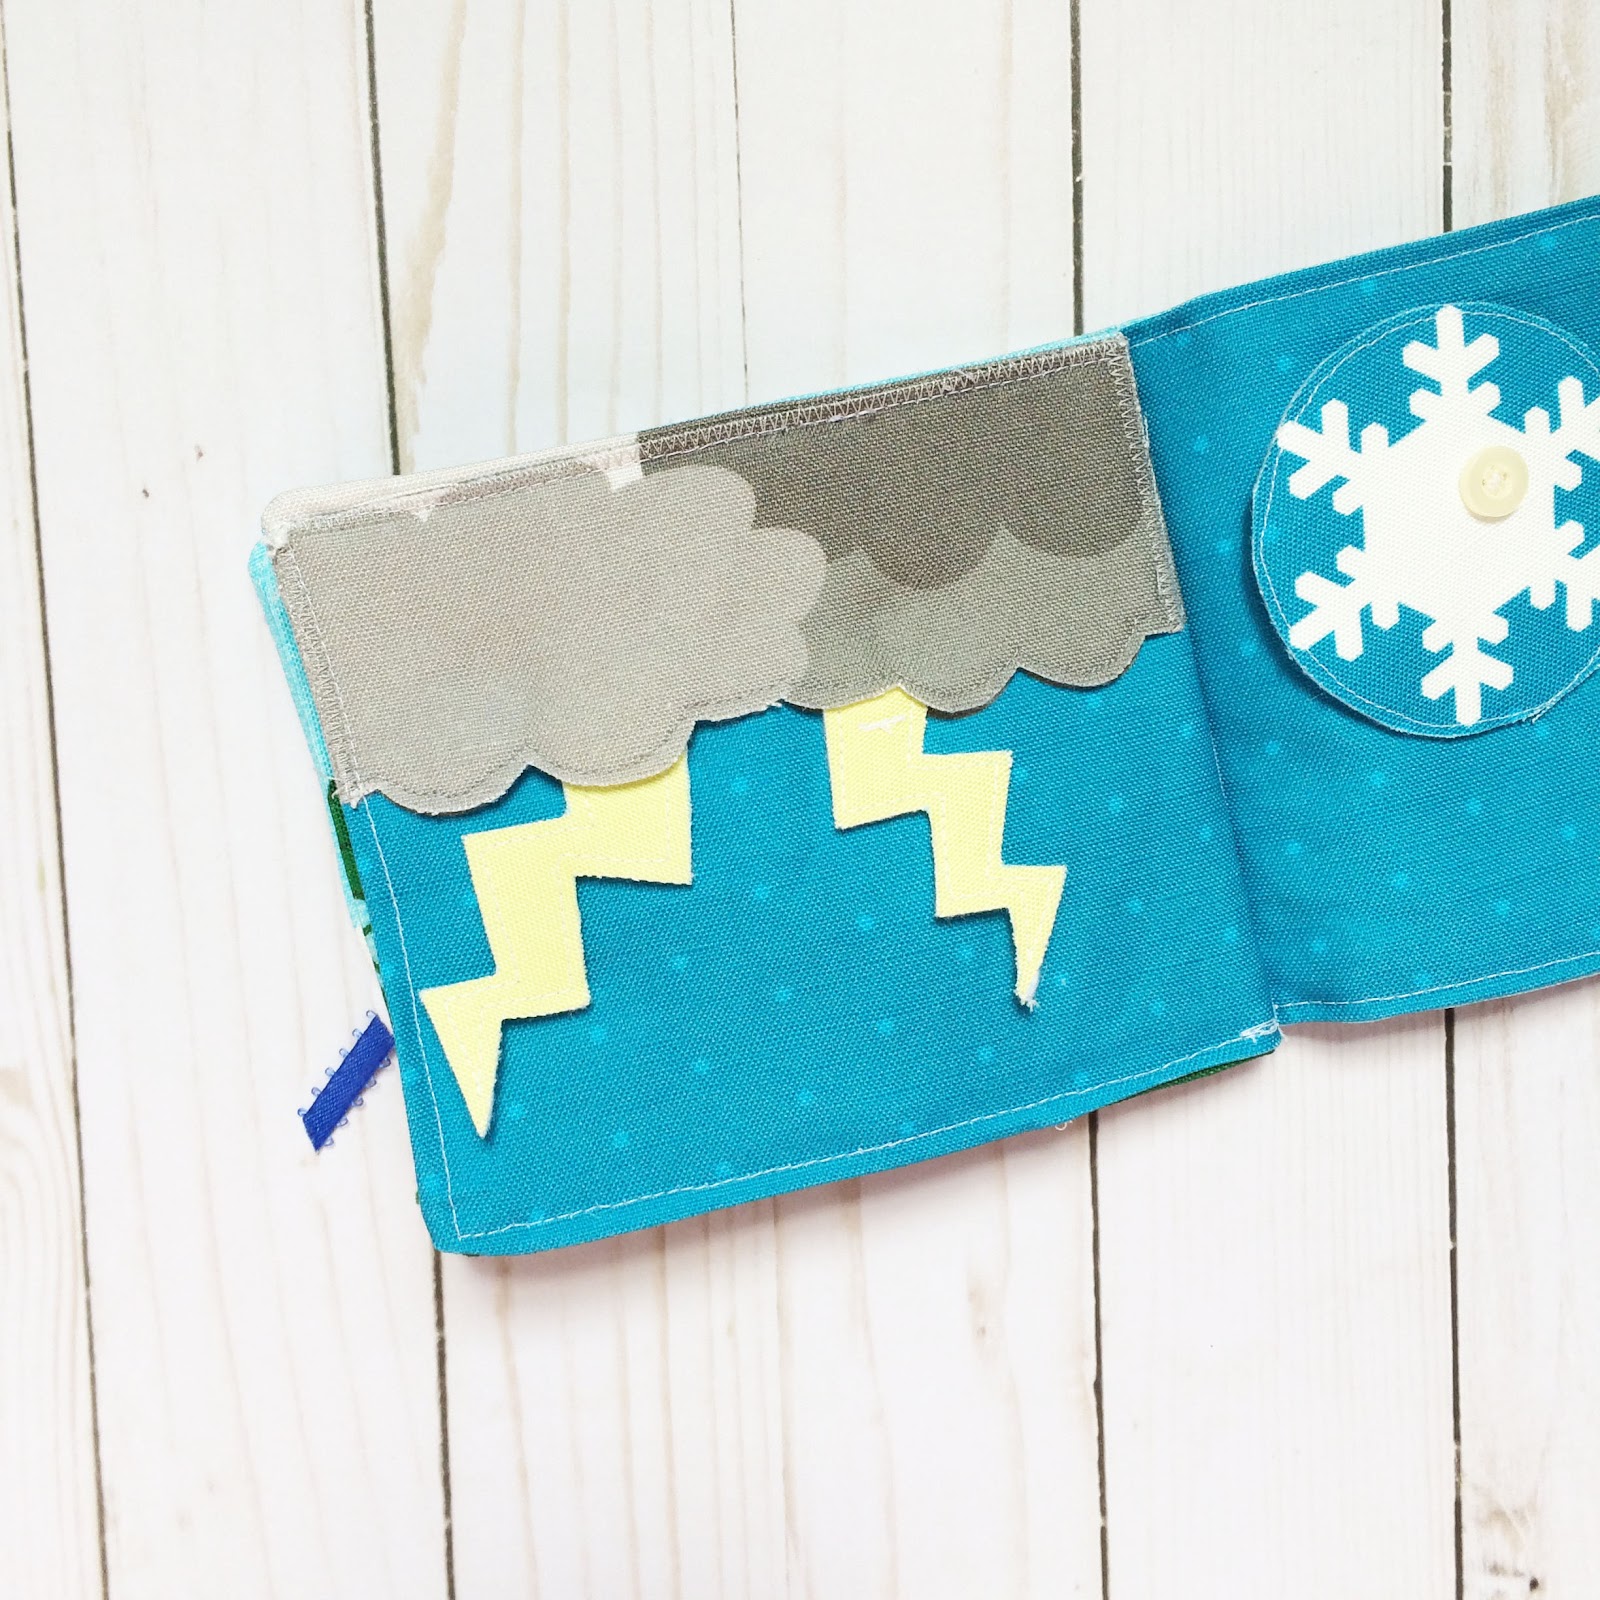
• A thunderstorm page, with two elastic bolts of lightning that can be pulled down from the clouds.
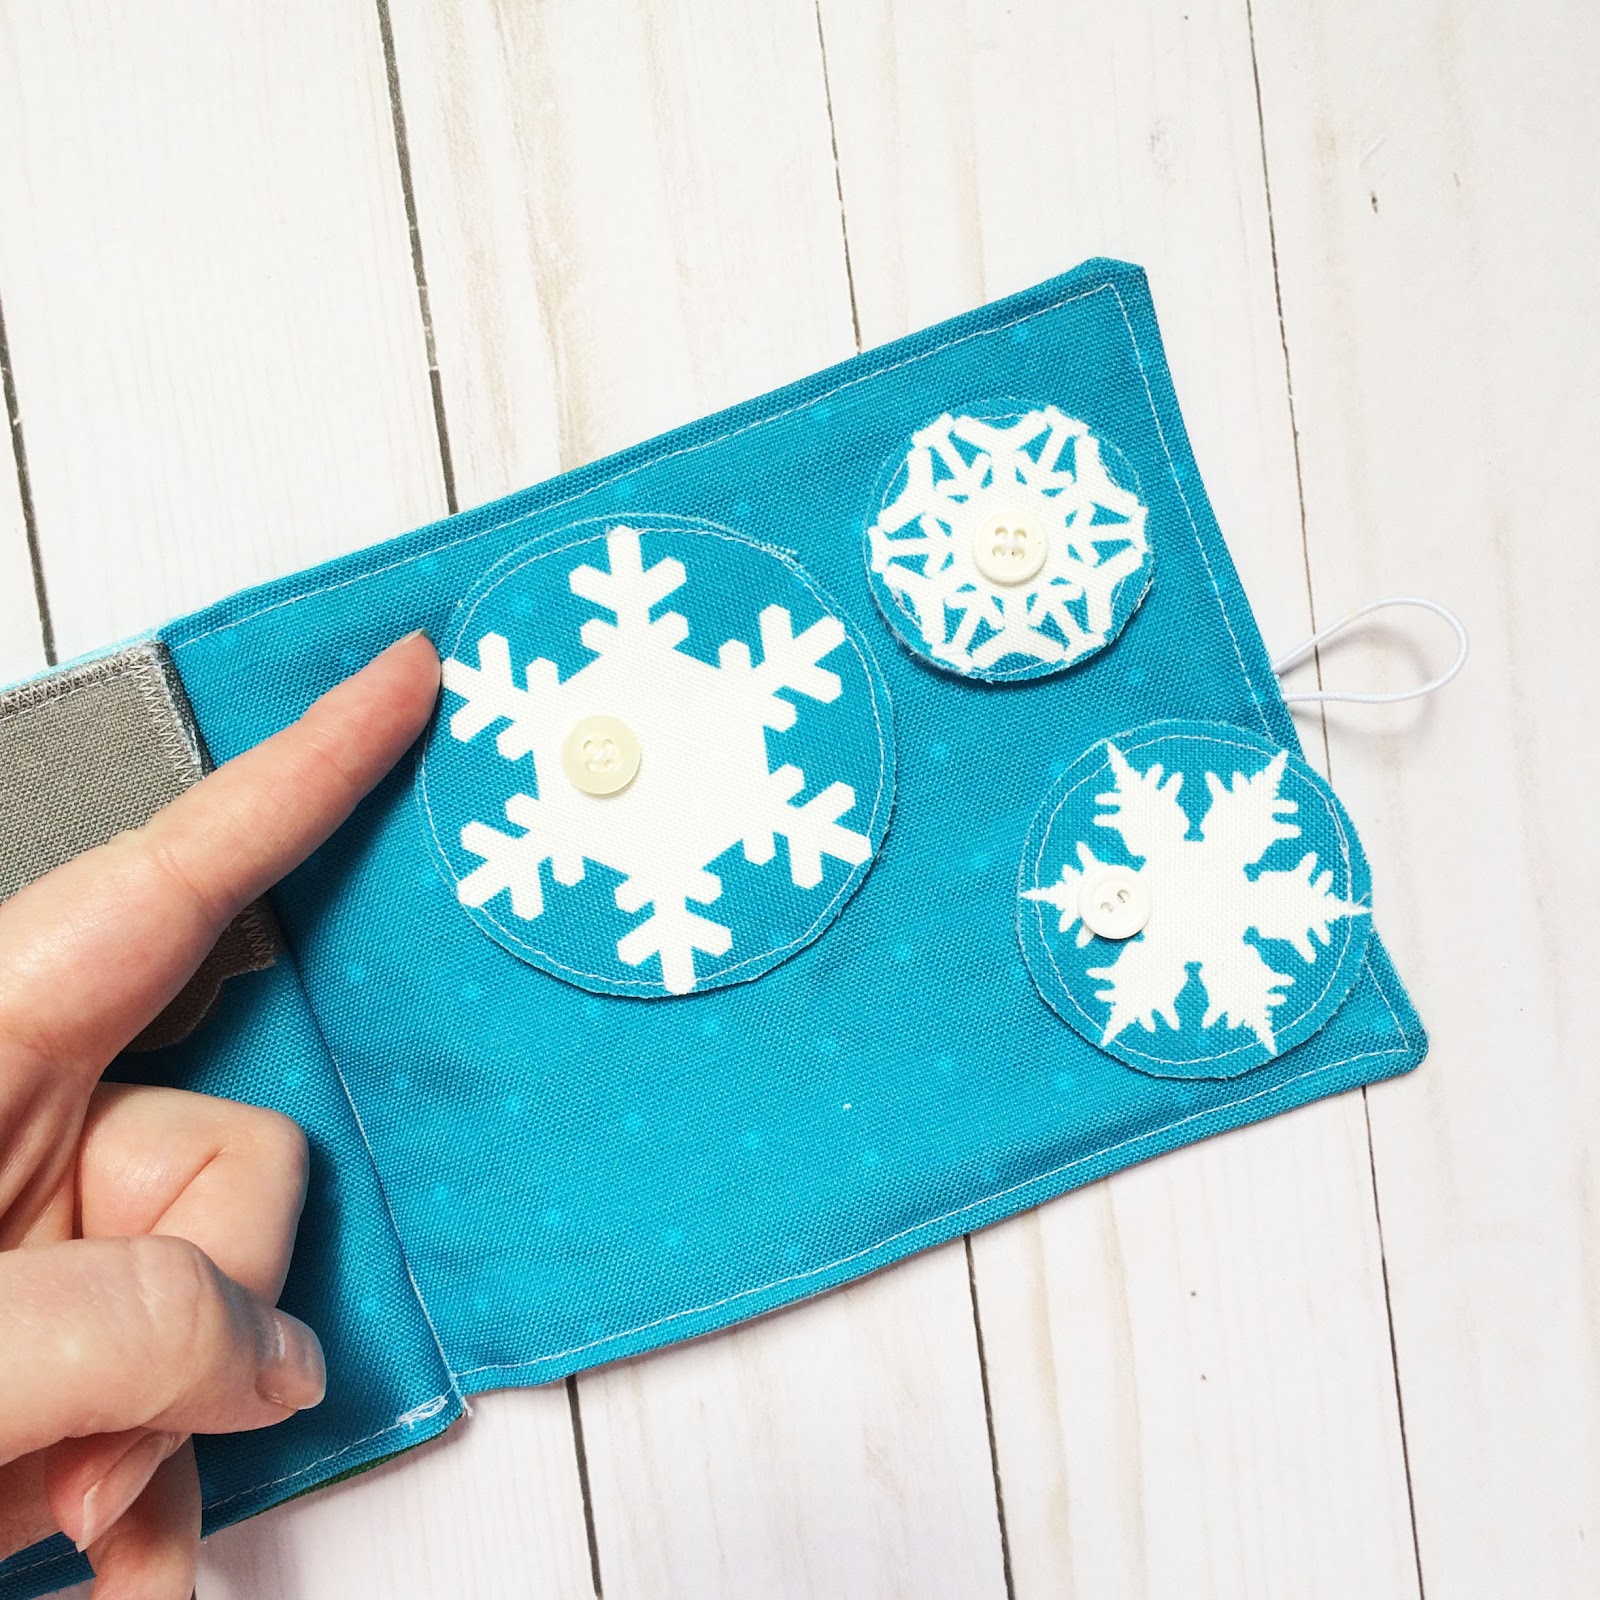
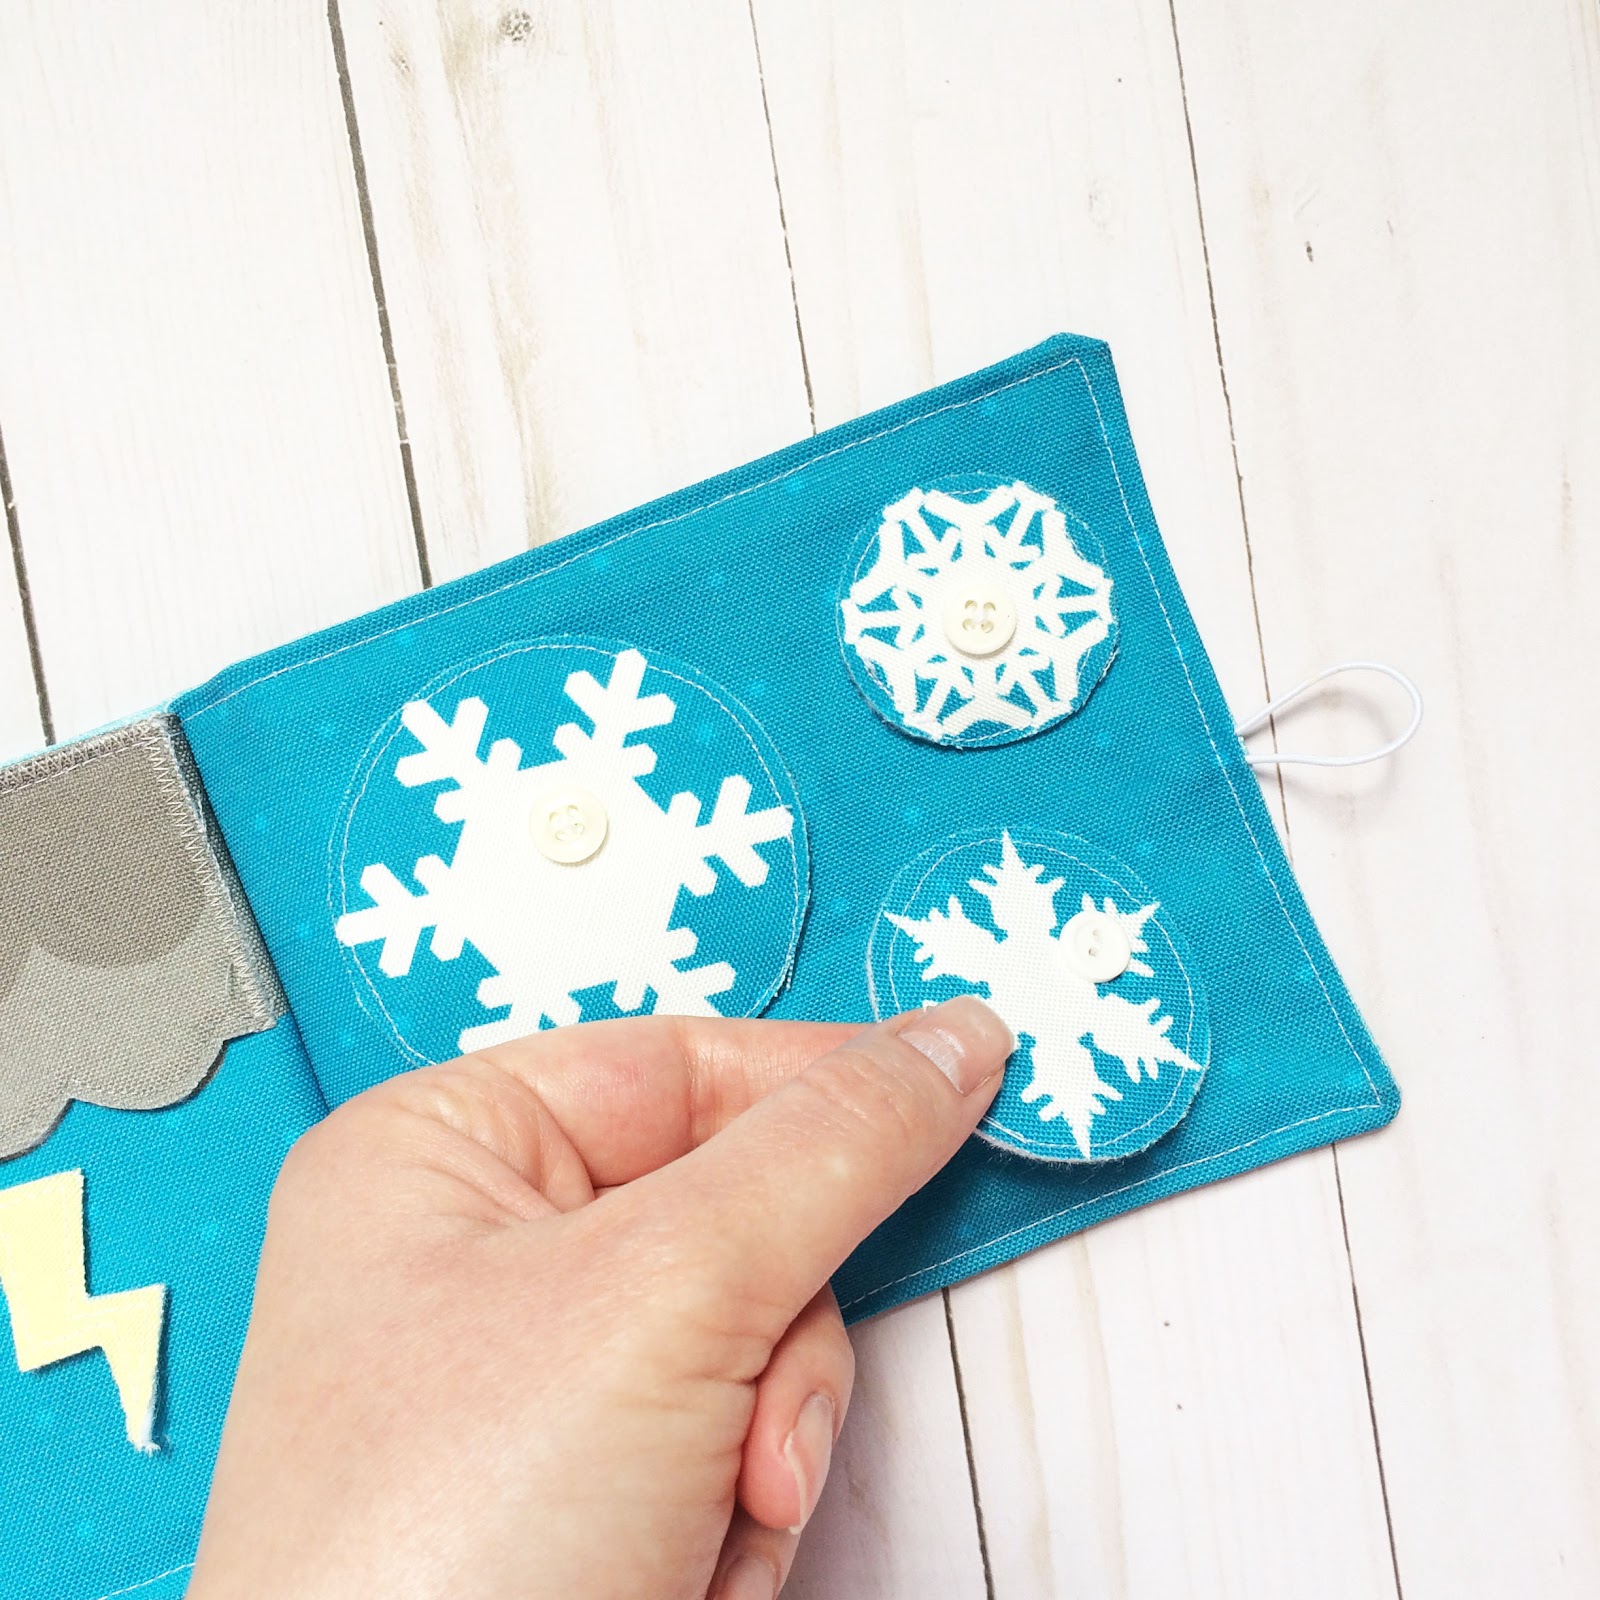
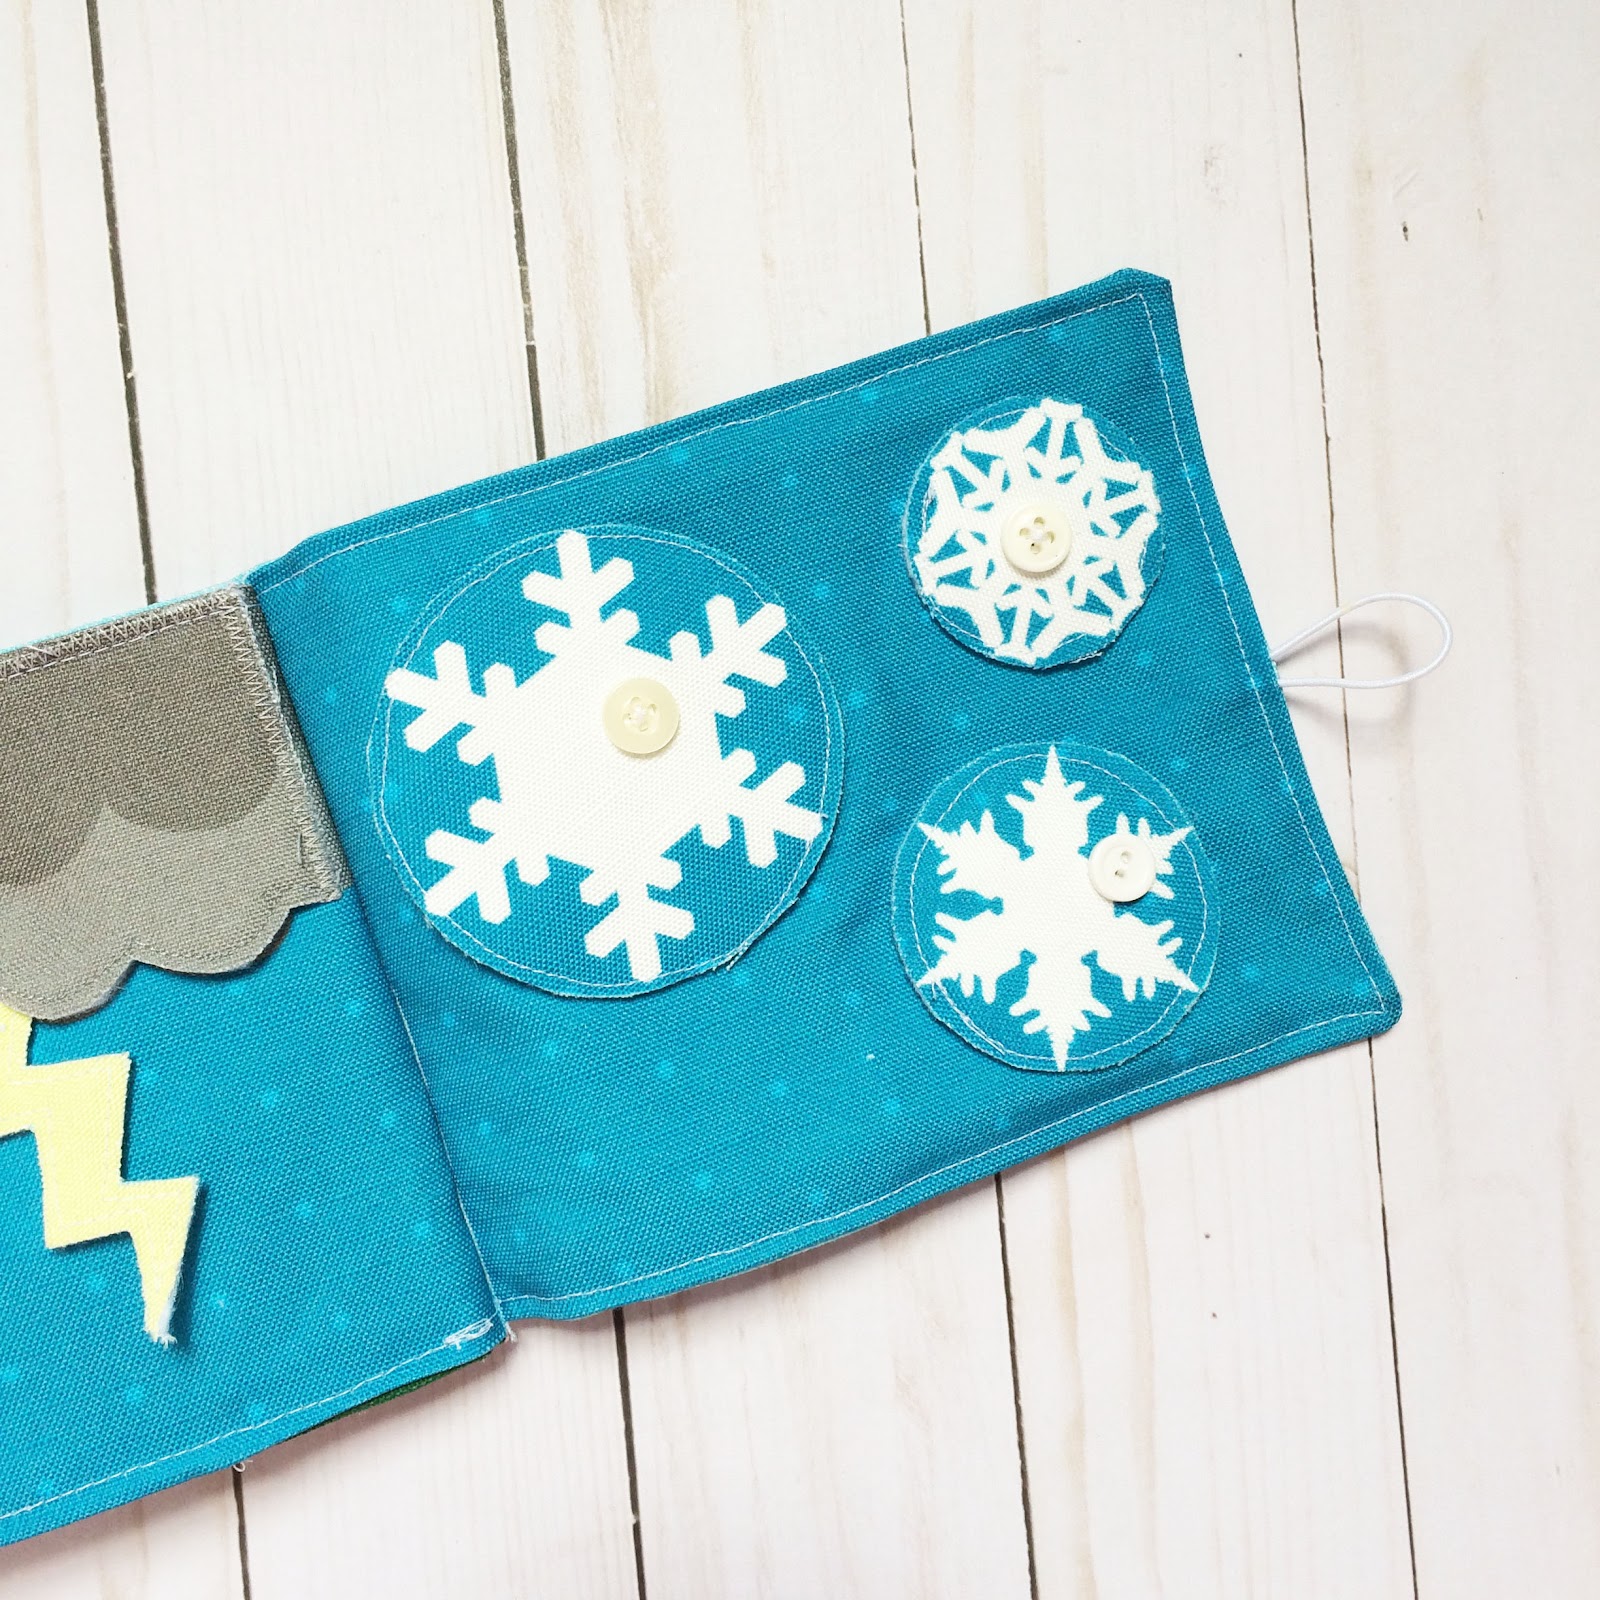
• A snowflake page, with three turnable (not removable) snowflakes.
Supplies Needed:
 |
| Fat Quarter of Printed Fabric From Spoonflower |
• Printed fabric for the pages and pieces (Available here through Spoonflower, I would suggest getting the Cotton Canvas fabric for the best durability)
• Iron on fixative lining (For the smaller play pieces)
• Felt Lining (For the smaller play pieces)
• Thin Elastic (a small amount for the lightning bolts and cover button closure)
• 4 Buttons (one for the front cover, three for the snow flakes)
• Multiple Blue Ribbons and a Green Ribbon (For the rain cloud and sunshine page, and for the growing flowers page)
• 3 small Beads (for the snowflake page)
• Two strong magnets (magnets will be sewn securely into the book, but be sure to practice magnet safety and do not let your children swallow them.)
• A Sewing Machine (Can also be hand sewn)
• A Needle
• Thread
• Sewing Pins
• Scissors
• An Iron
• An Ironing Board or Ironing Surface
• A Candle
• Matches to Light the Candle
 *Note* A few minor design updates may have been made to the fabric & movable pieces for better usability.
Step One:
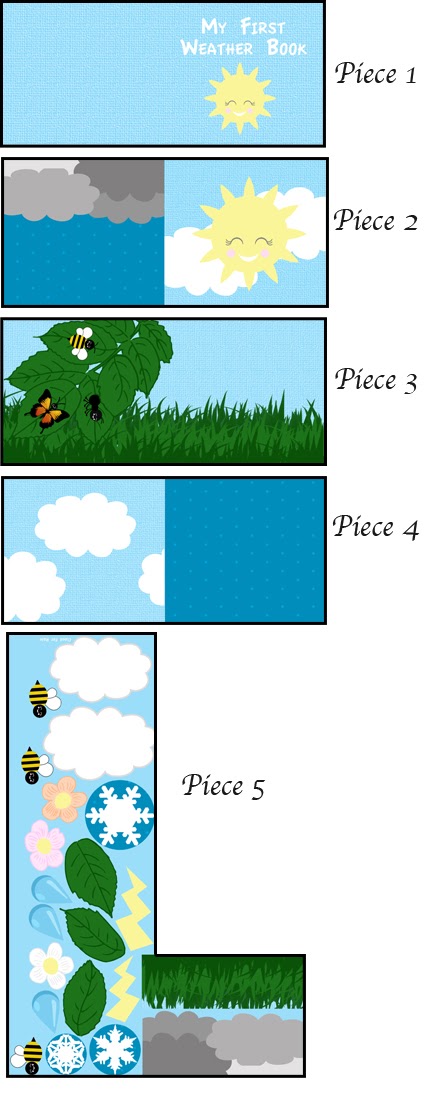
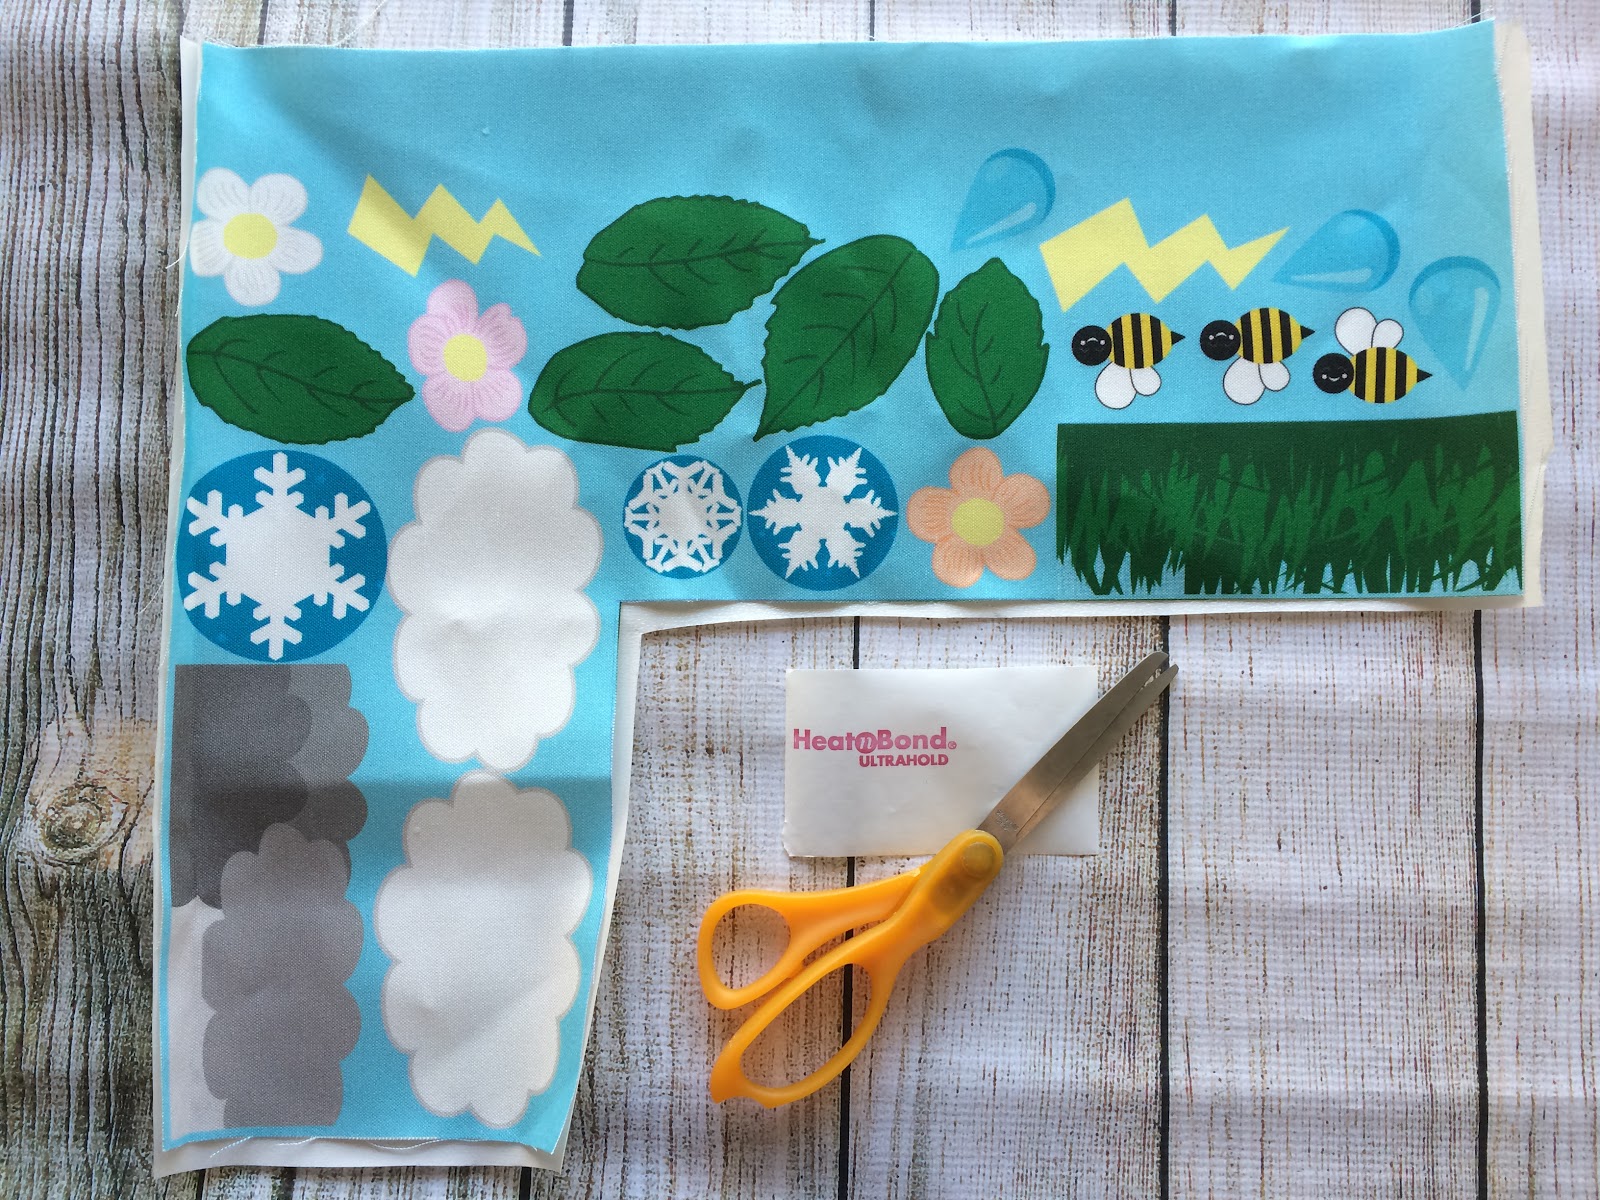
Iron the printed fabric. Then take the printed fabric and cut out the 4 large rectangular pages of the book, each section should have two pages still attached in the middle, and when they are cut out they should look like the image to the right.
Put pages aside.
Step Two:
Take the leftover fabric with the various smaller pieces for the quiet book and make sure you DO NOT CUT OUT the individual pieces.
 Follow the instructions on the iron on fixative lining to connect the smaller play pieces to the felt fabric for stronger durability.
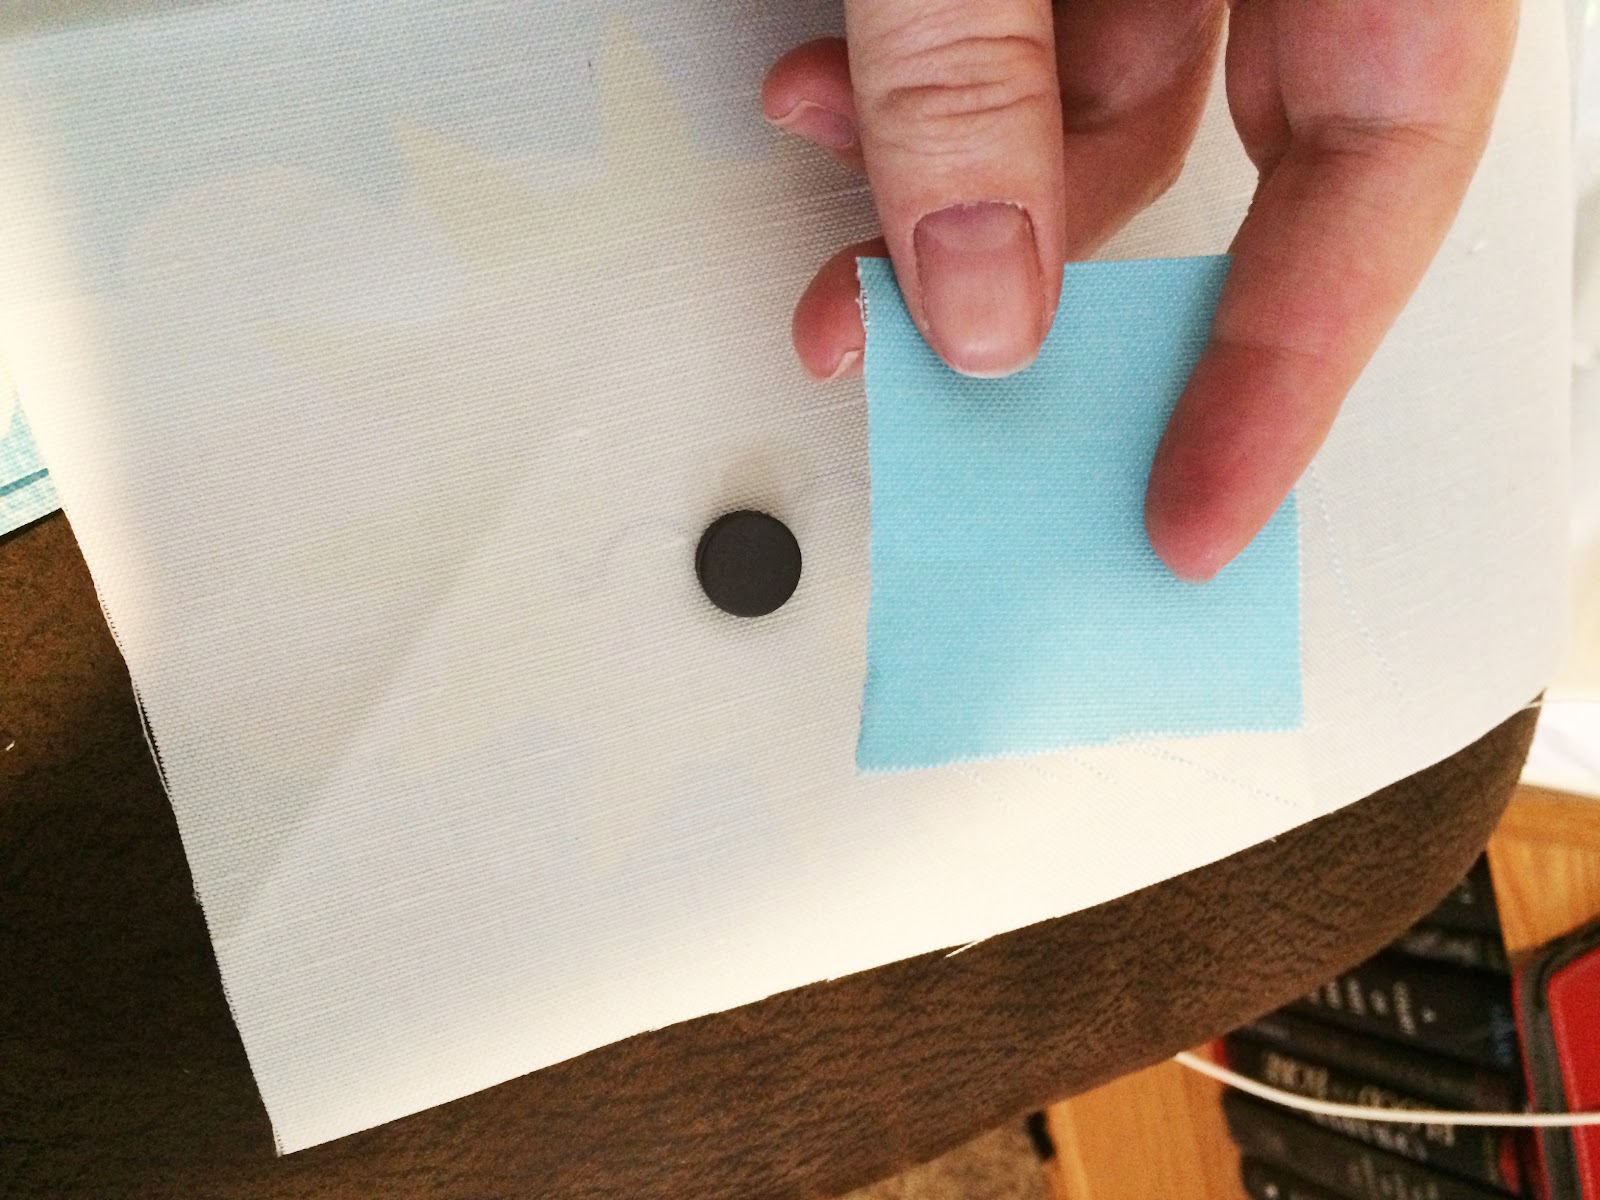
SPECIAL NOTE: take one of the small magnets you have been provided with and lay it on the iron on fixative under where the “cloud to cover the sun” fabric will be so that it is between the fixative and the top printed fabric layer. This will seal the magnet into your cloud piece and you’ll need it for a later step.
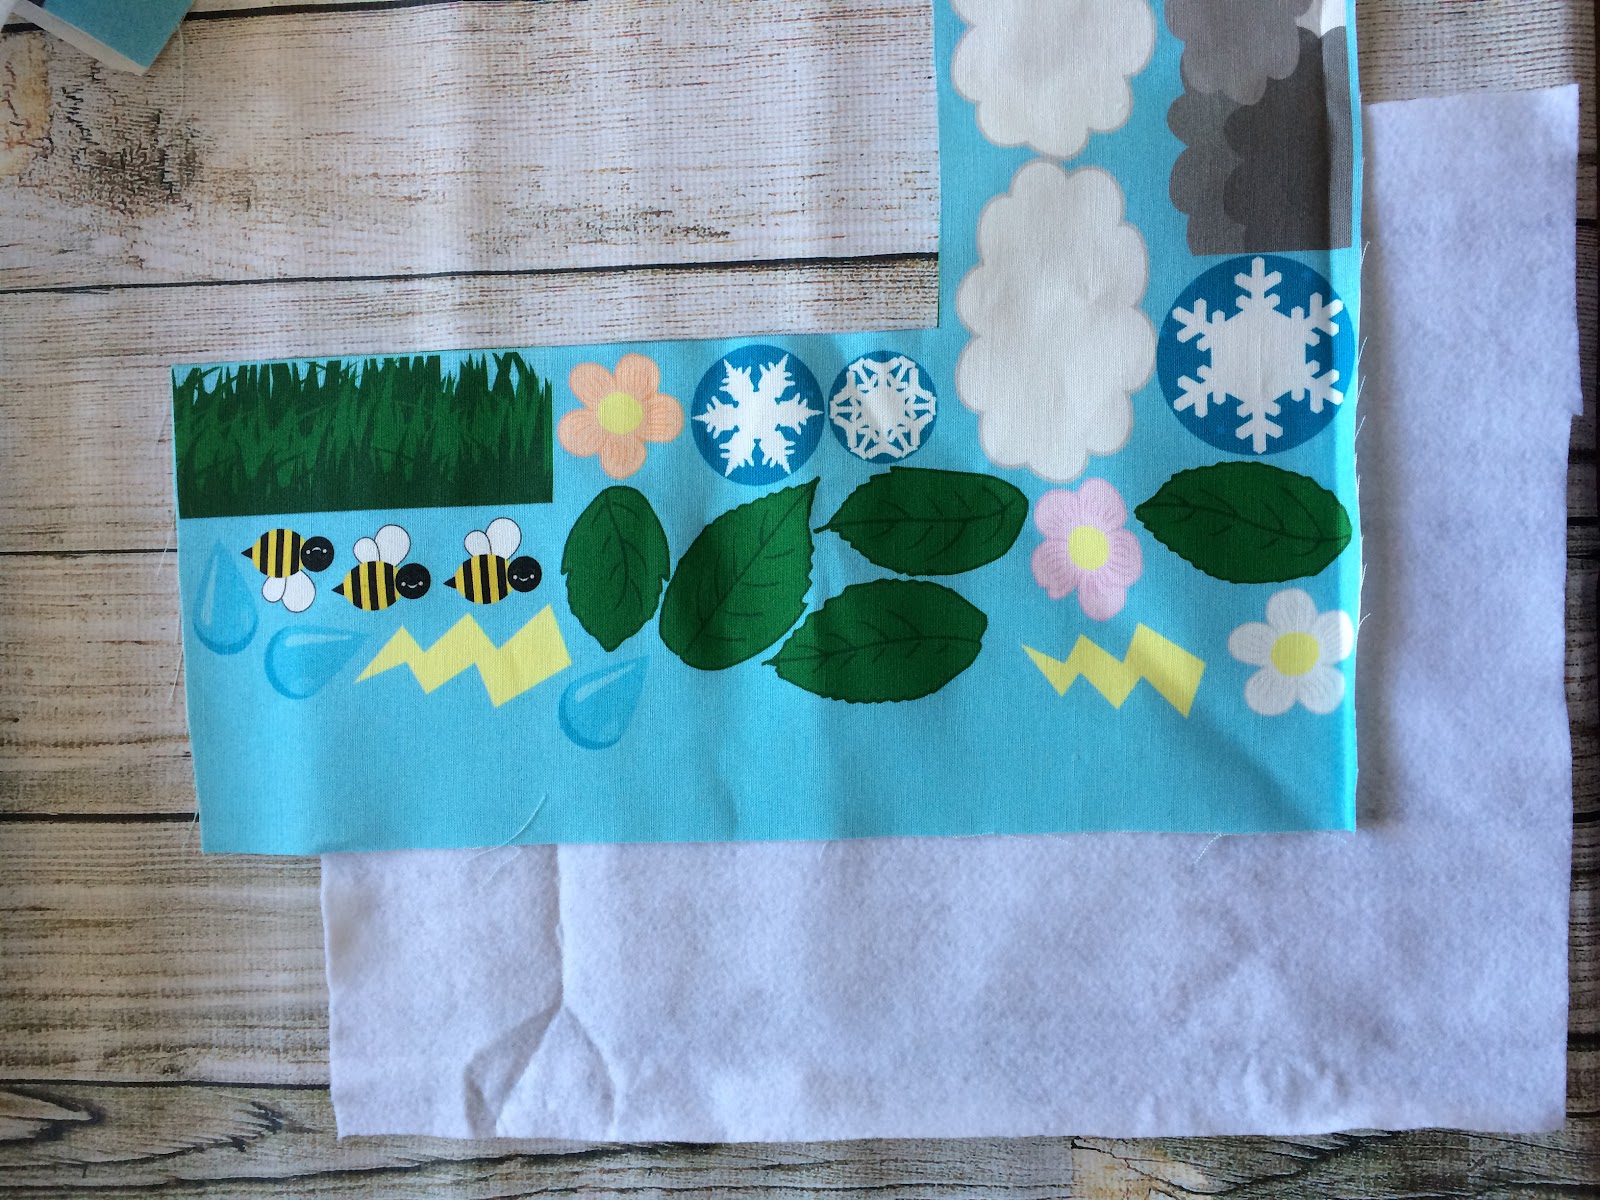
Start by taking the fabric with the smaller quiet book pieces and cut the iron on fixative lining and the felt to match the size and shape of the fabric.
Next layer them with the felt on the bottom, the iron on fixative in the middle, and the fabric on top (with the printed side facing away from the fixative).
 You may want a disposable cloth, or bit a excess fabric for this part as any overhang of the iron on fixative will be sticky and will gunk up your iron or ironing board if they touch.
Set your iron to a medium setting and press it to the printed fabric holding it for three seconds before removing it and pressing the next section. Continue until the whole cloth has been ironed. Then flip your cloth over so the print side is down, and repeat the process. (Again you may want to use a cloth on this part to save your fabric and your iron if you have any overhang).
Step Three:
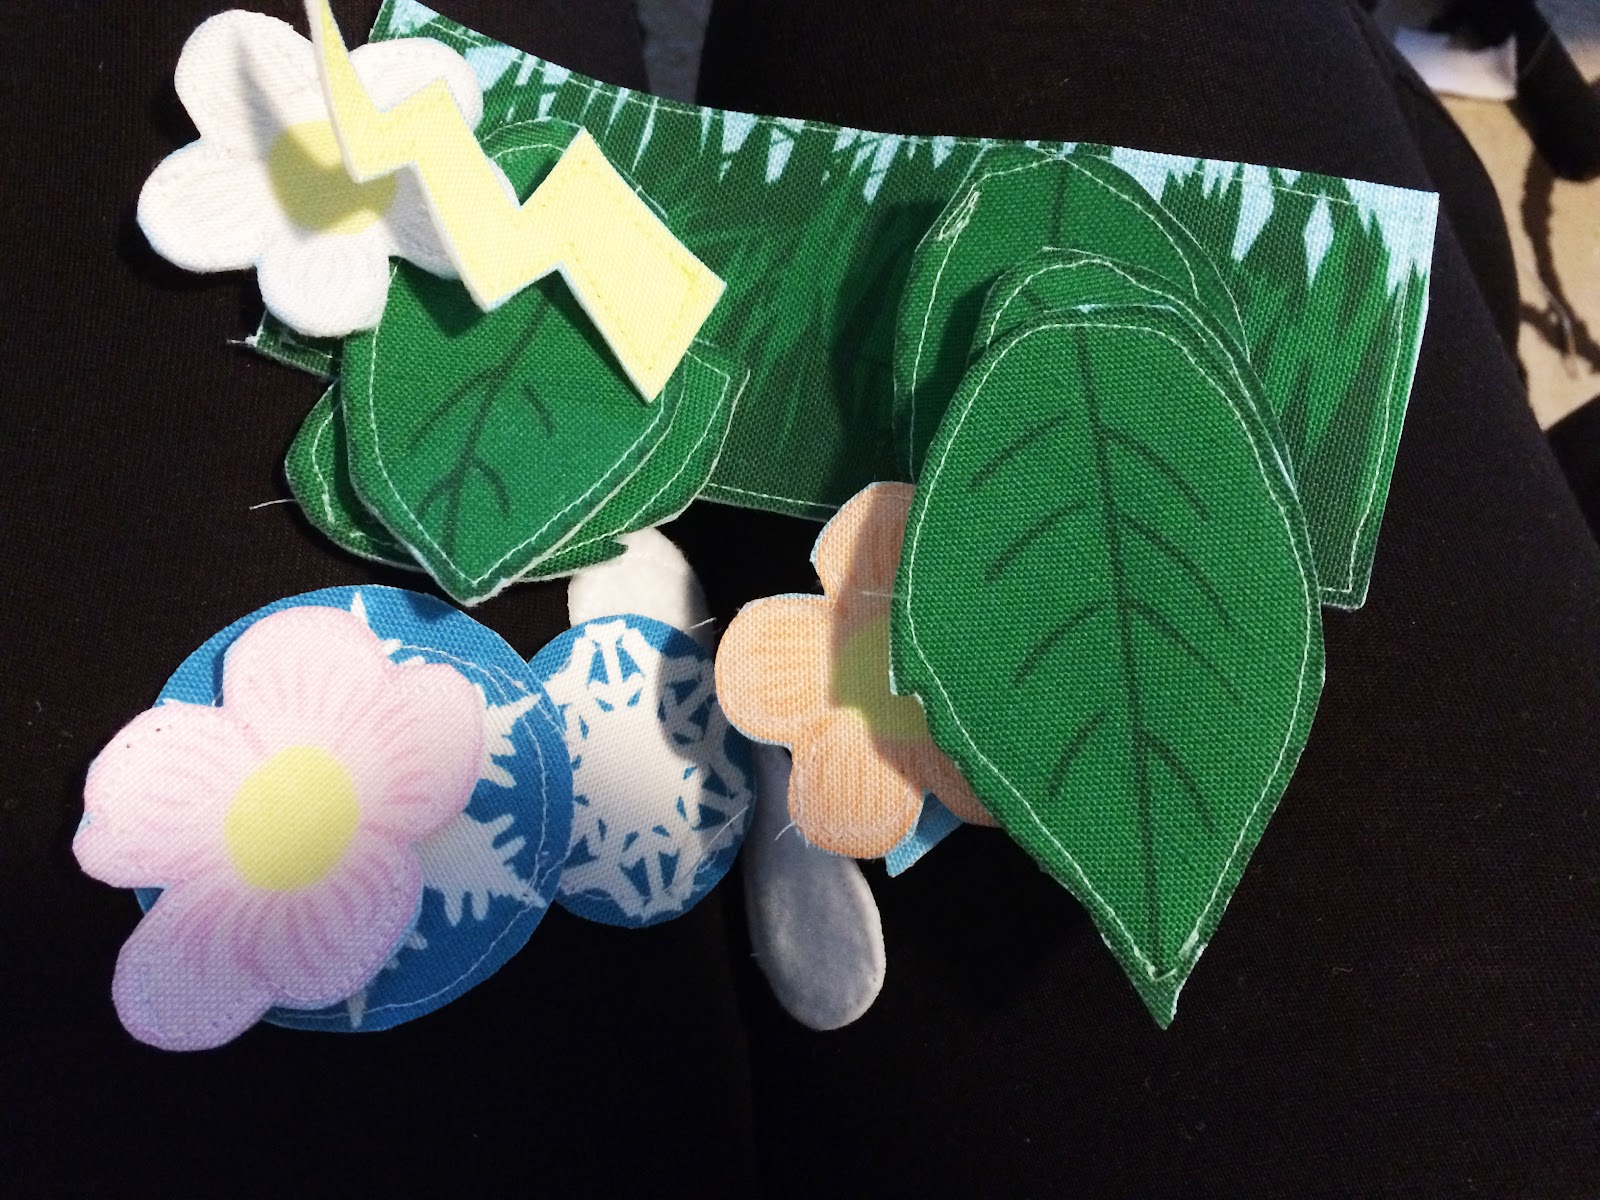 Take the fabric with the various quiet book pieces to your sewing machine and sew around each individual piece, keeping your thread just barely inside the line of the design.
When finished cut out each of the pieces.
Step Four:
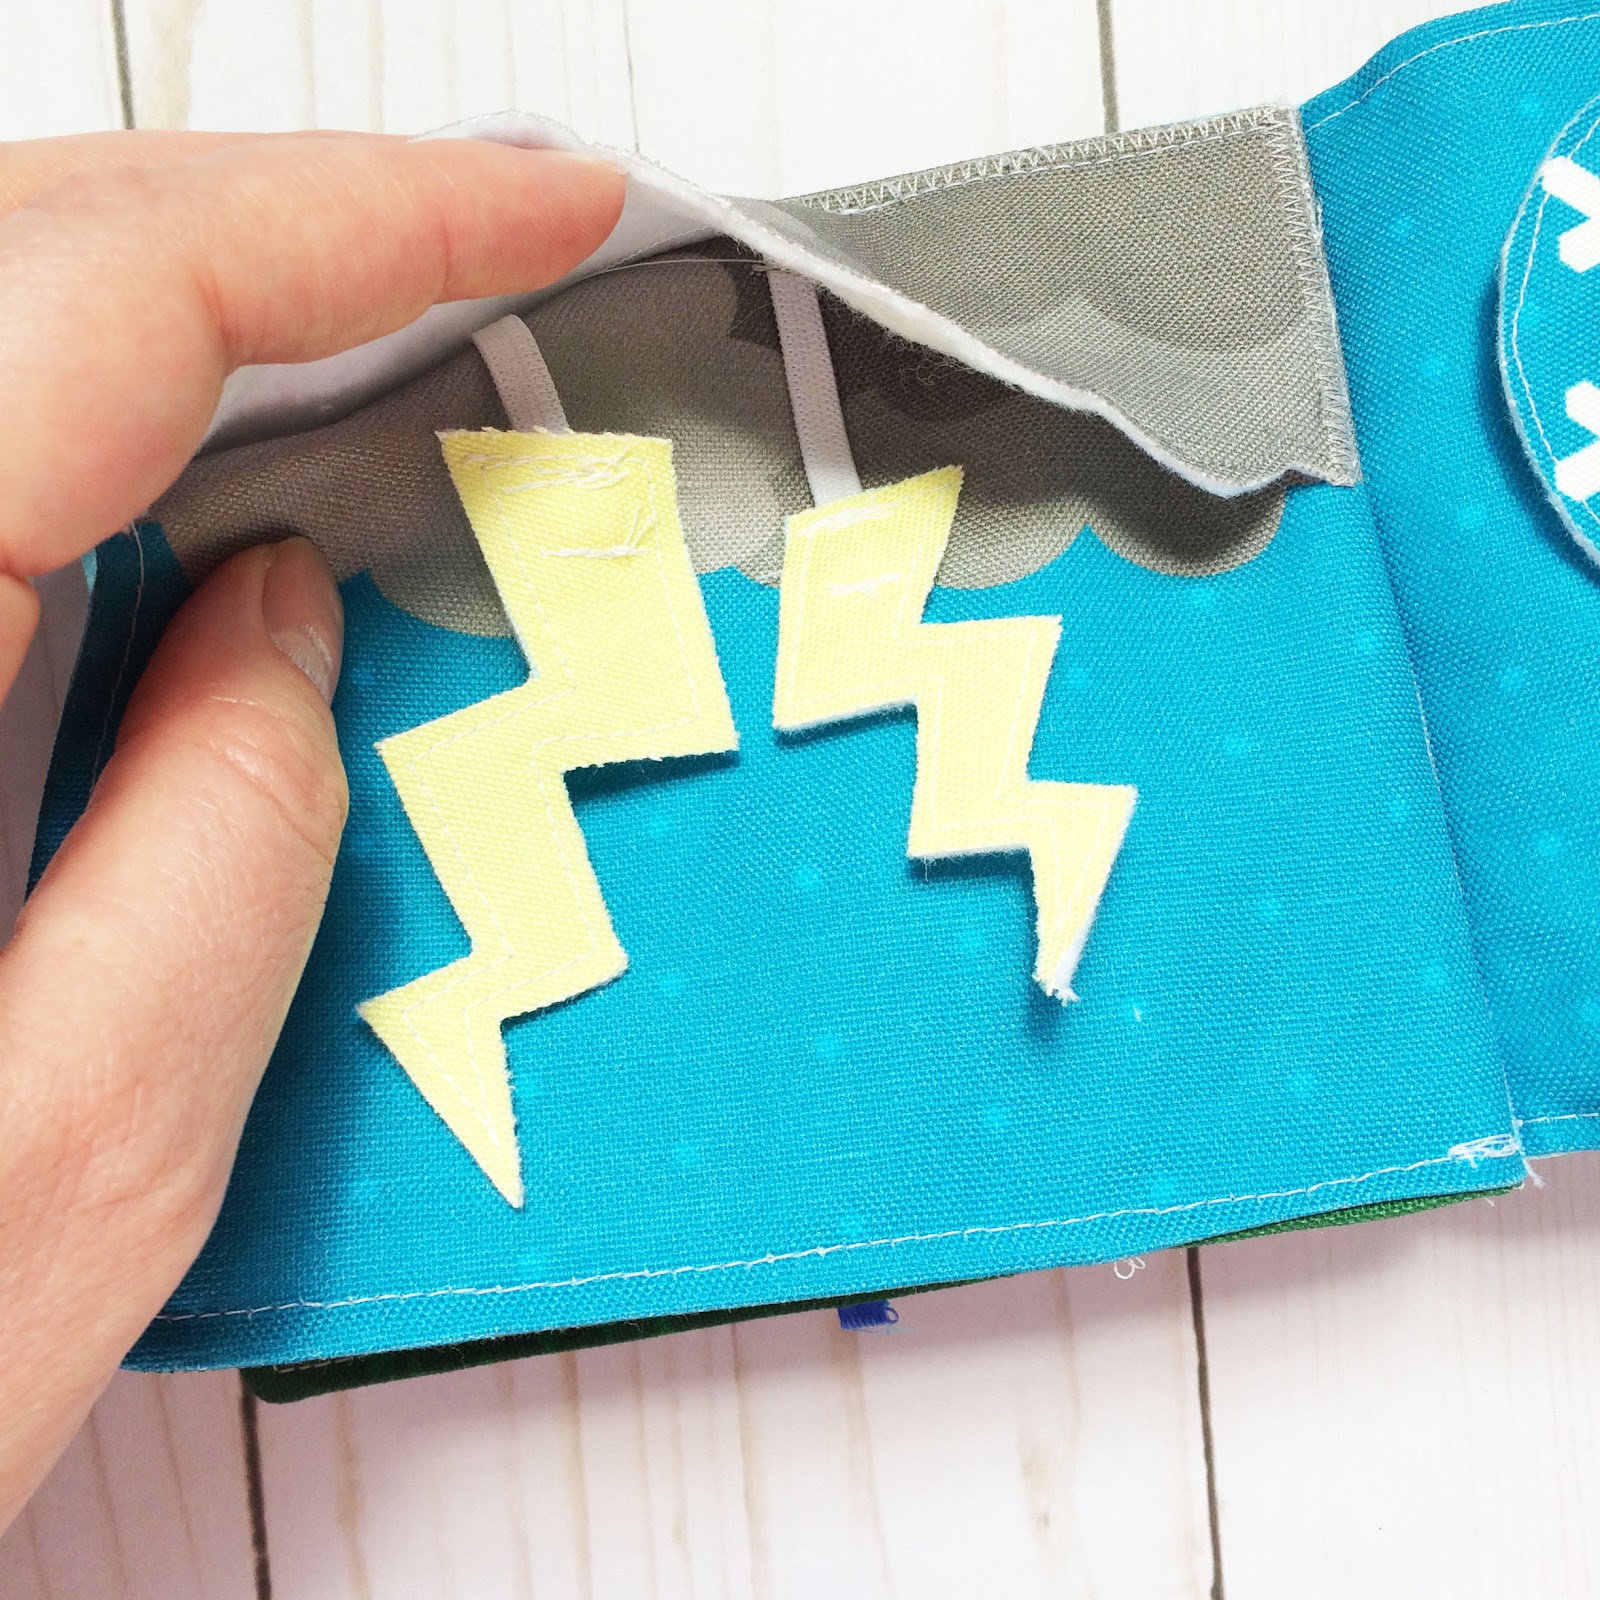
Take your lightning bolts and sew an inch long strip of elastic to the top of each bolt.
Step Five:
Pin the top part of your elastic from step four to the top of the page with the dark storm clouds. Layer the dark storm clouds cutout over the printed storm clouds on the page and pin in place.
Step Six:
Sew around the left, top, and right part of the dark storm clouds securing them, and the top of the lightening bolt elastics to the page.
Step Seven:
Flip over the page with the lightning bolts, and take your second small magnet. Lay it over where the smiling sun would be, and use a small square of the discarded fabric from your “piece swatch” to make a square around the magnet. Pin it into place, then sew around it, securing the magnet to the page behind the sun.


Step Eight:
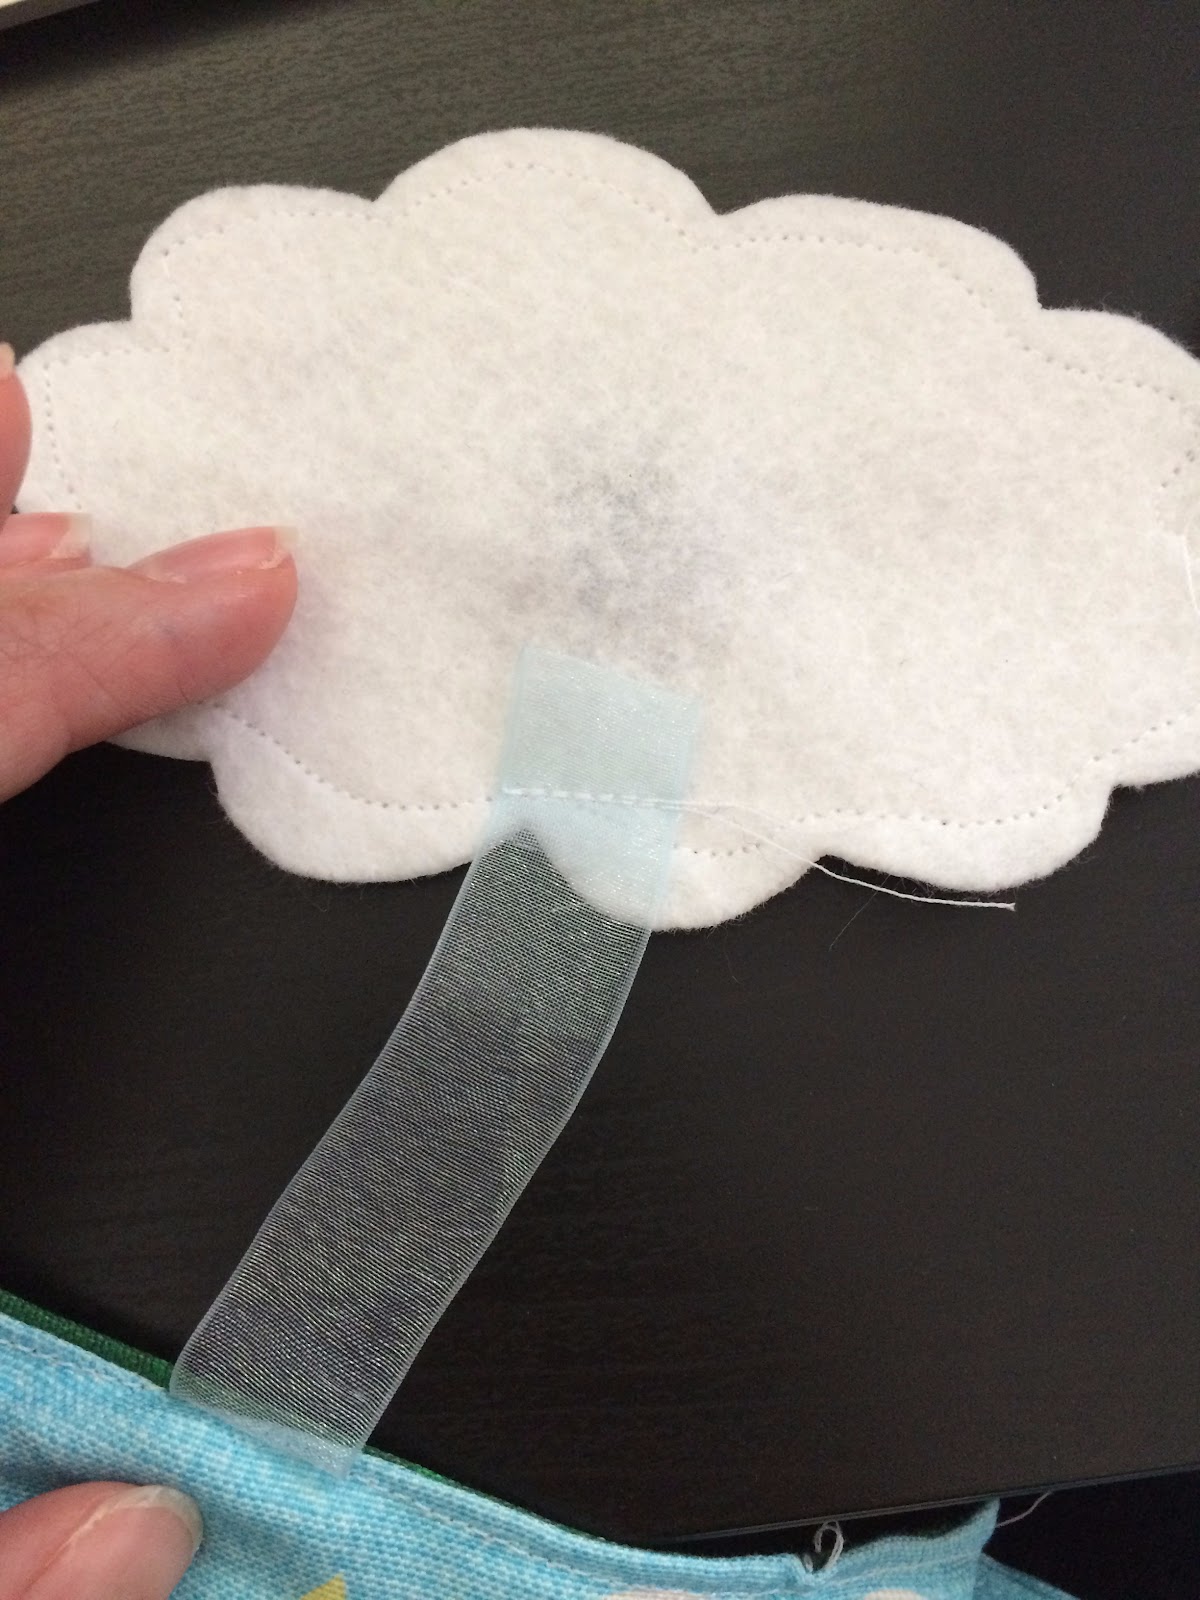
Take the large cloud piece (that you ironed and sewed the other magnet into) and choose one of the blue ribbons. Cut a strand from it about four inches long. Hem the edge and sew it to the bottom, back part of the cloud.
Place your cloud so that its covering the smiling sun (aligning the magnets) and take the other edge of the ribbon and pin it to the top of page with the smiling sunshine. It will be sewn when the pages of the book are sewn together.
Put the page aside. 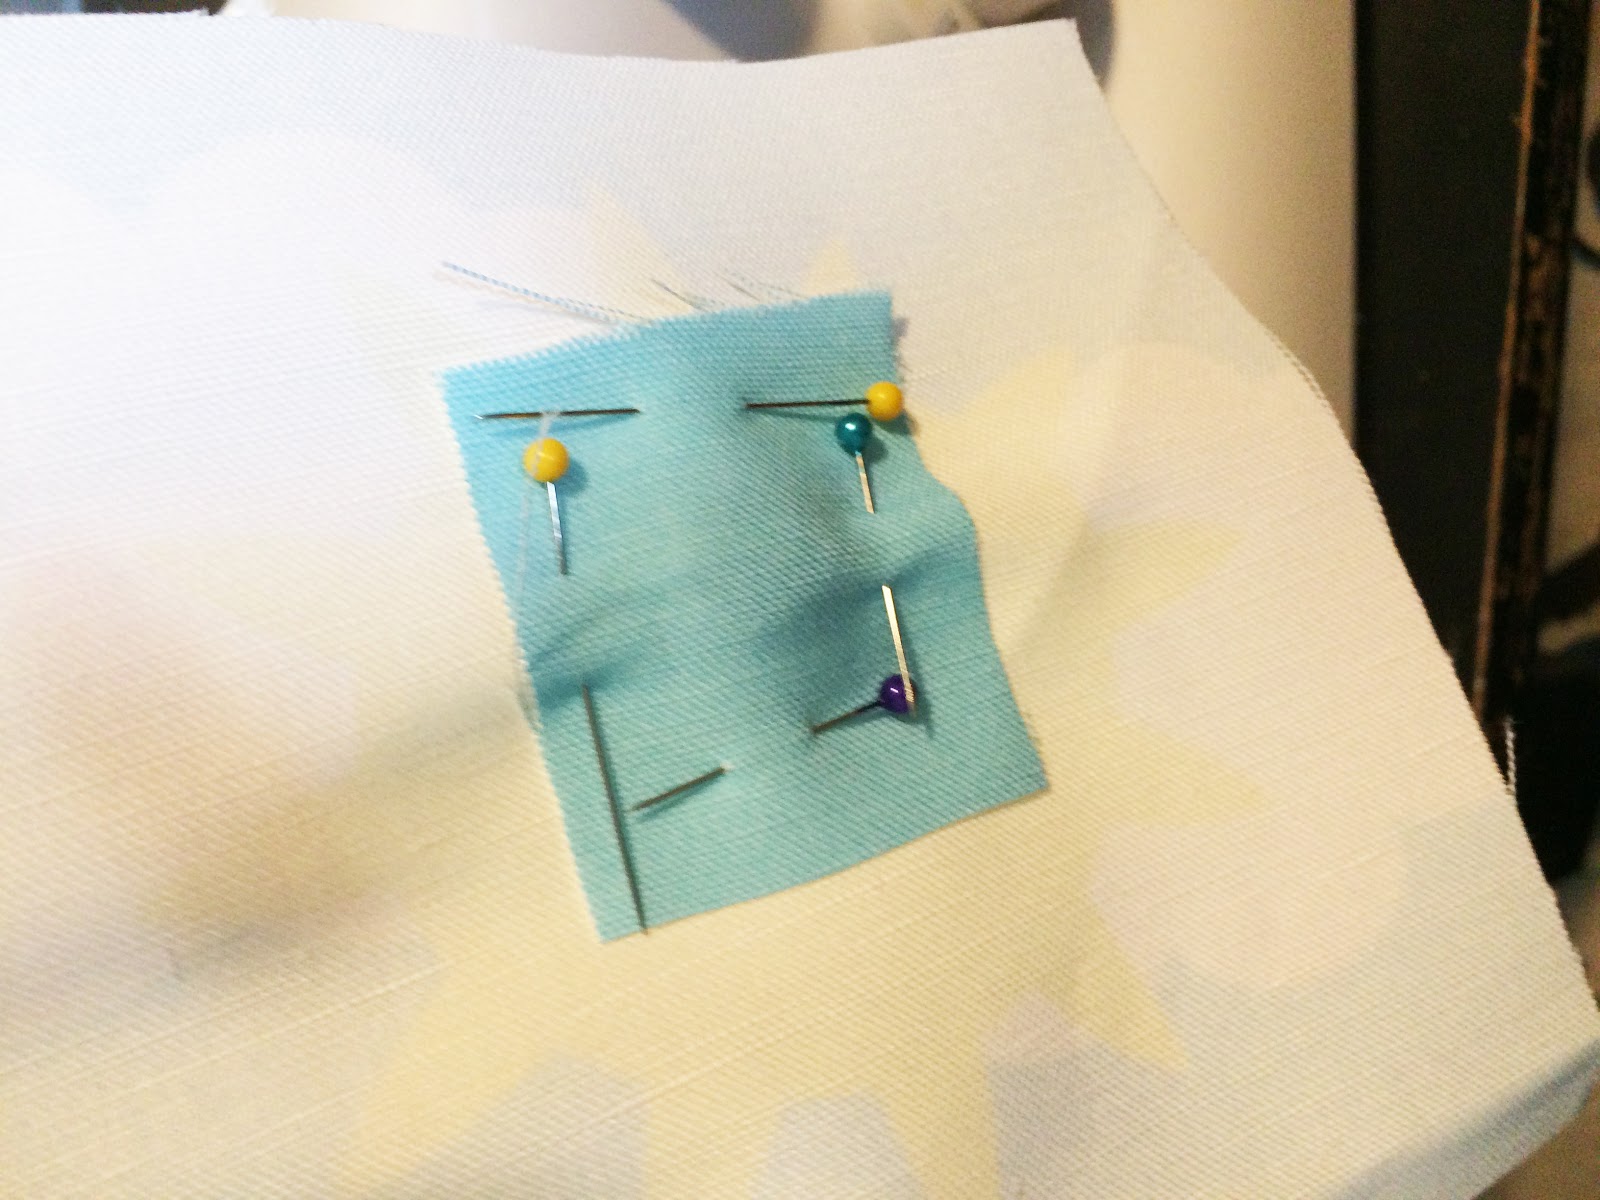
Step Nine:
Take the book page with the leaves and grass.
Match up the three cut out leaves with the leaves on the book. Sew across the top of the leaves, securing them to the page and creating fold ups in the book.
Step Ten (There are two options for creating this page):
Option One – Pull Up Flowers (Easier)(Not Pictured): Take your green ribbon, and cut it into three strips, with each strip being between 3-4 inches.
Hem the top edge of the green ribbon and sew a flower to the top of it. Repeat for each of the three flowers.
Line up the bottom part of each of the ribbons with the bottom of the grass page. Take your grass cut out and sew around the left, bottom and right of it, sewing both the grass and the bottom of the ribbons into place. You have now created a pocket and pull up flowers.
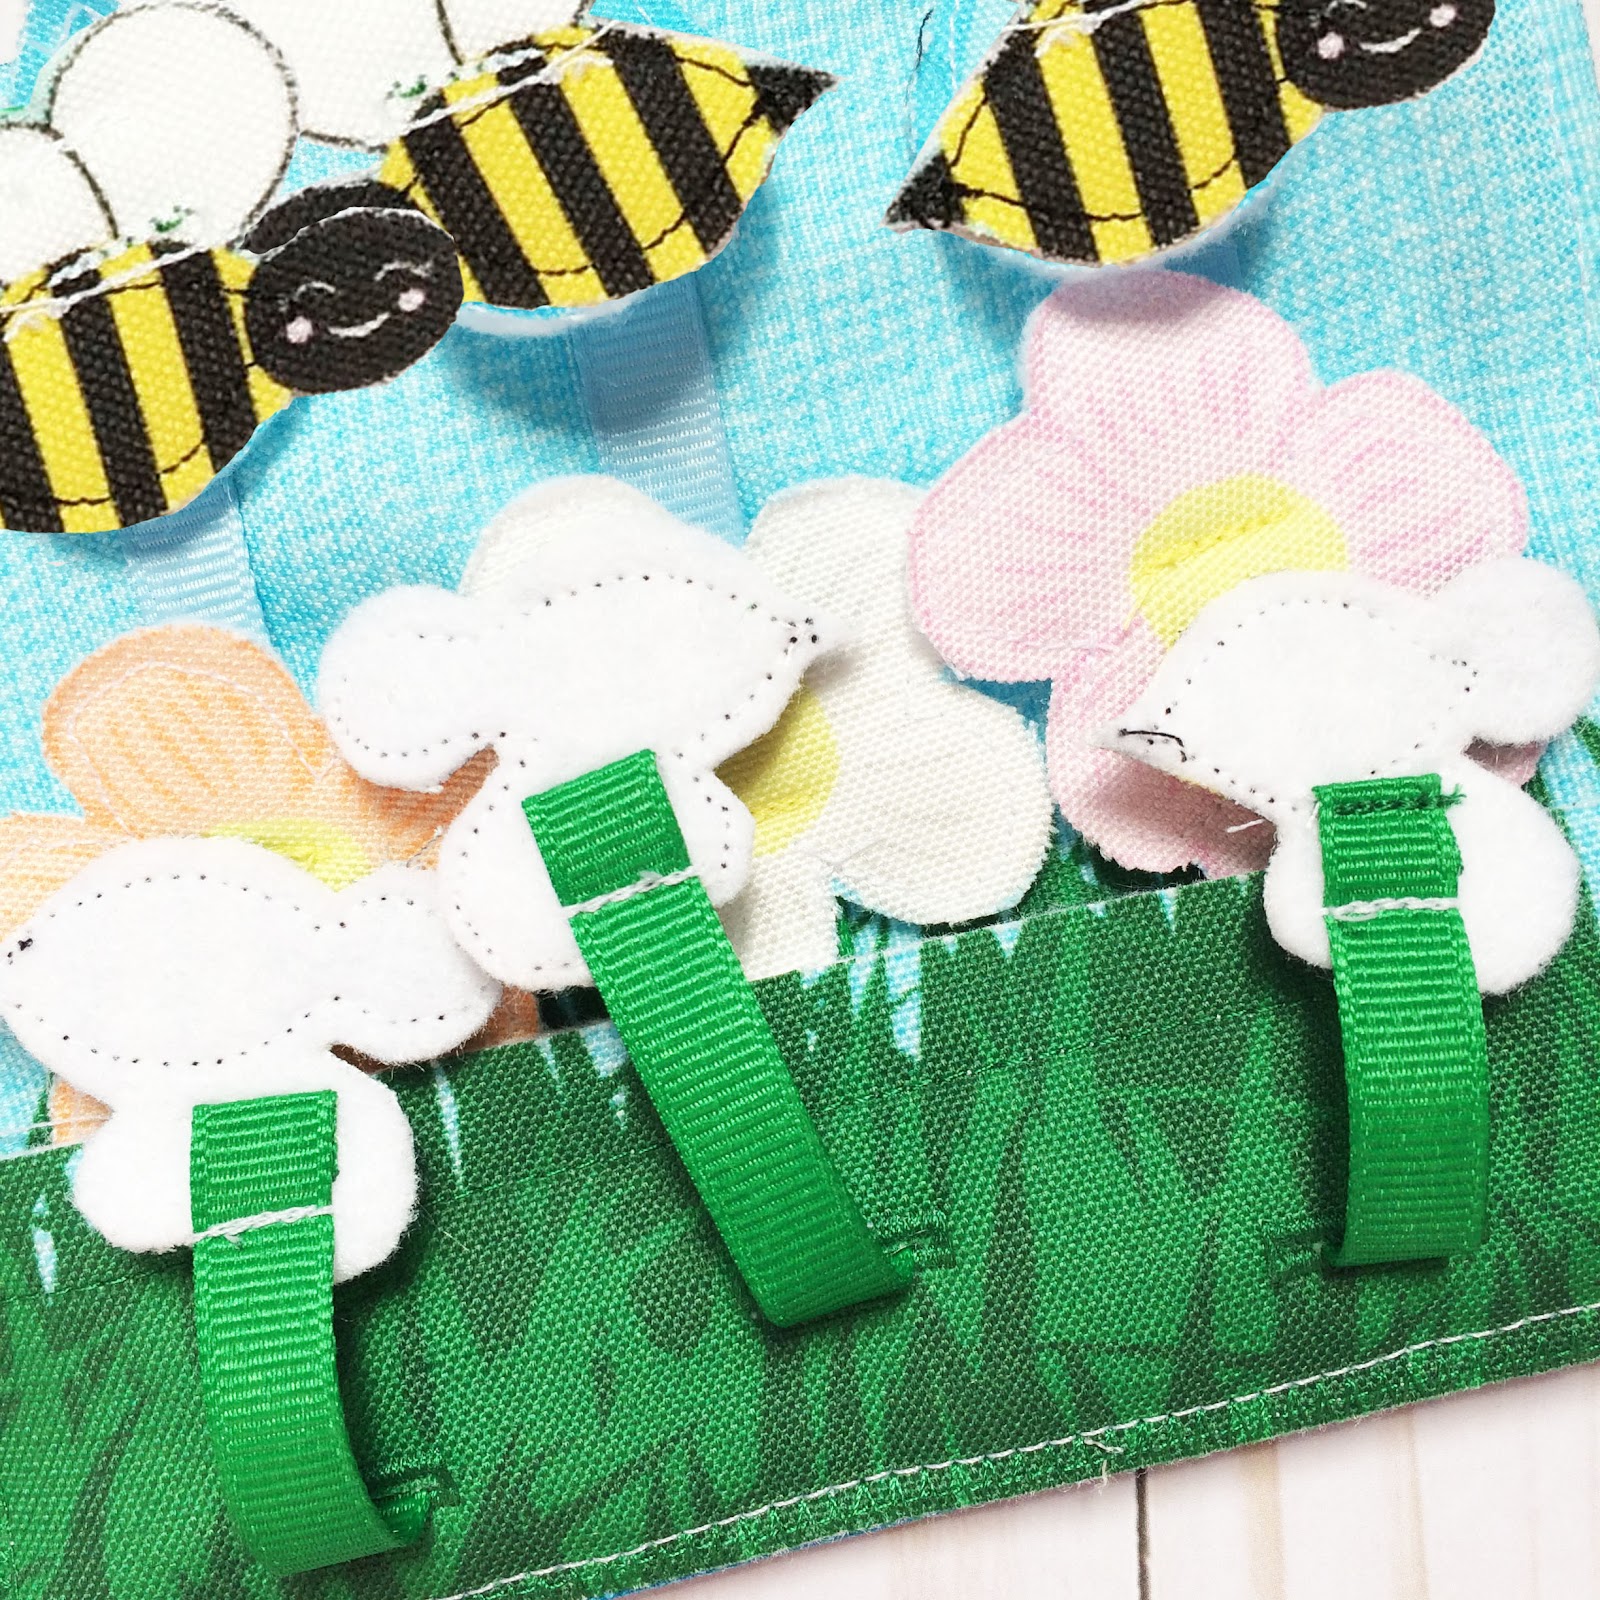
 Option Two – Button Hole Flowers (Pictured):Take a thicker blue ribbons and cut three separate two inch strips from it. Then take your green ribbon and cut three strips from it, each strip being 3-4 inches long.
Sew the bottom of the blue ribbon to the top of the green ribbon strip. Where the two ribbon colors overlap sew one of your flowers. (Repeat for all three flowers)
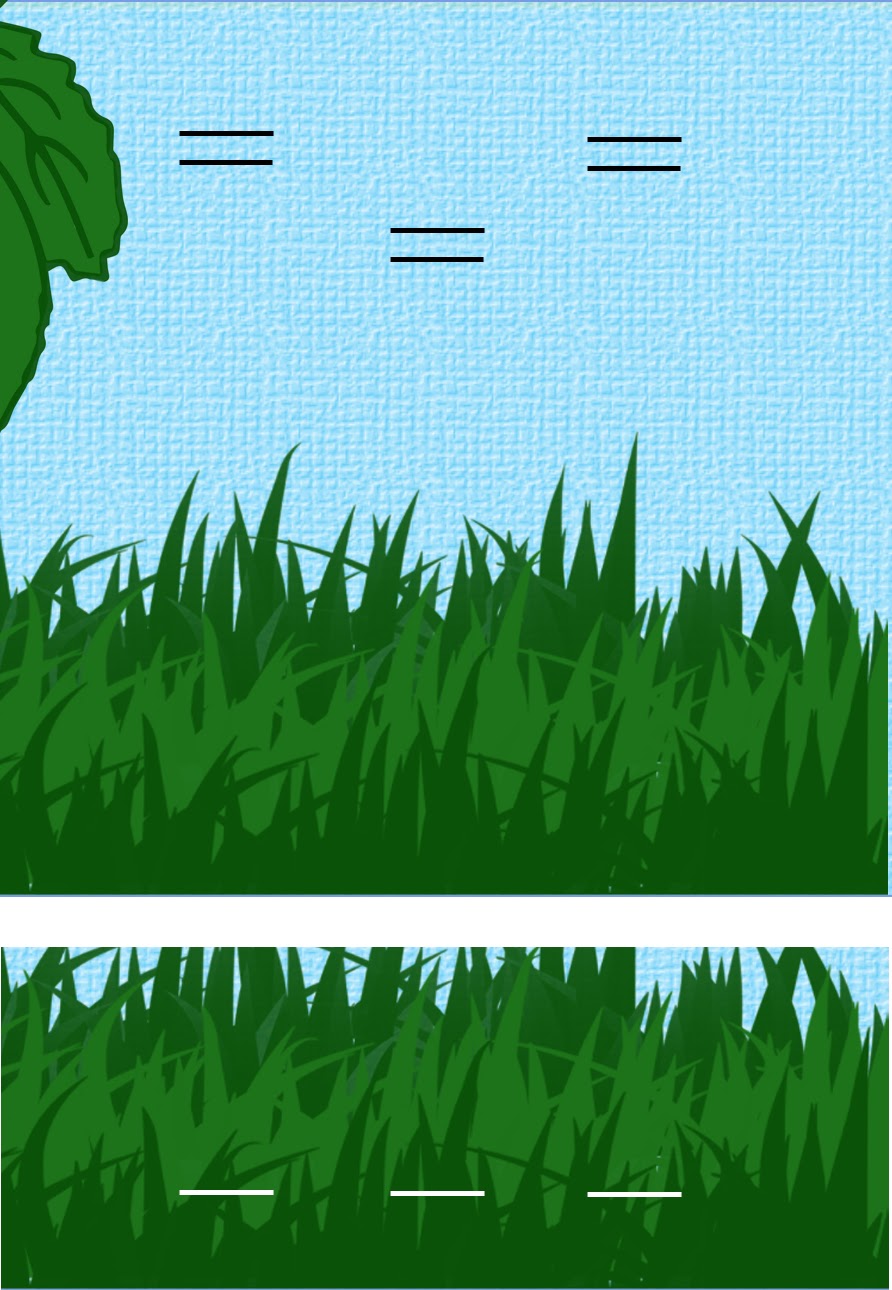
Set your sewing machine to sew a button hole, and take your quiet book page with grass on the bottom of it. Sew six button holes in the blue sky, about where the lines in the demo image to the right show.
Then take your extra piece of grass (the grass pocket), and sew three more button holes where the demo picture on the right shows.
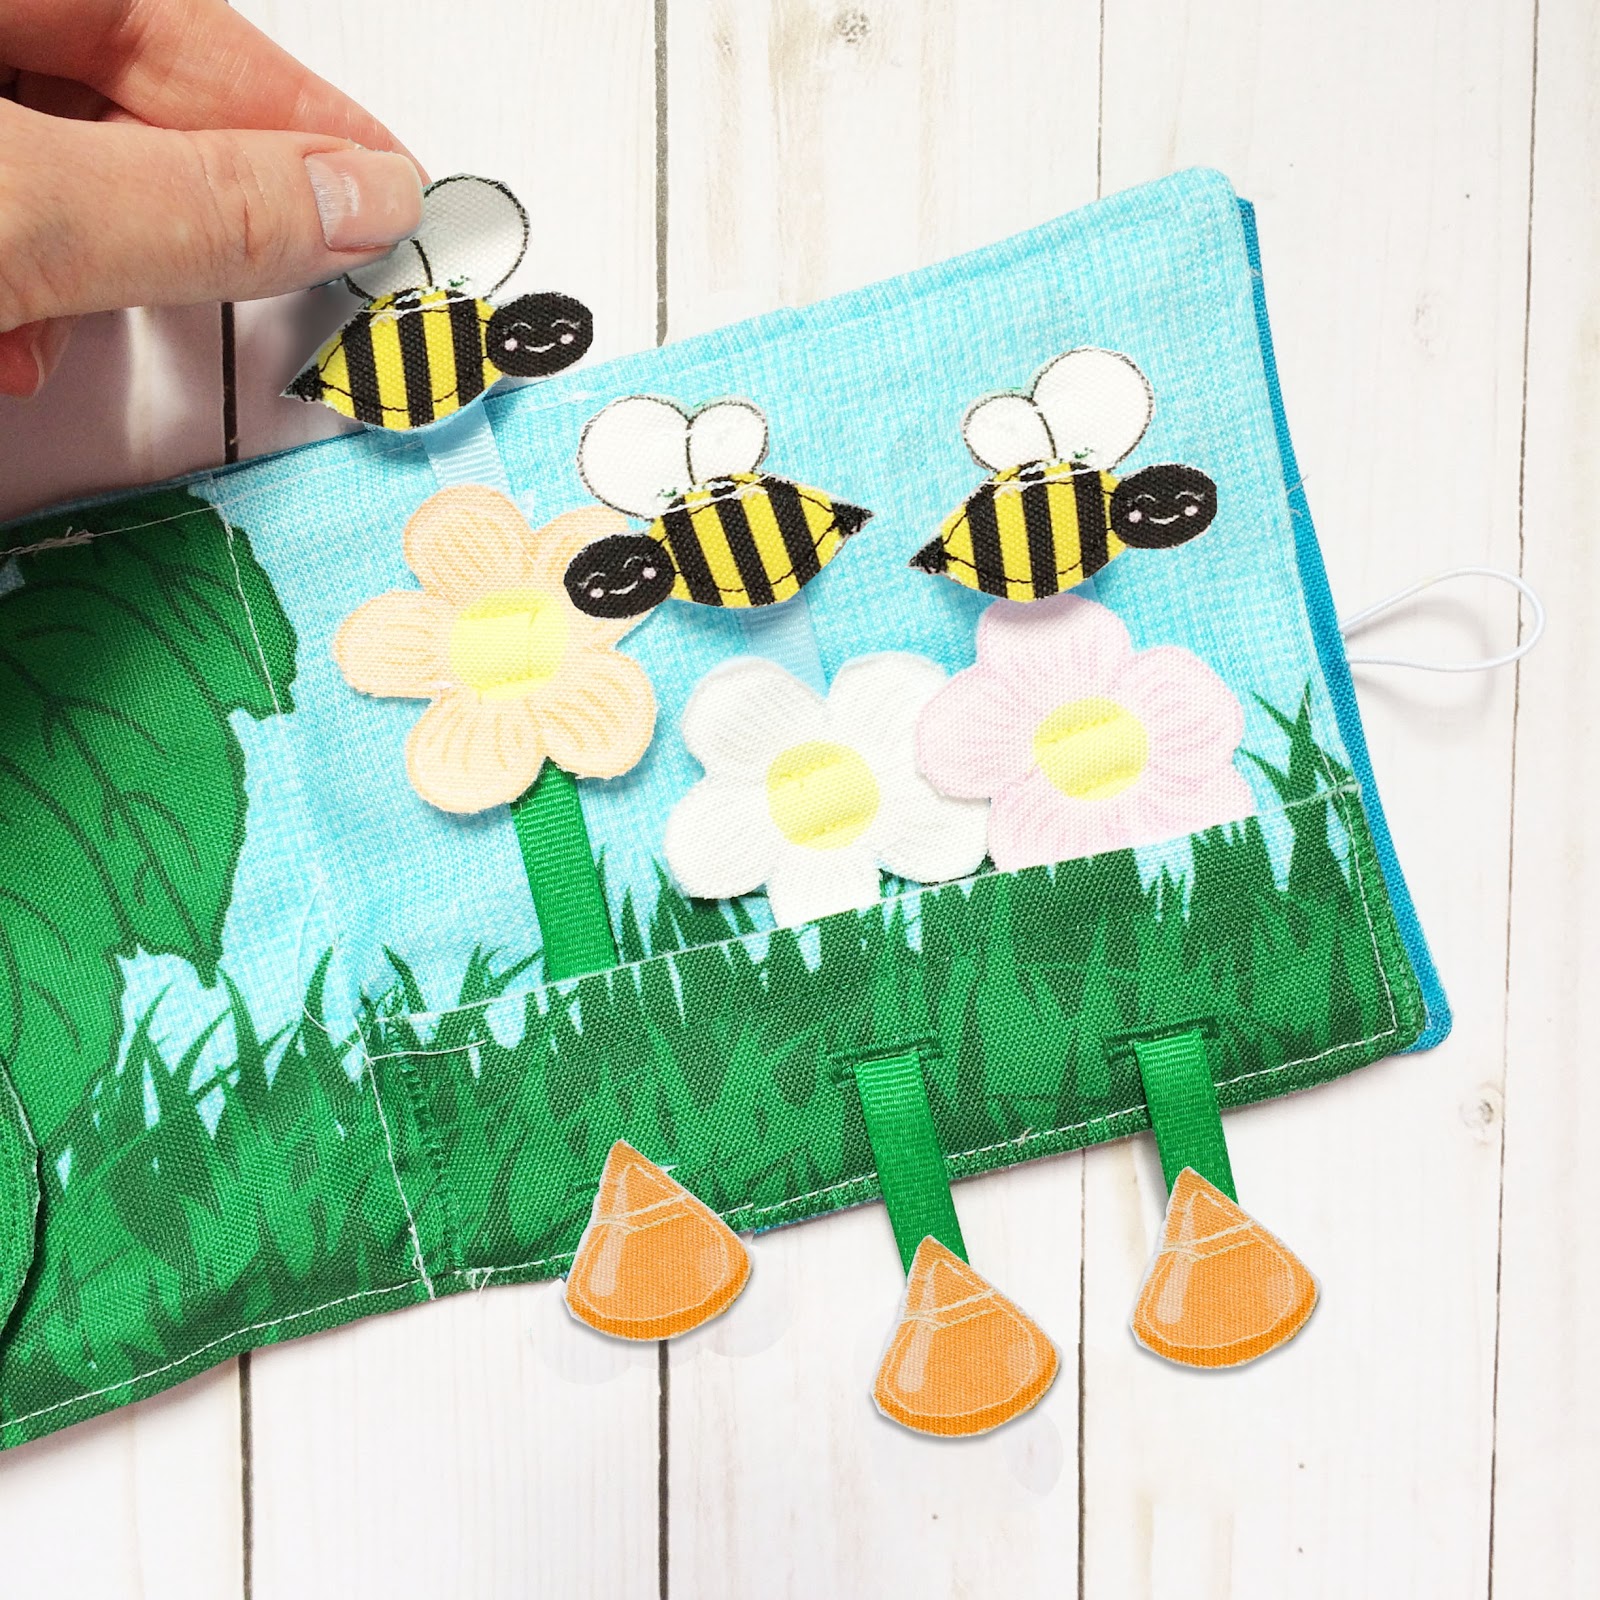
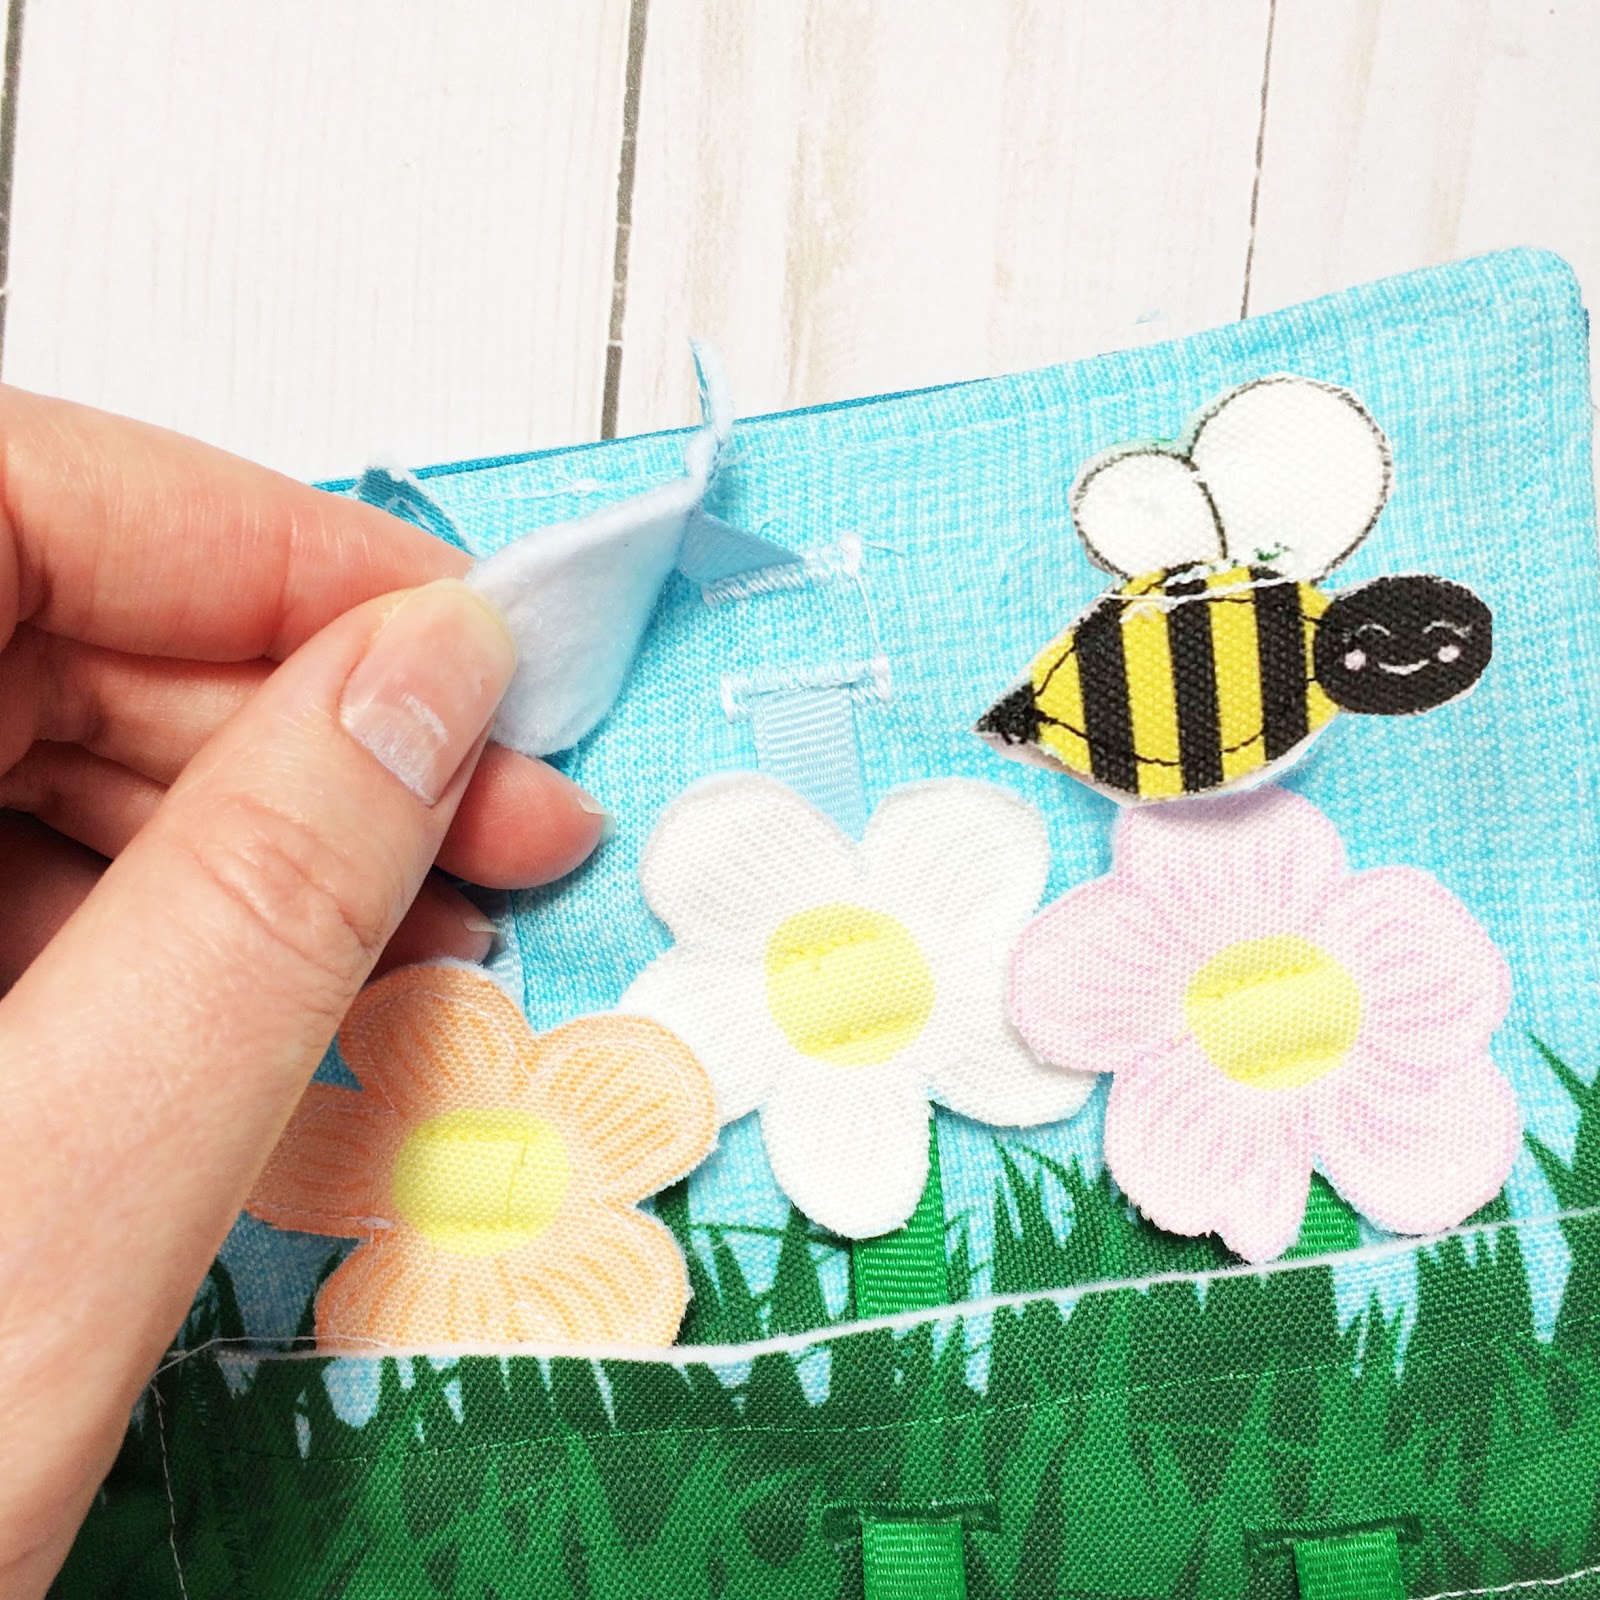 Take one of your blue ribbons with the flower attached and carefully thread the blue part of the ribbon into the bottom button hole (on the sky part of the page) and out of the top button hole. Then take one of your bee cutouts and sew the bee to the top of the blue ribbon, making a pull string that can pull the flower up, but won’t pull through the book.
Repeat with the other two flowers.
 Next line up the grass pocket piece with the grass on the page and sew around the left, bottom and right of the piece, securing the grass pocket to the page.
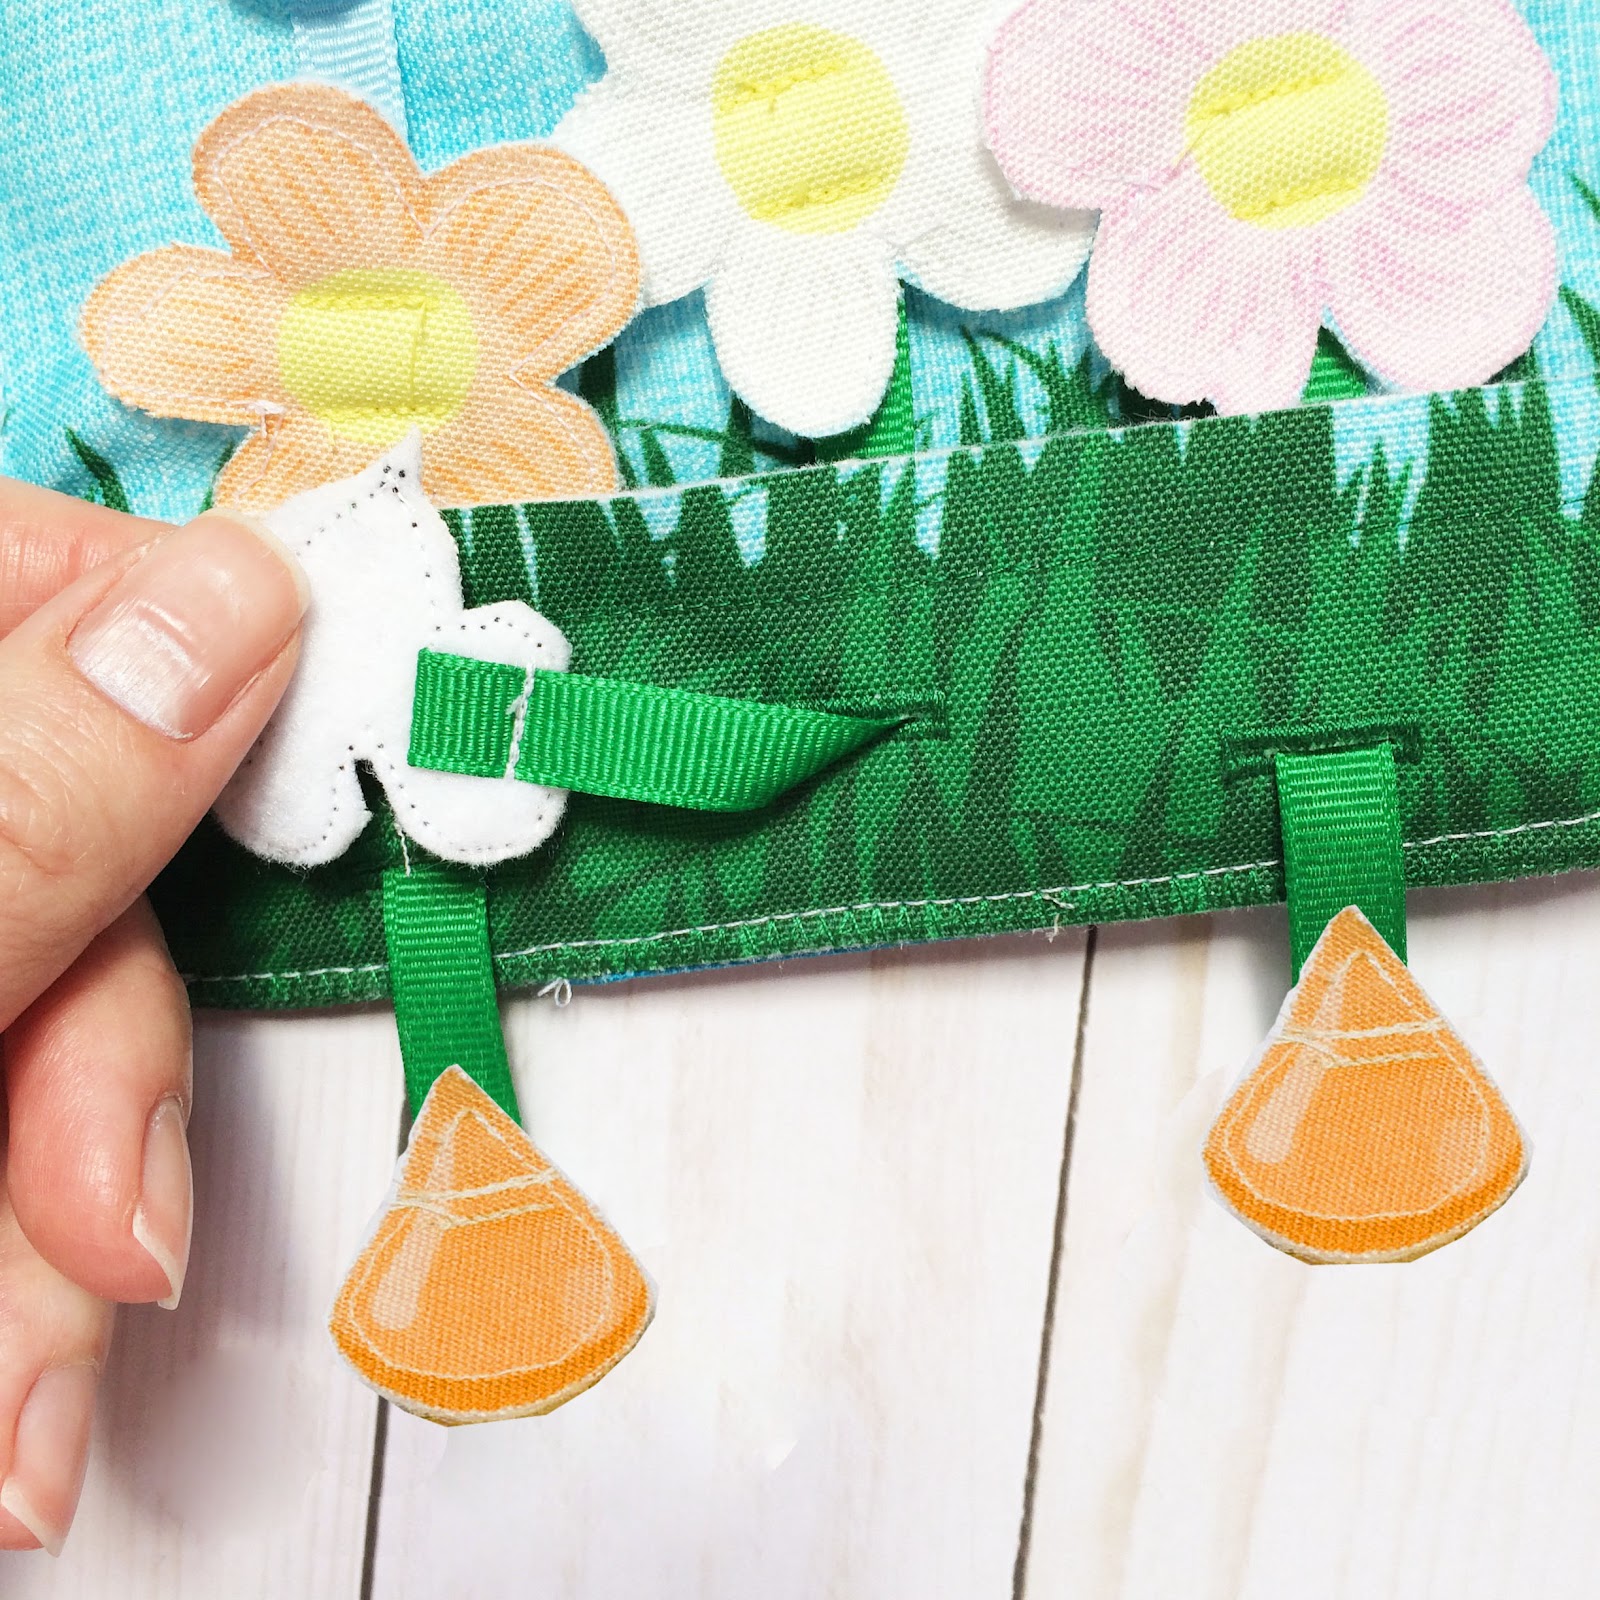
Now thread the bottom part of the green ribbon so it goes behind the grass pocket and comes out the button hole at the bottom.
Take a brown “seed” piece, and sew the seed to the bottom part of the green ribbon, again creating a pull string that won’t pull free of the book. Repeat with the other two flowers.
You now should be able to pull on the bee to make the flowers “grow” or lift up from the grass, and pull on the seeds to make the flowers tuck back down in the grass.
Step Eleven:
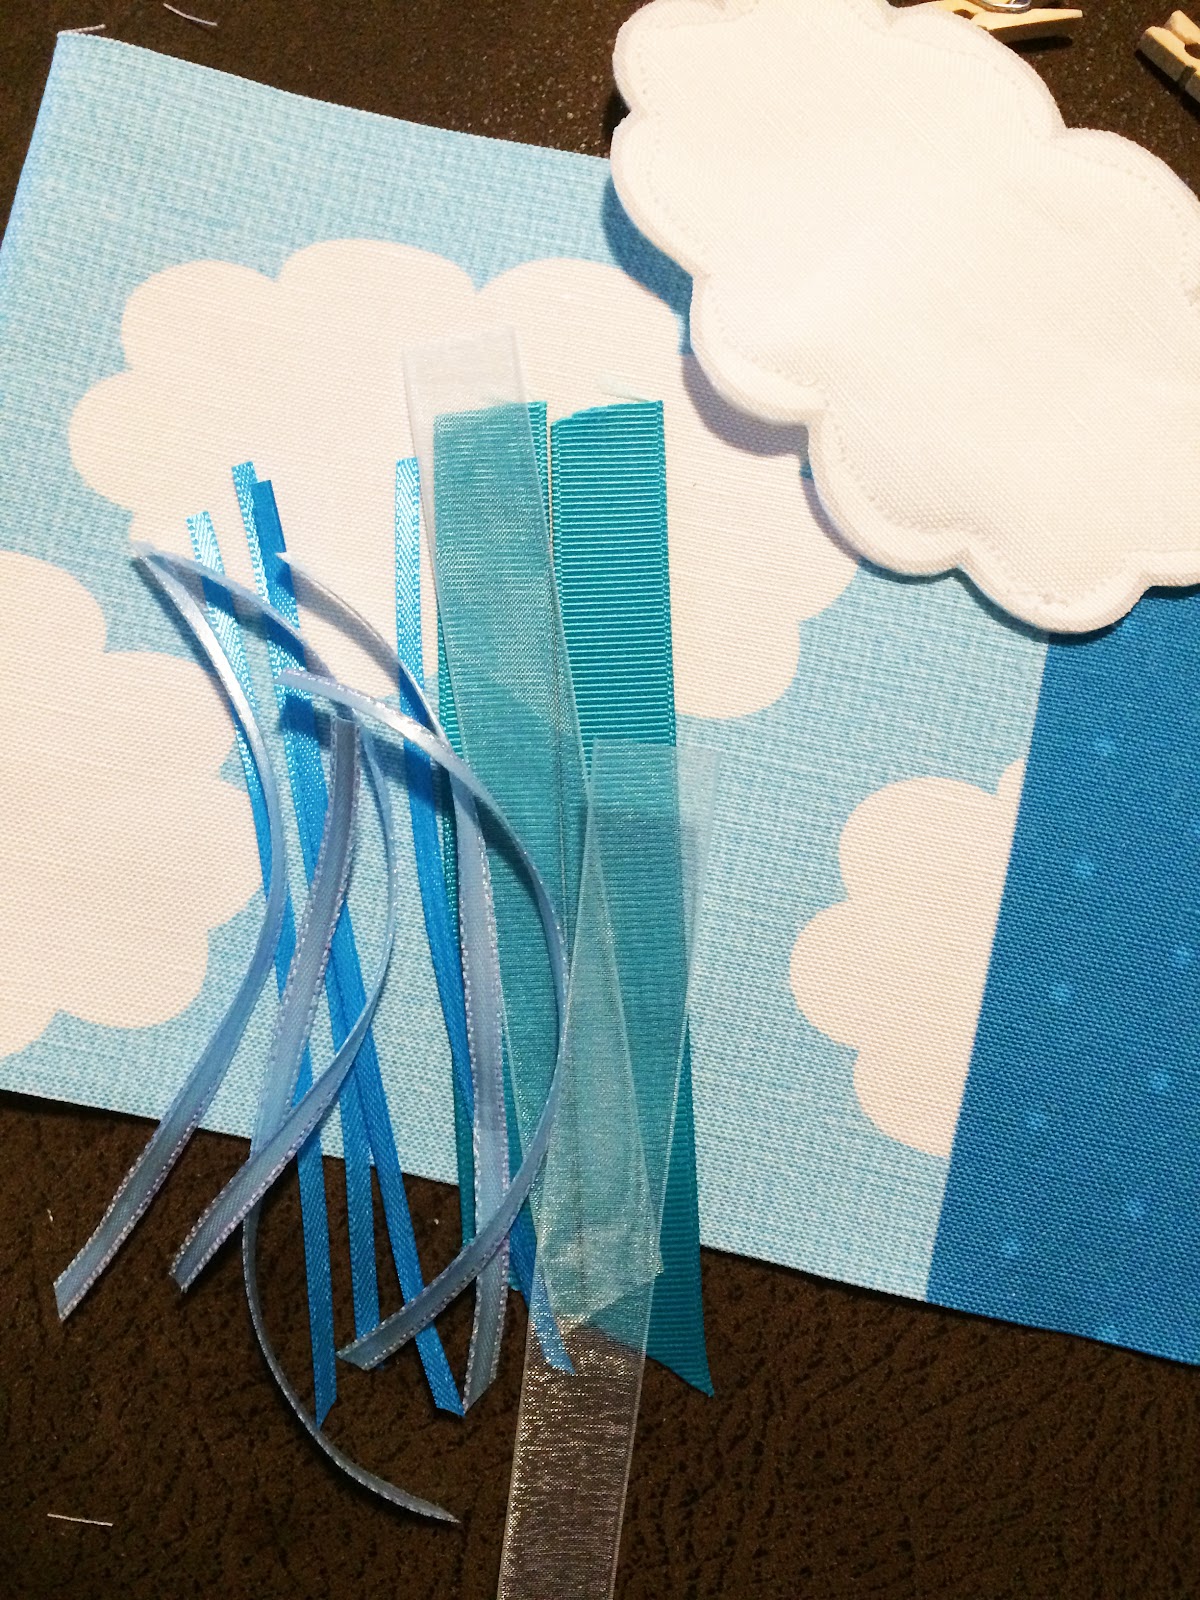
Take your blue ribbons and cut them into four inch strips, I suggest cutting the end on an angle. You may cut as many or as few as you like to create the rain for the rain cloud.
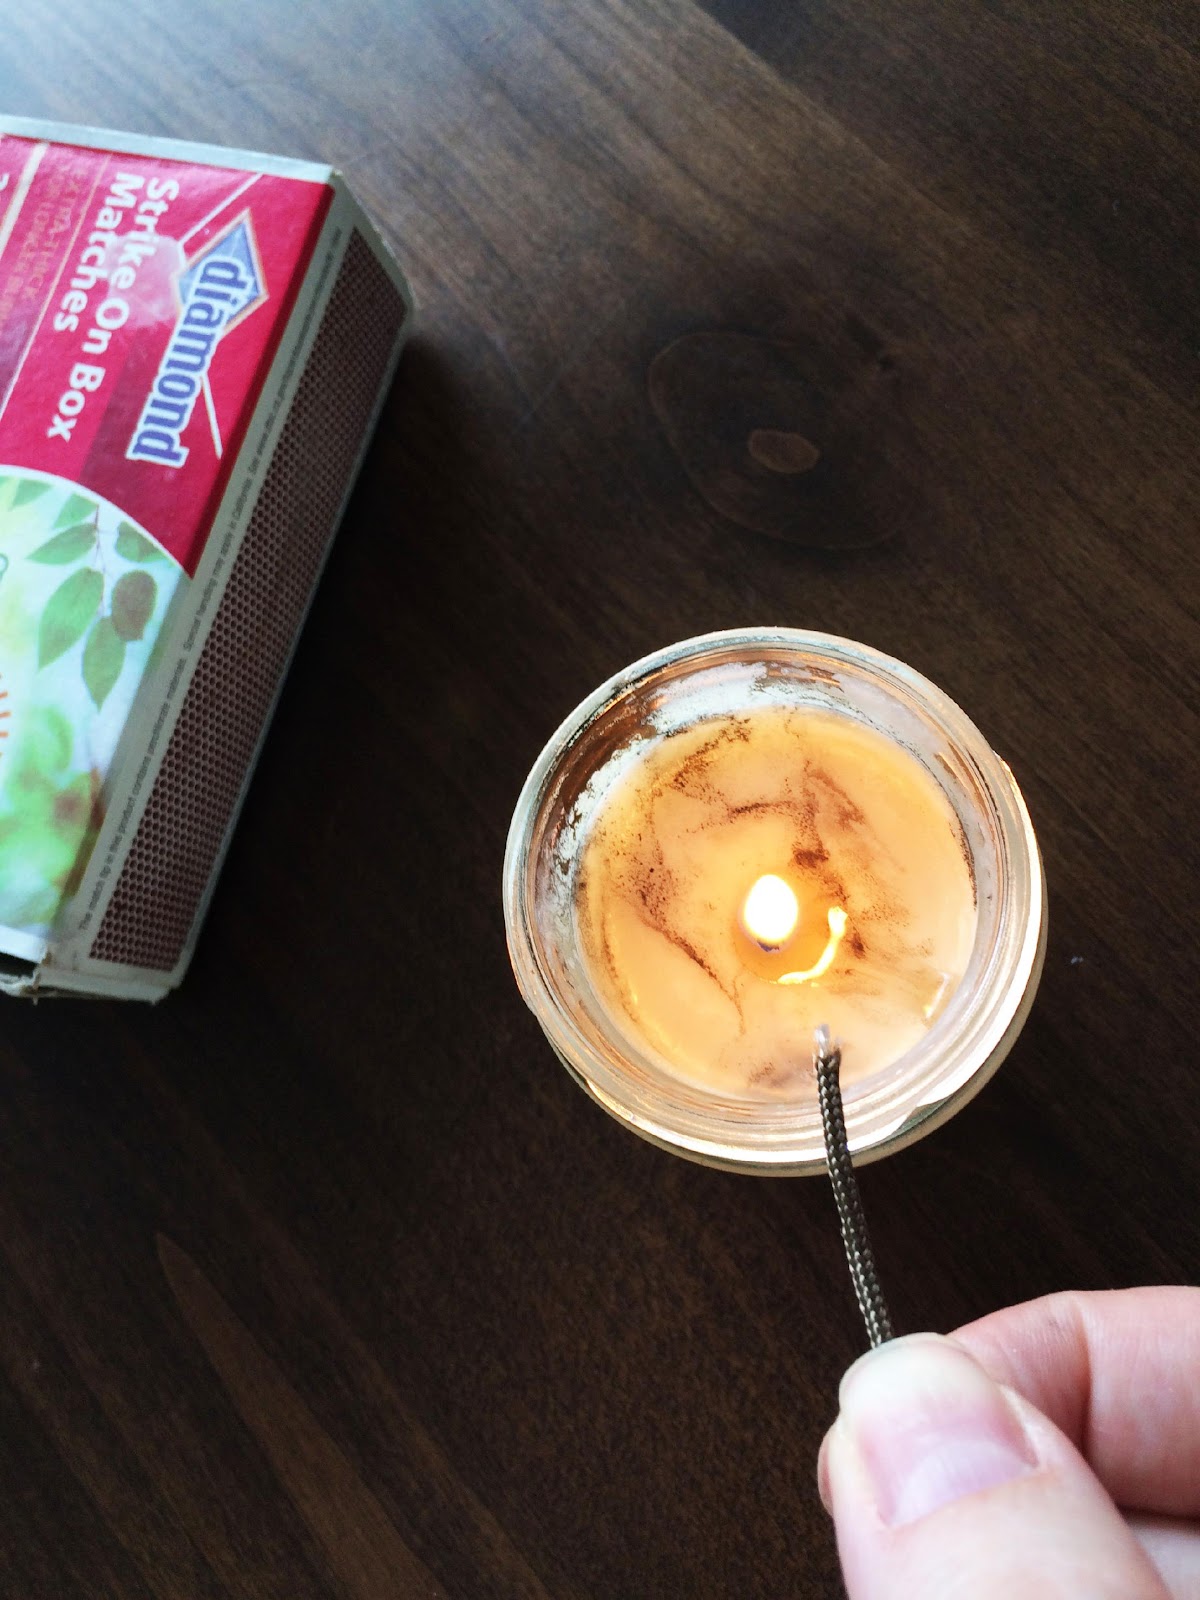
Once your ribbons have been cut light your candle, then take each of the cut strips and move the ends of them towards the flame (without actually touching the strands to the flame) just get close enough to melt the fiber at the end to prevent fraying.
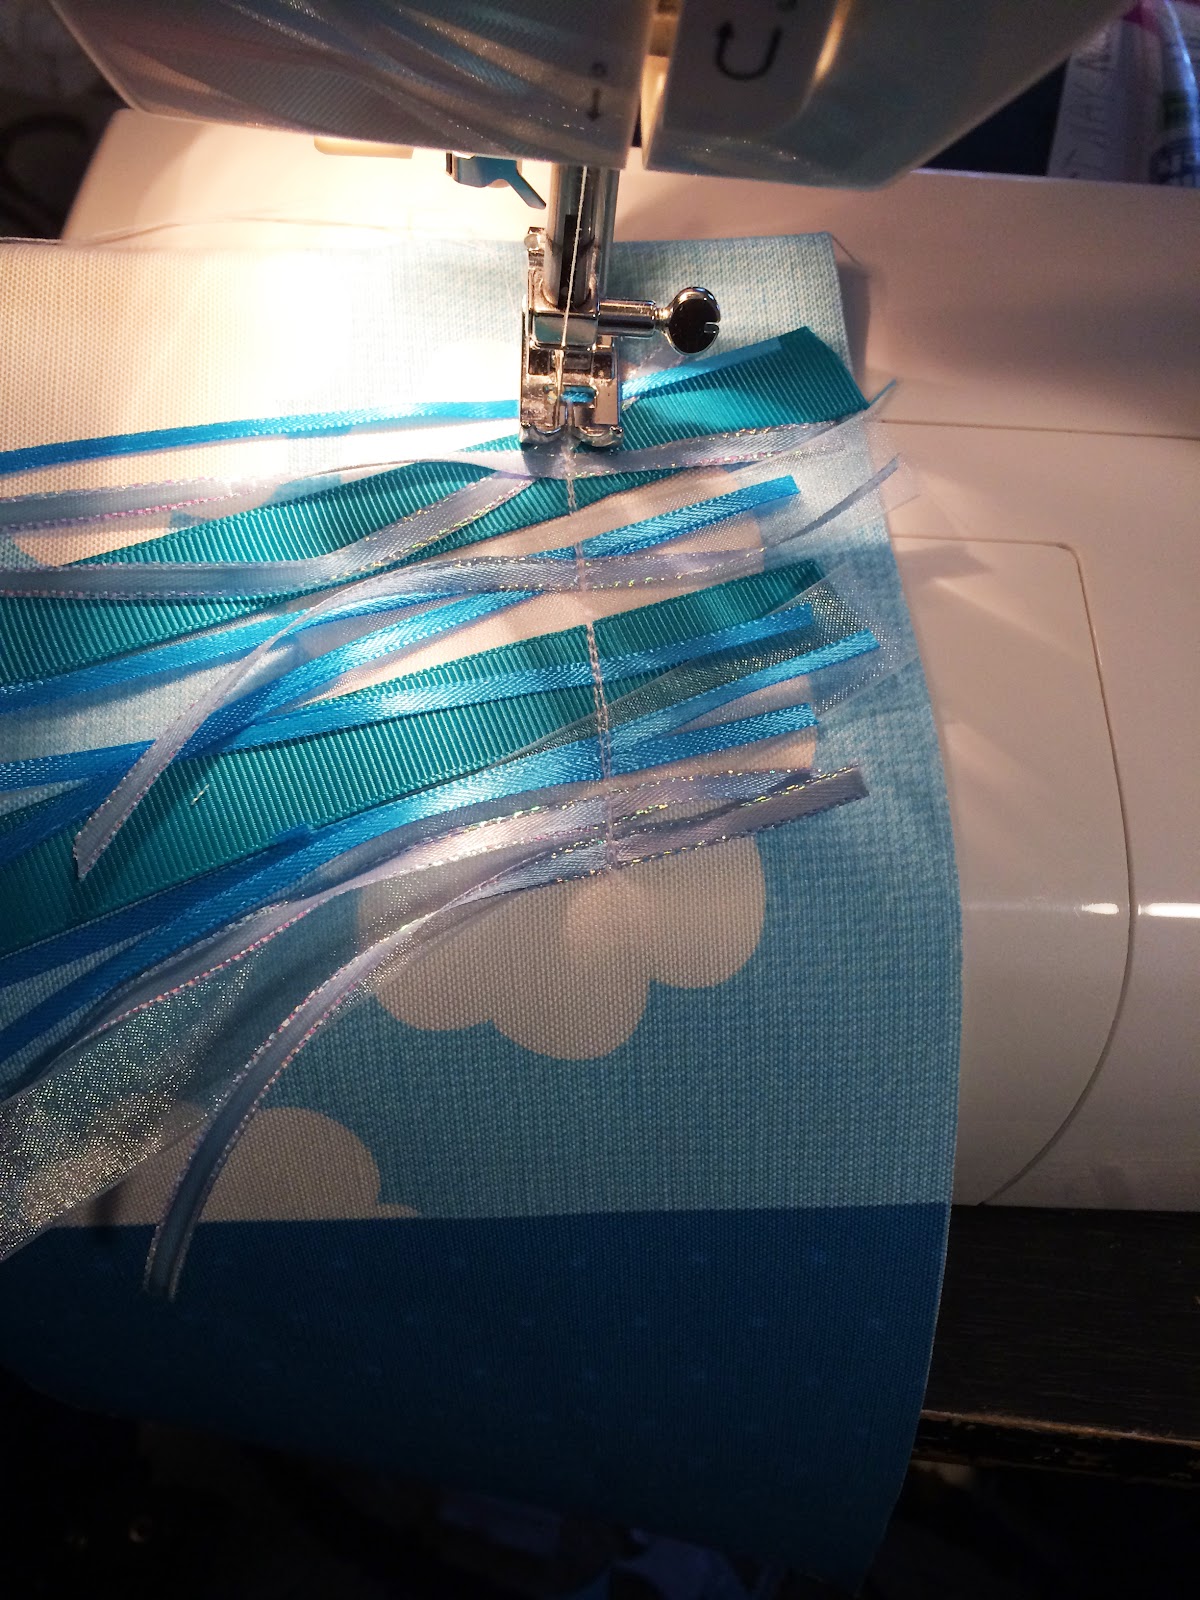
Step Twelve:
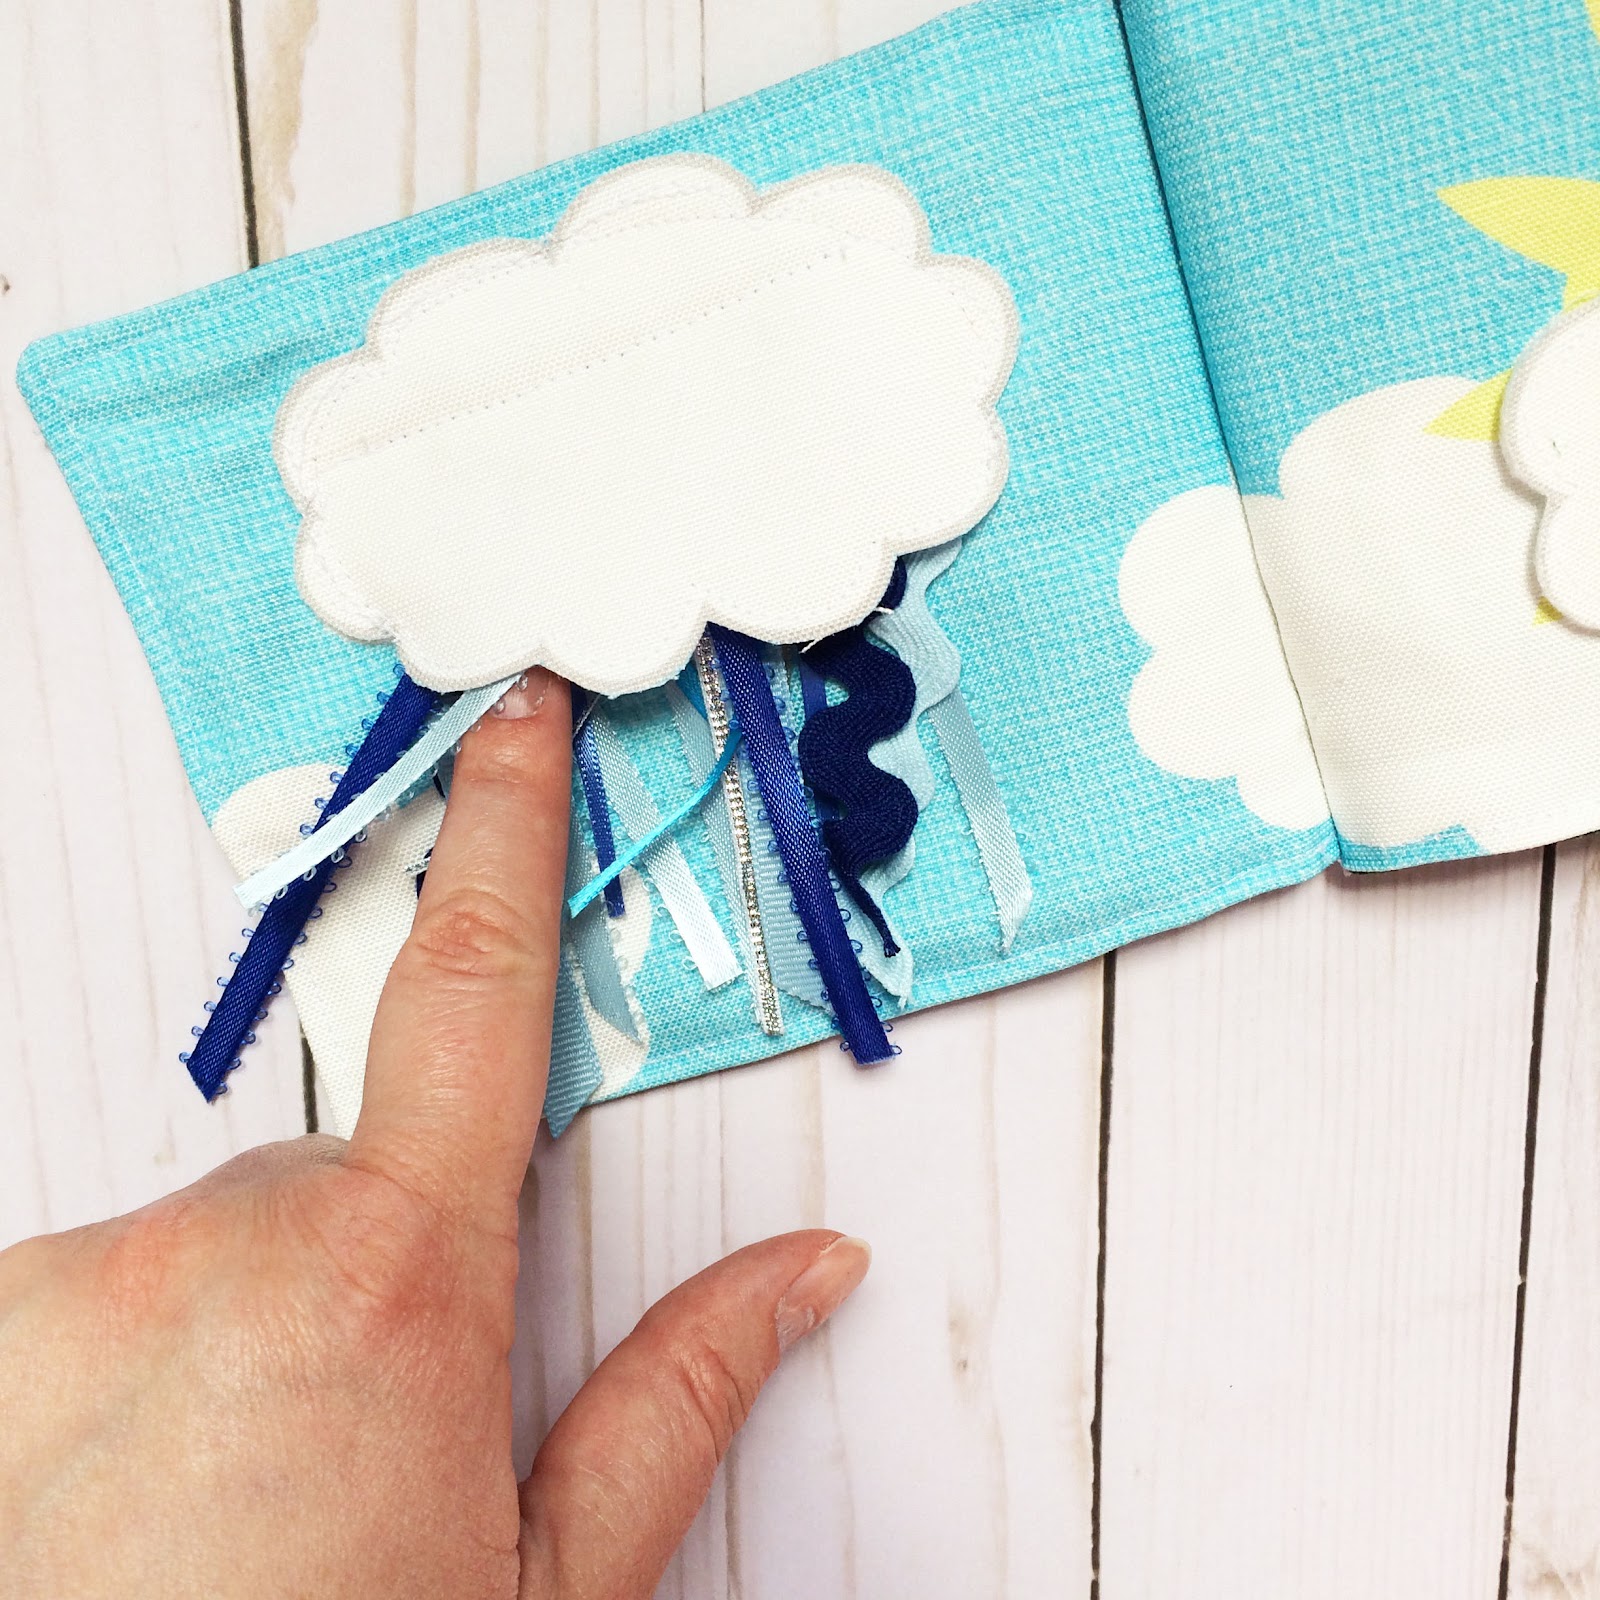
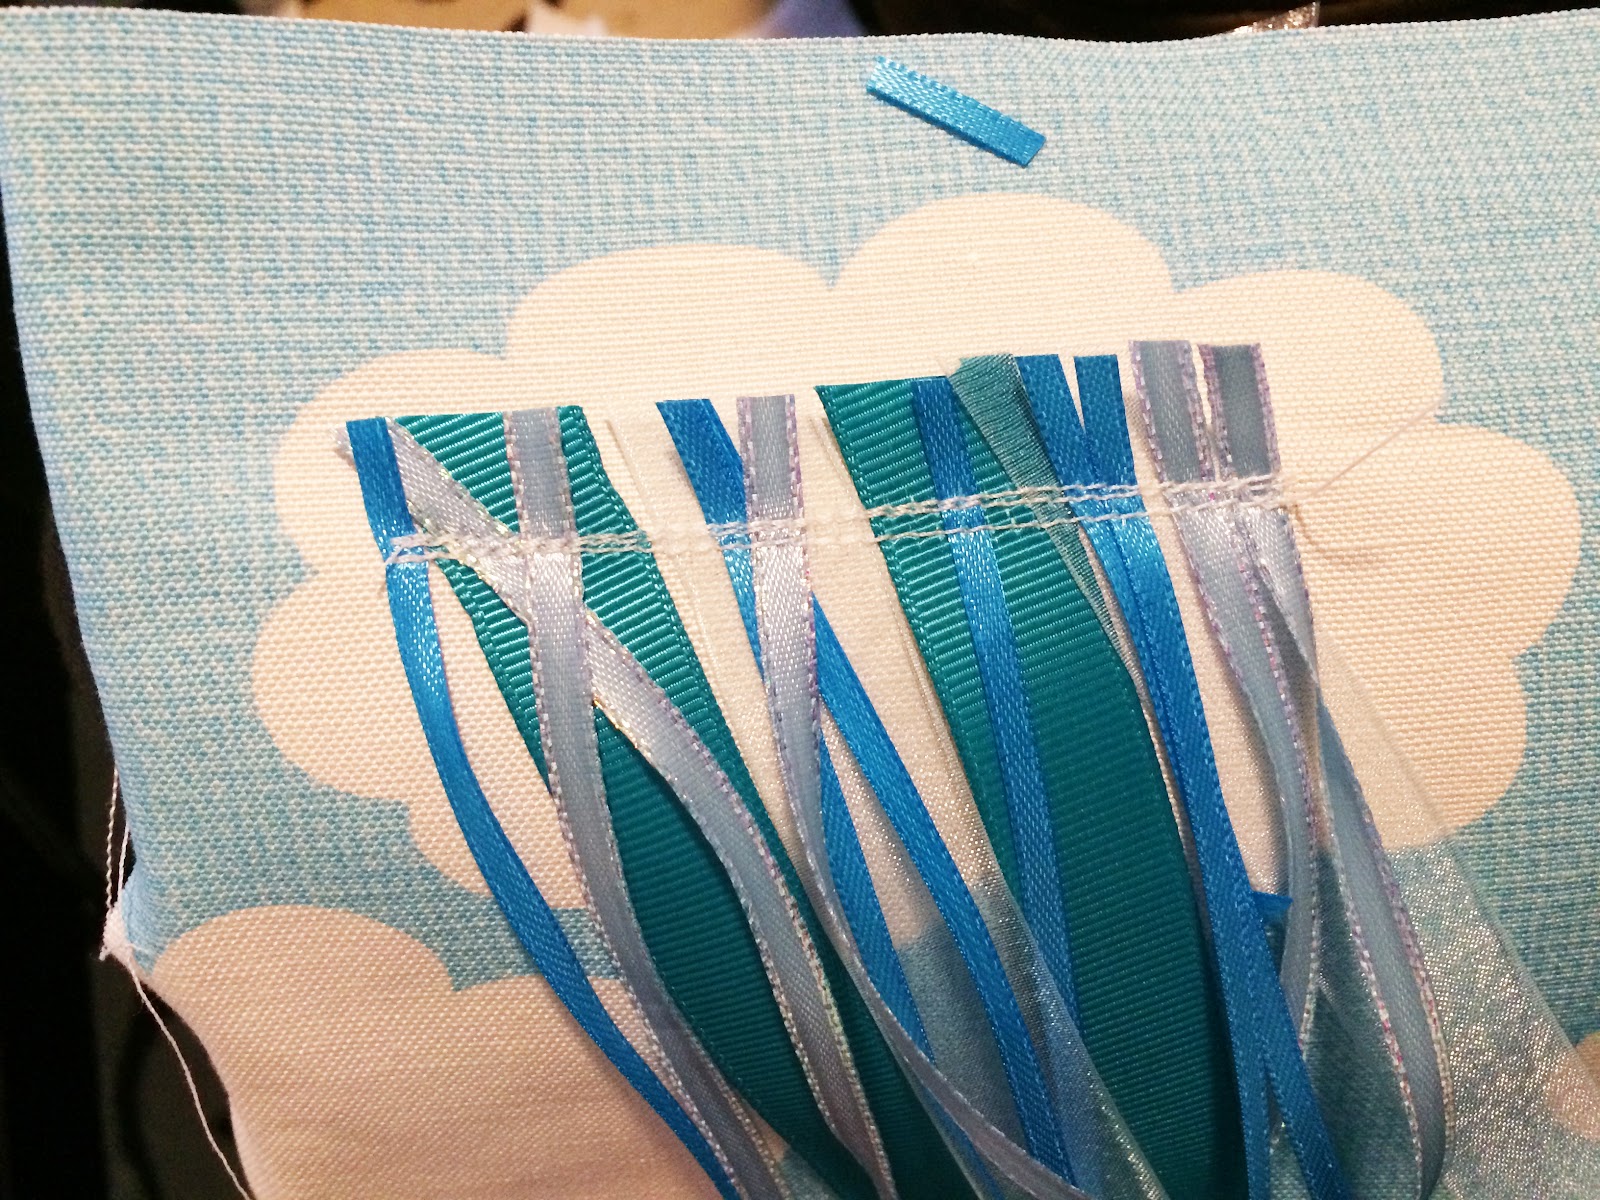
Line up your ribbons on the quiet book page with the white cloud in the middle of the page. I suggest having the thicker ribbons at the back and the thinner ribbons layered over the front.
Sew a line or two across the cloud and ribbons securing them into place.
Once they are secure cut off the excess ribbon at the top of the cloud.
Step Thirteen:
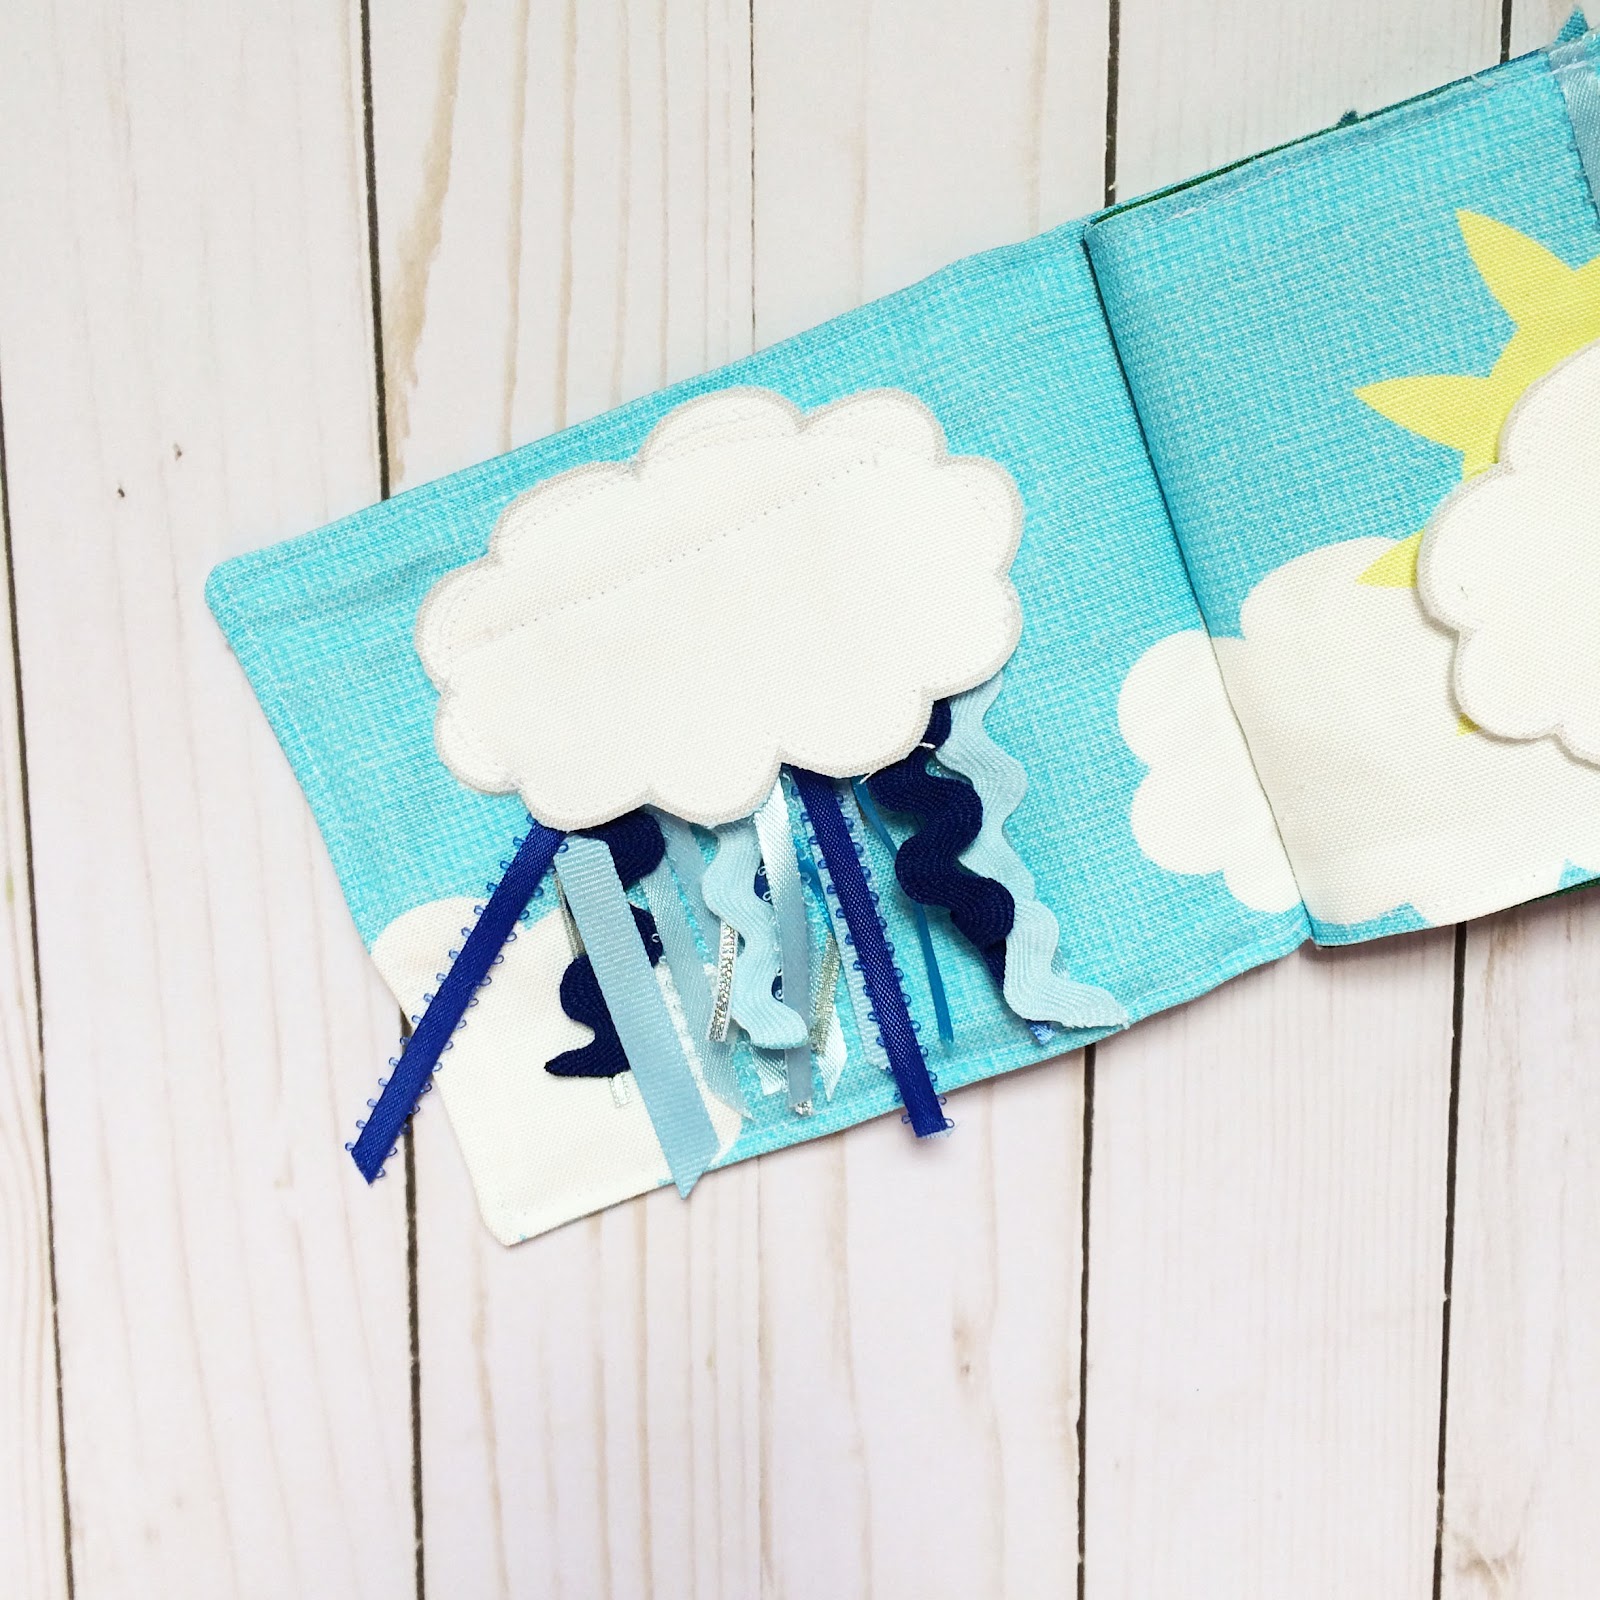
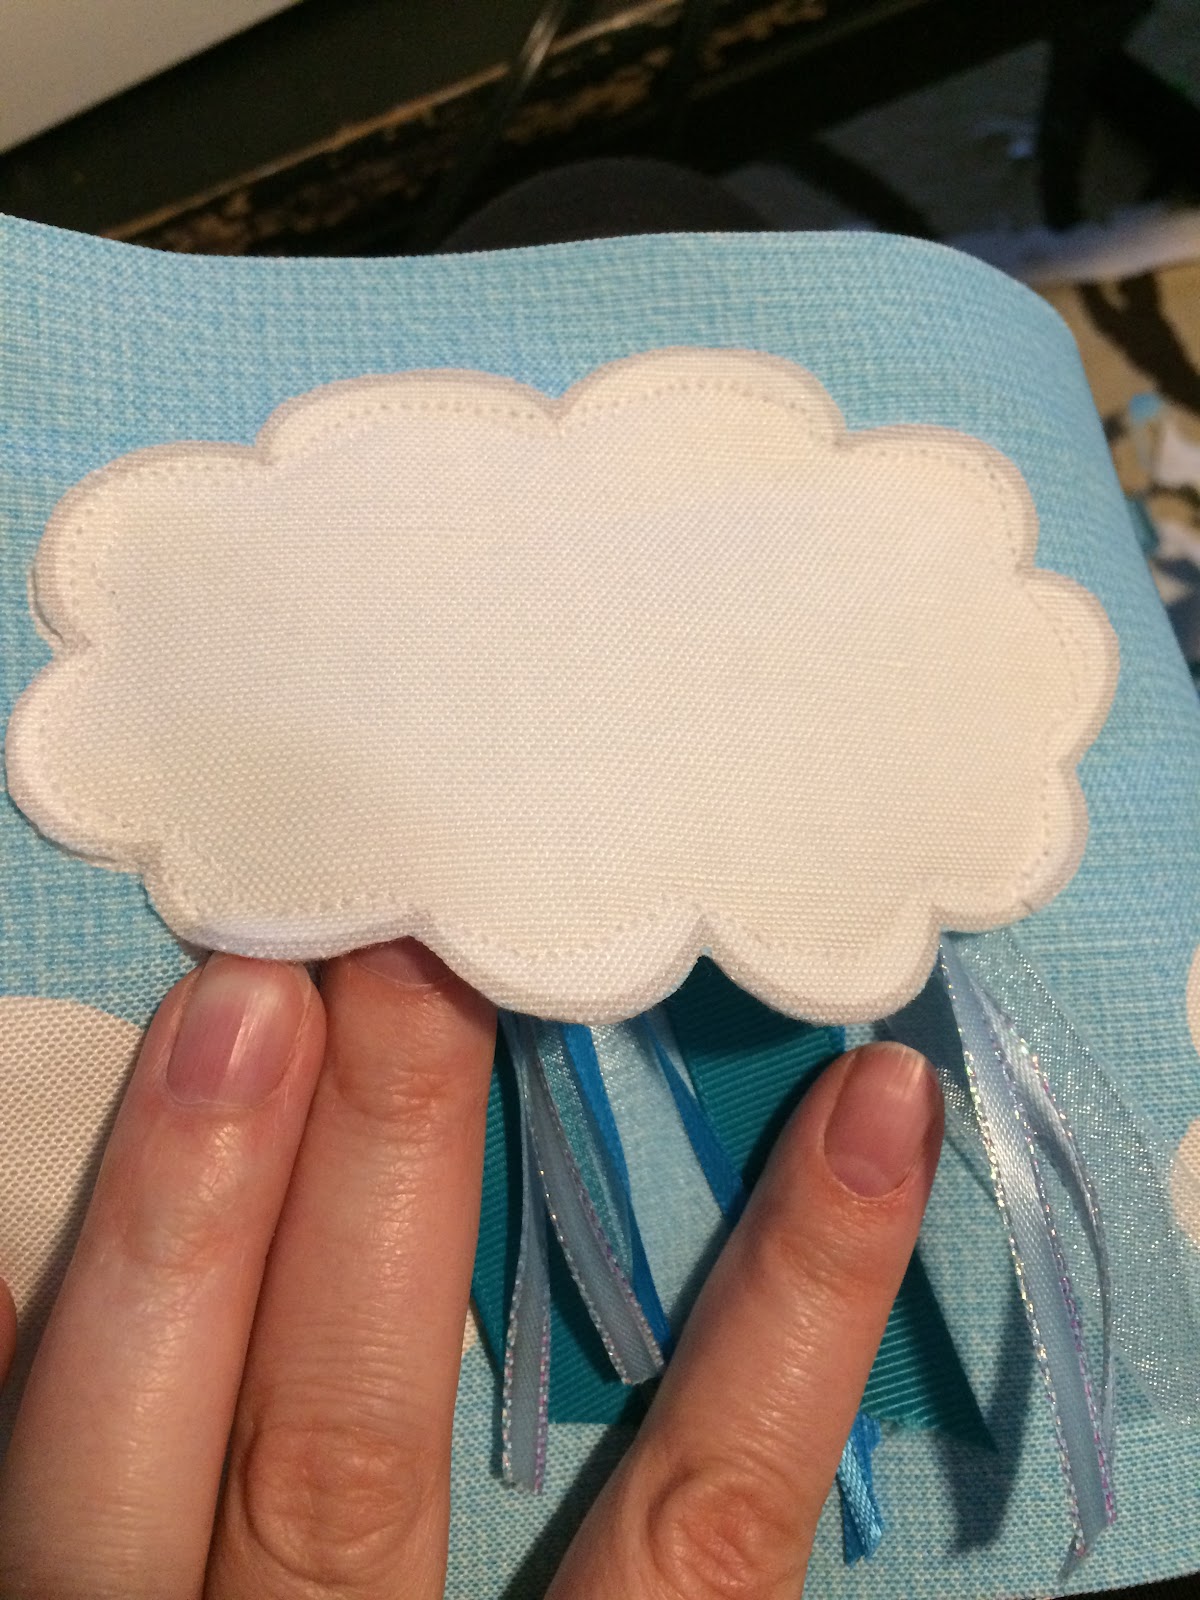 Take the remaining cloud cut out and lay it over the ribboned cloud. Sew around the left, top, and right of the cloud, leaving the bottom of it open so the rain can move around. (It also creates a fun, exploratory, pocket for little fingers. )
Step Fourteen:
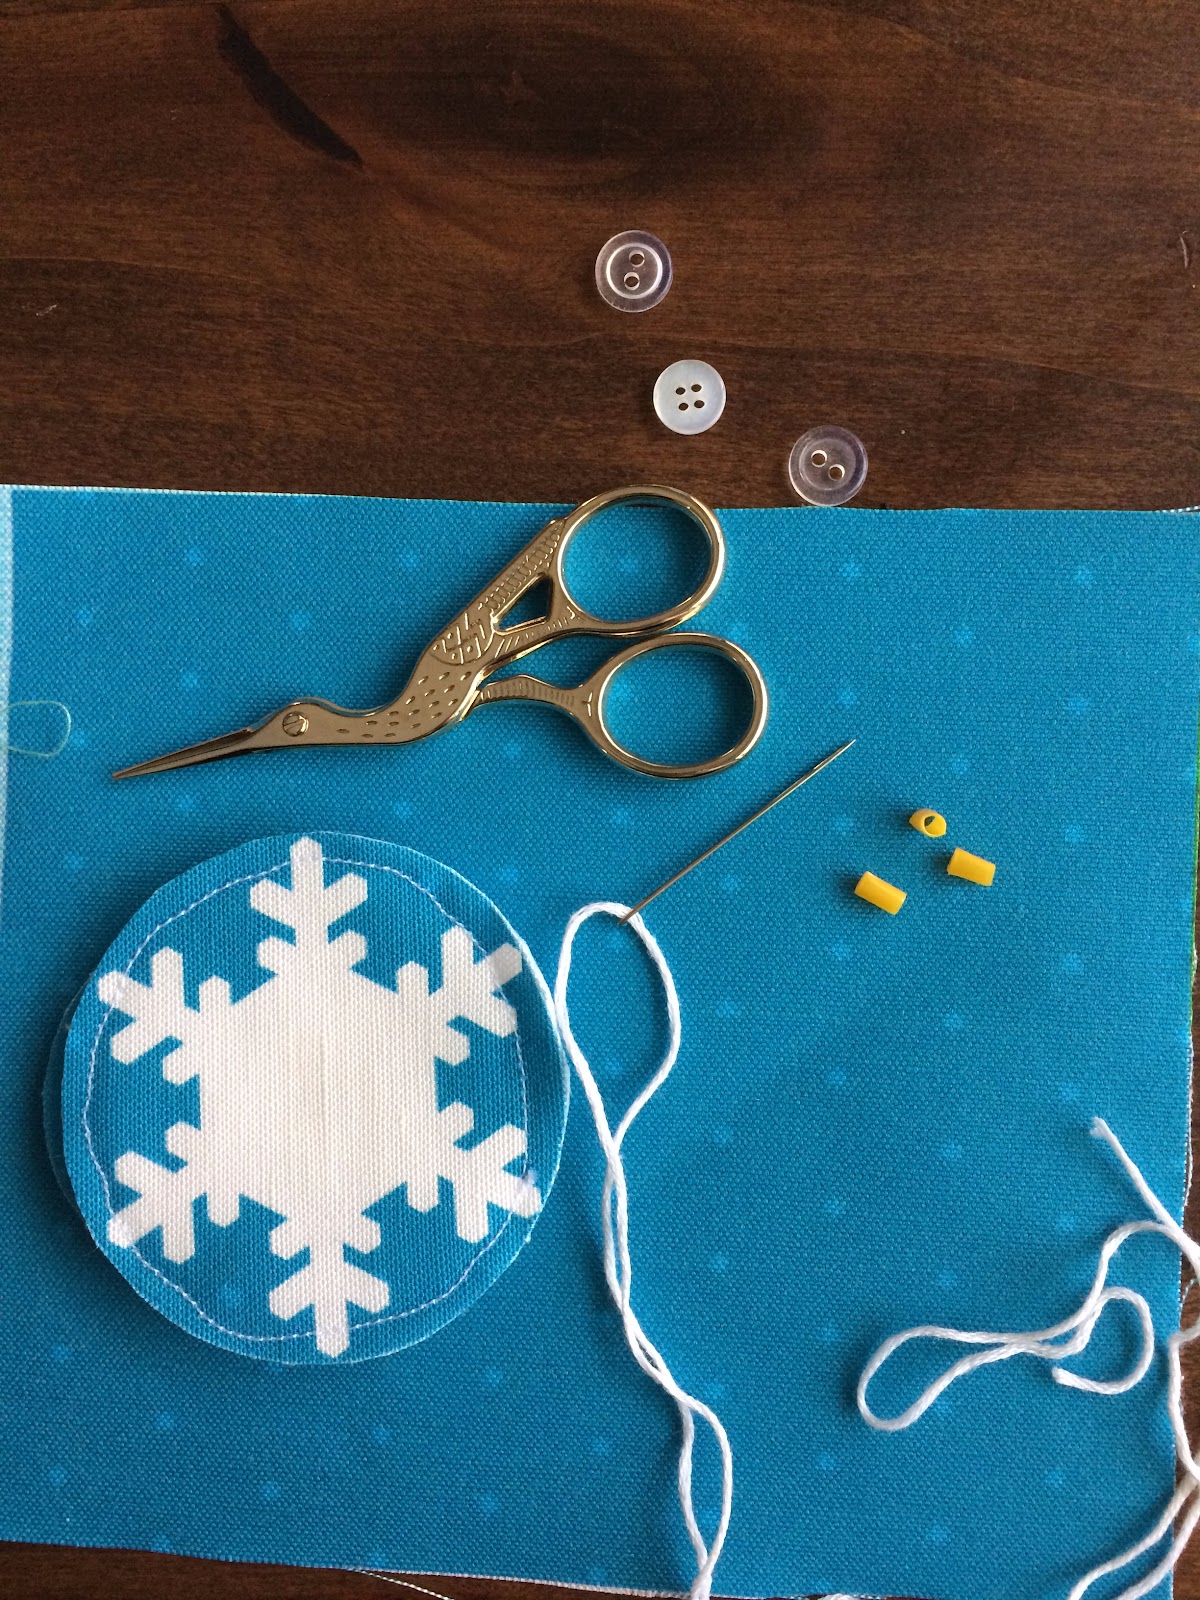
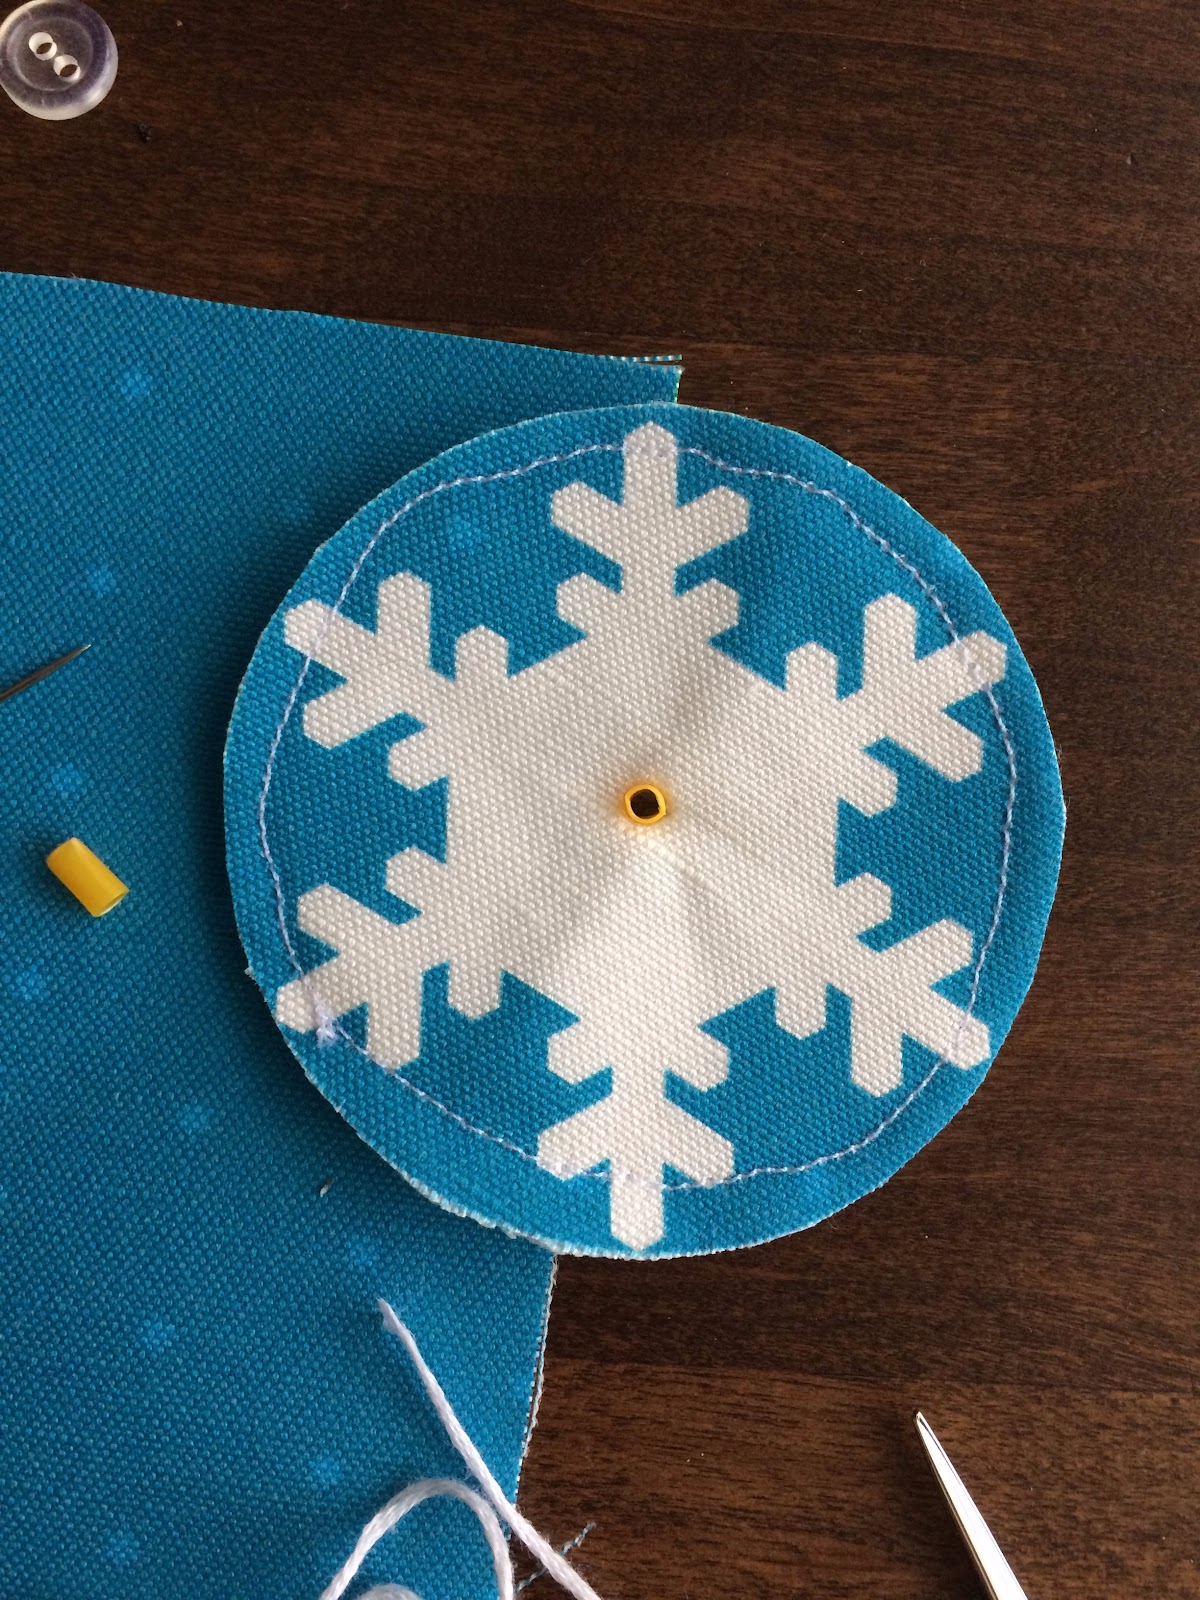
Take your three snowflake cutouts and snip a small hole in the center of each. Insert a hollow bead into the center of each snowflake.
Then place the snowflakes the way you would like them on the dark blue page with the dots. Be sure to leave at least an inch margin around the edges of the page so the snow flakes don’t get sewn into the page when the book pages are being put together.
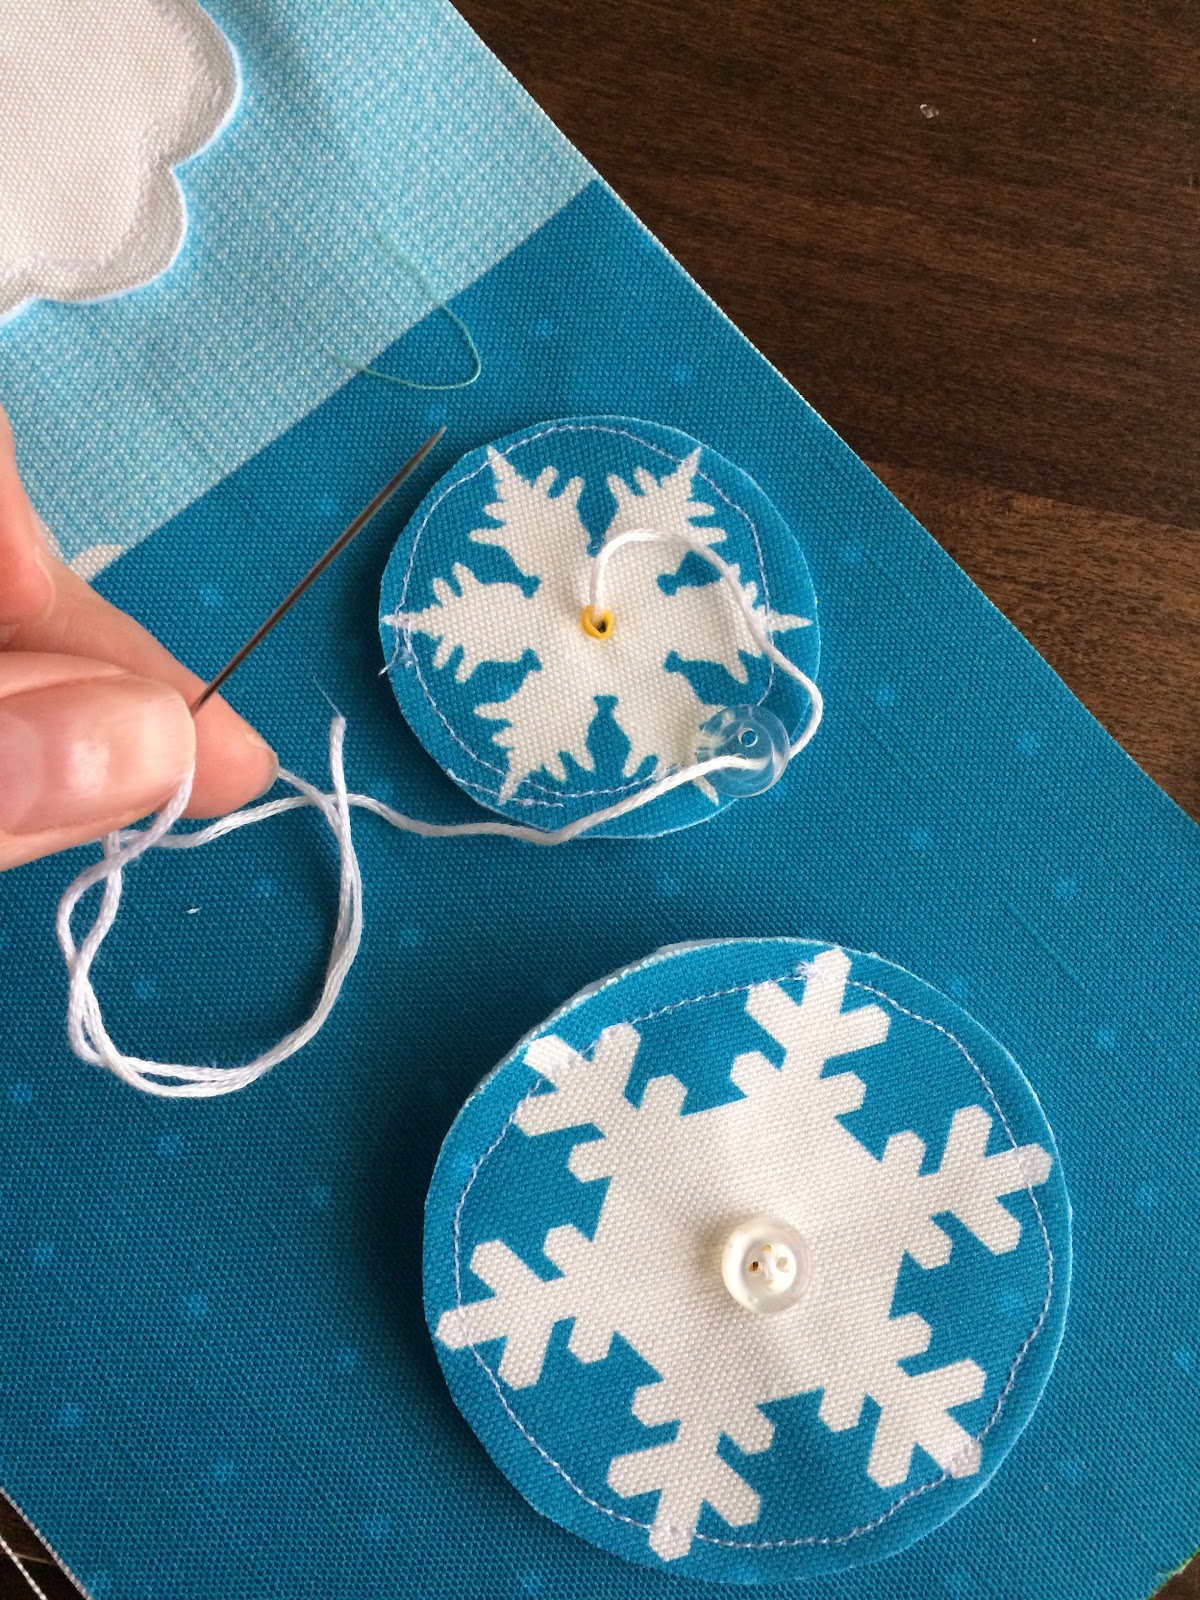
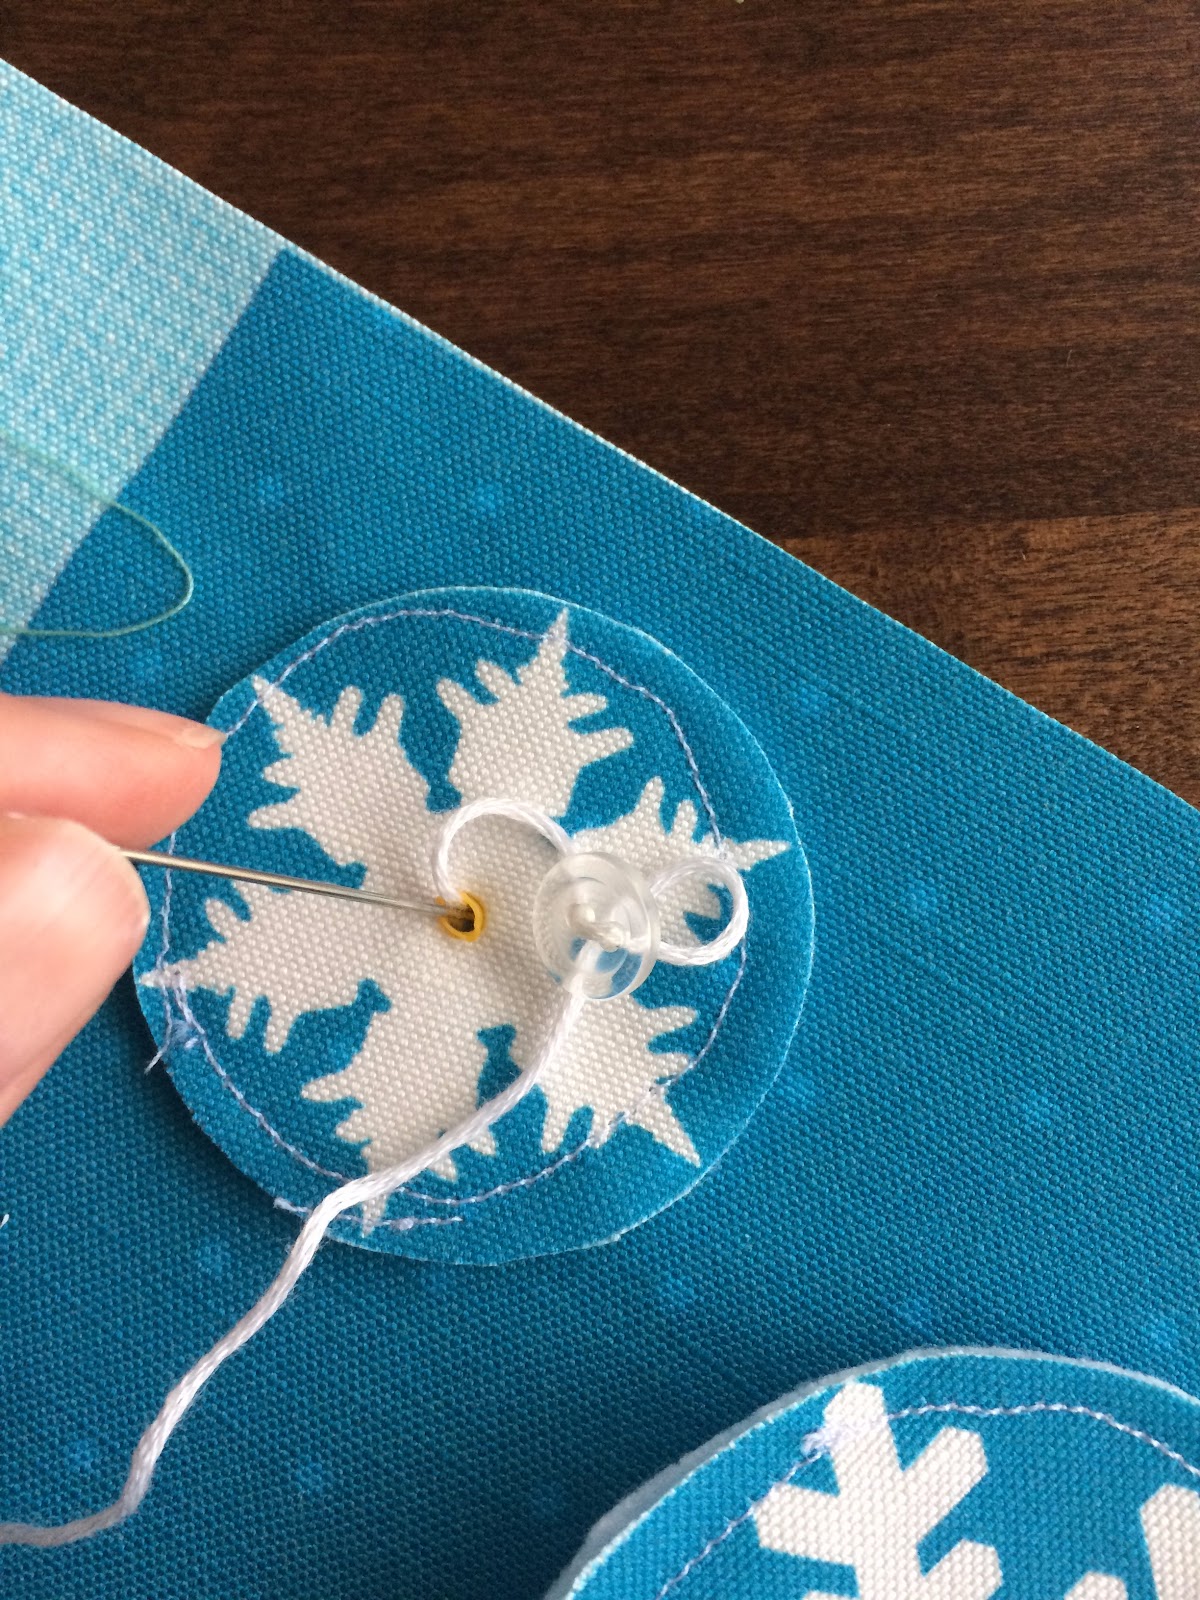
Sew the snowflakes into place with a needle and thread by starting in the back of the page, putting your needle through the hollow bead, then sewing through the button holes of one of your buttons. Thread your need through another of the button’s hole and back down through the hollow bead and your fabric. Repeat a few times before tying your thread in place. The bead in the center of your snowflake will allow the snowflake to turn and spin once sewn into place.
Repeat for all three snowflakes.
Step Fifteen: (Optional)
Take the front cover of the book and sew a button onto the right side of the page in the middle.
On the opposite side of the page (the back cover of the book) pin the small loop of elastic with the loop facing the print on the page and the edges of the elastic pinned at the edge of the page.
Step Sixteen:
 Take the front cover of the book, and lay it face up, then take the page with the rain cloud, and the snowflakes and lay it face down over the top page so the printed side of each page is touching.
Pin in place. Make sure the rain from the rain cloud is tucked up into the page and won’t get sewn into the seam. Also make sure your elastic loop is facing in against the printed pages and only the edges of it are at the seam.
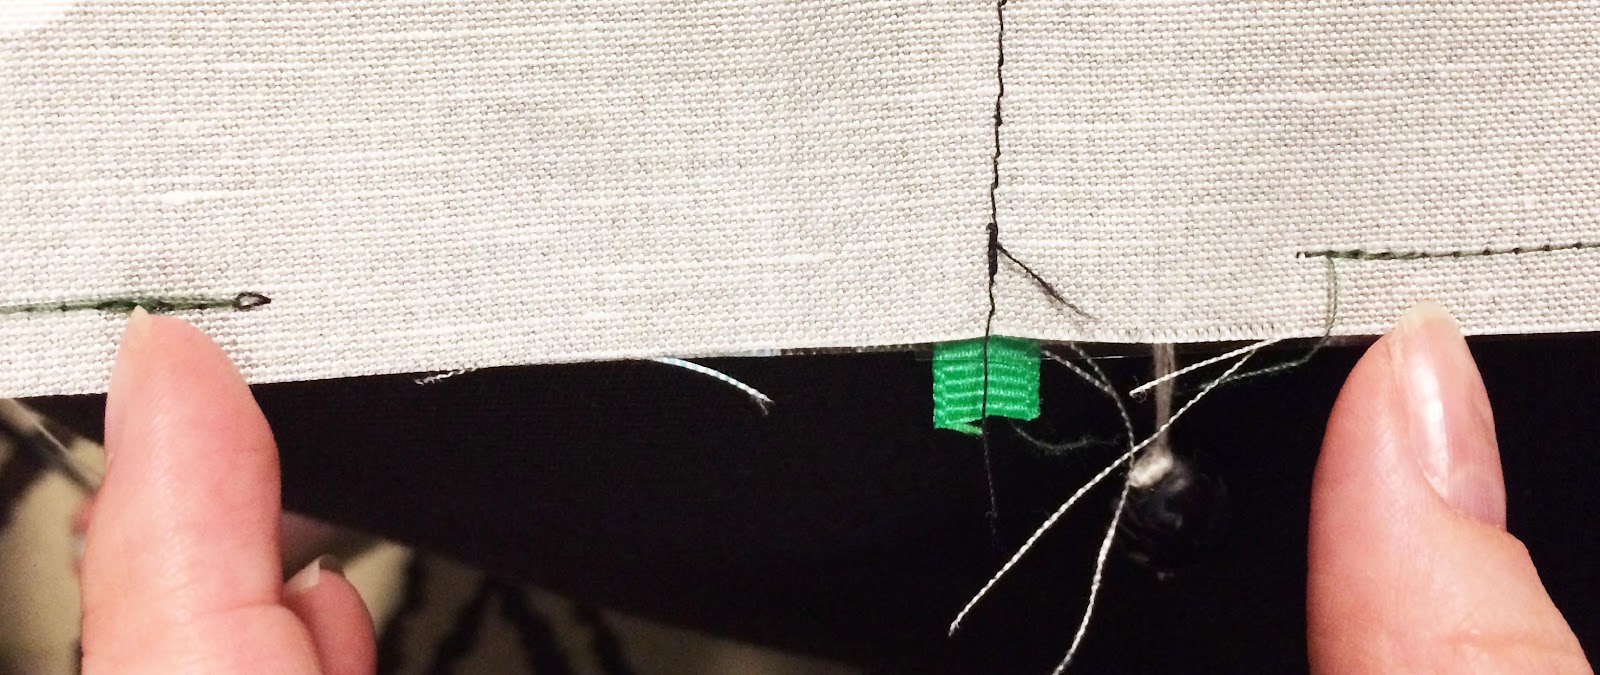
Starting at the bottom middle sew around the outside of the two pages, about a ⅜ inch from the edge, leave about a four inch gap in the bottom of the book from where you began your sewing to where you end it.
 Step Seventeen:
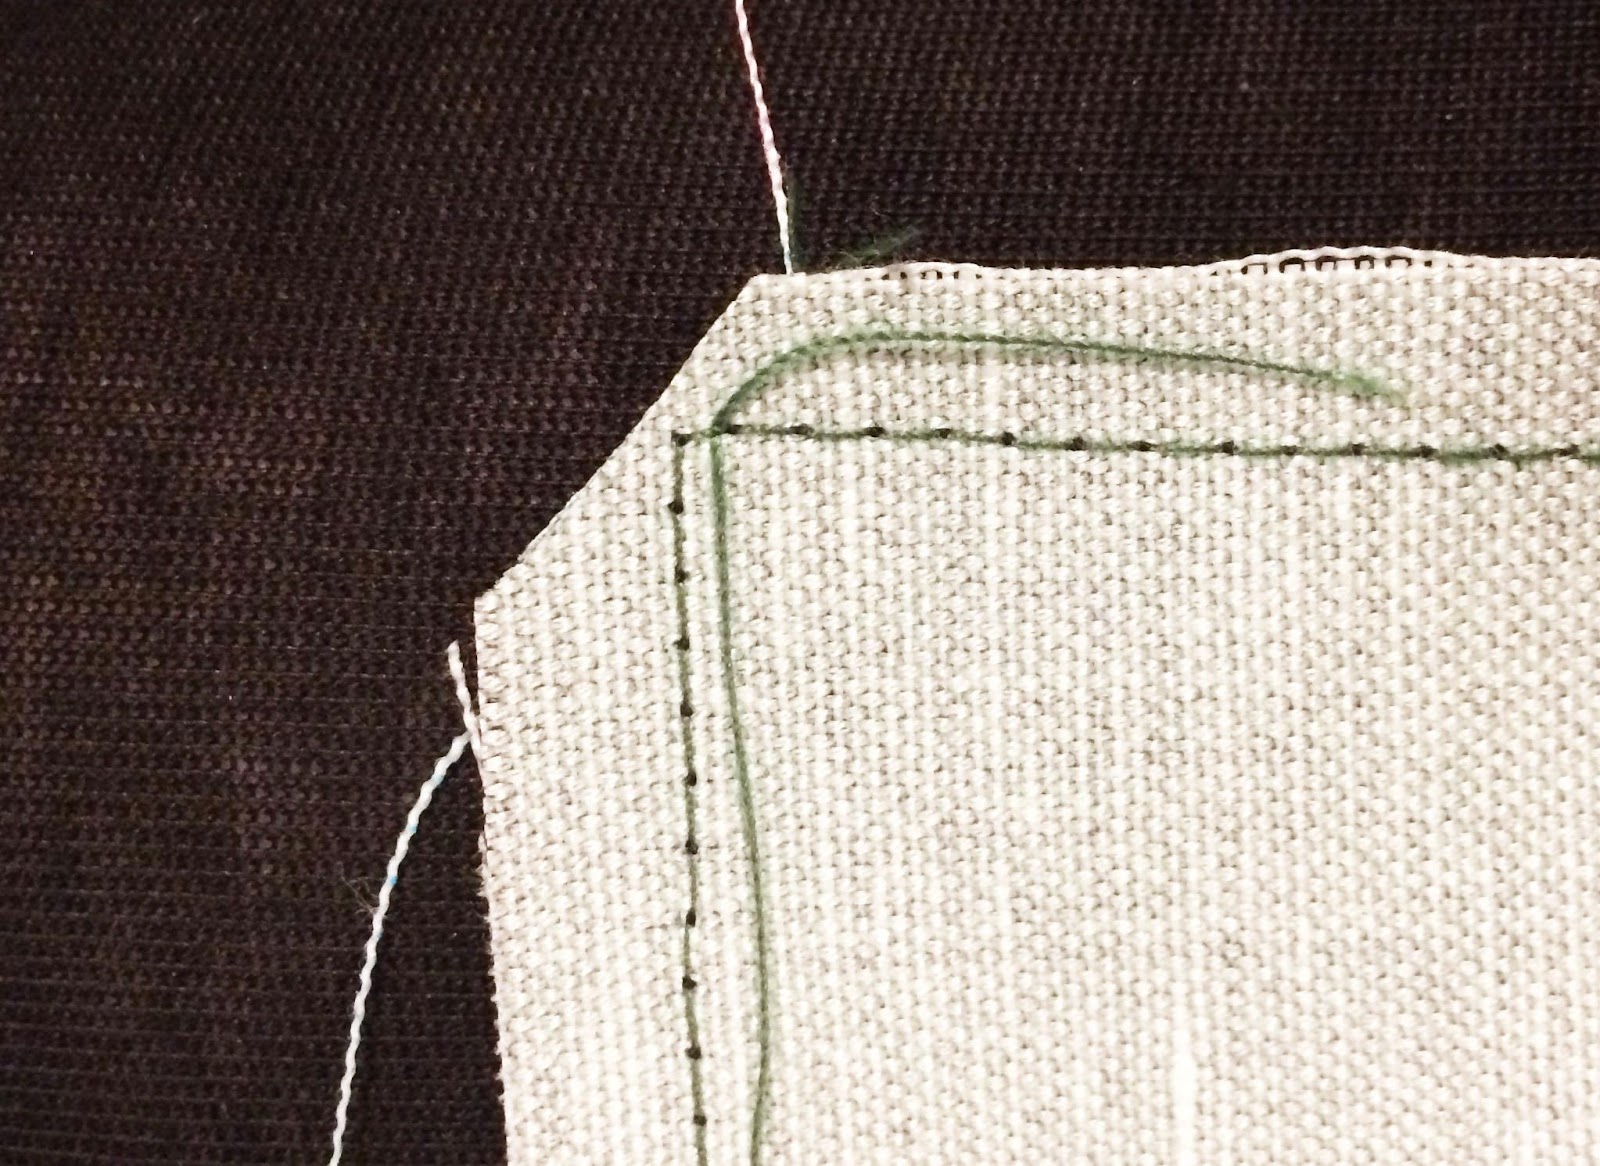
Cut off the extra fabric in the corners of your book (This will allow it to lay more flat when you flip the book).
Step Eighteen:
Using the four inch gap you left in step sixteen flip the page inside out, so that the printed side is out, take special care to press out the corners of the page as much as possible.
Iron your page flat.
Step Nineteen:
 Fold up the edges of your four inch gap, and pin them in place. Then sew around the outside of your book page (about ¼ inch from the edge) Start and end your sewing in the same place so that your four inch gap is sealed shut.
Step Twenty:
Repeat steps for the other two pages of your quiet book. Make sure the ribbon for your magnet cloud gets sewn into place and secured into the book and that ribbons for the “flower” page are tucked up into the page and don’t get sewn into the seams when you are sewing your pages together.
Step Twenty-One:
Line up the two sewn rectangular pages (that create the whole of your quiet book) and pin them in place so they completely overlap one another. Sew a straight line down the middle of your overlapped pages, securing the pages of the book together.
Congratulations, you are done! 🙂
Thank you so much for your purchase of this quiet book kit, if you found any of these instructions to be unclear or difficult please email me at [email protected] – I’d love to get them updated and clarified to the best of my ability.
Spot cleaning with a light detergent and a damp rag is the best way to clean your quiet book, but it should also hold up if you wash it in the washing machine on a gentle cycle. Air dry only.
Please let me know if you have any comments or additional questions.